
Варочная панель Maunfeld MVI45.3HZ.3BT-BK - инструкция пользователя по применению, эксплуатации и установке на русском языке. Мы надеемся, она поможет вам решить возникшие у вас вопросы при эксплуатации техники.
Если остались вопросы, задайте их в комментариях после инструкции.
"Загружаем инструкцию", означает, что нужно подождать пока файл загрузится и можно будет его читать онлайн. Некоторые инструкции очень большие и время их появления зависит от вашей скорости интернета.


30
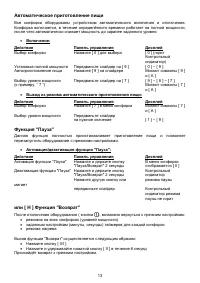
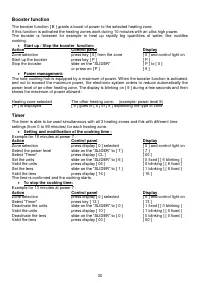
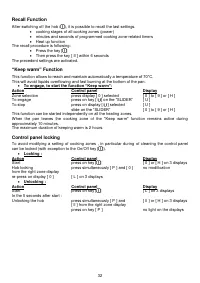
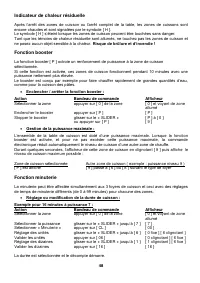
Booster function
The booster function [ B ] grants a boost of power to the selected heating zone.
If this function is activated the heating zones work during 10 minutes with an ultra high power.
The booster is foreseen for example to heat up rapidly big quantities of water, like nuddles
cooking.
Start up / Stop the booster function:
Action
Control panel
Display
Zone selection
press key [ 0 ] from the zone
[ 0 ] and control light on
Start up the booster
press key [ P ]
[ P ]
Stop the booster
slide on the “SLIDER“
[ P ] to [ 0 ]
or press on [ P ]
[ 9 ]
Power management:
The hole cooking hob is equipped by a maximum of power. W hen the booster function is activated,
and not to exceed the maximum power, the electronic system orders to reduce automatically the
power level of an other heating zone. The display is blinking on [ 9 ] during a few seconds and then
shows the maximum of power allowed :
Heating zone selected
The other heating zone:
(example: power level 9)
[ P ] is displayed
[ 9 ] goes to [ 6 ] or [ 8 ] depending the type of zone
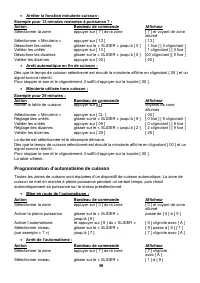
Timer
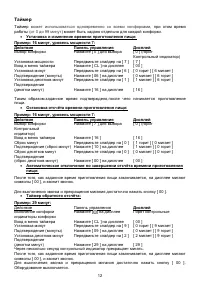
The timer is able to be used simultaneous with all 3 heating zones and this with different time
settings (from 0 to 99 minutes) for each heating zone.
Setting and modification of the cooking time :
Example for 16 minutes at power 7 :
Action
Control panel
Display
Zone selection
press display [ 0 ] selected
[ 0 ] and control light on
Select the power level
slide on the “SLIDER“ to [ 7 ]
[ 7 ]
Select “Timer”
press display [ CL ]
[ 00 ]
Set the units
slide on the “SLIDER“ to [ 6 ]
[ 0 fixed ] [ 6 blinking ]
Valid the units
press display [ 06 ]
[ 0 blinking ] [ 6 fixed ]
Set the tens
slide on the “SLIDER“ to [ 1 ]
[ 1 blinking ] [ 6 fixed ]
Valid the tens
press display [ 16 ]
[ 16 ]
The time is confirmed and the cooking starts.
To stop the cooking time:
Example for 13 minutes at power 7 :
Action
Control panel
Display
Zone selection
press display [ 0 ] selected
[ 0 ] and control light on
Select “Timer”
press key [ 13 ]
[ 13 ]
Deactivate the units
slide on the “SLIDER“ to [ 0 ]
[ 1 fixed ] [ 0 blinking ]
Valid the units
press display [ 10 ]
[ 1 blinking ] [ 0 fixed ]
Deactivate the tens
slide on the “SLIDER“ to [ 0 ]
[ 0 blinking ] [ 0 fixed ]
Valid the tens
press display [ 00 ]
[ 00 ]
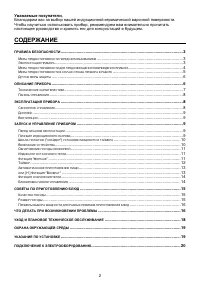
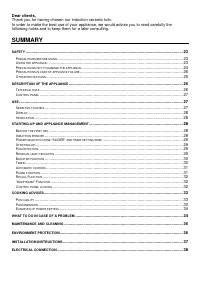
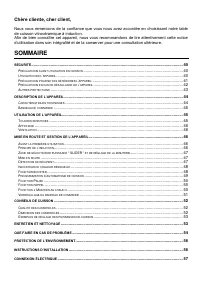
Содержание
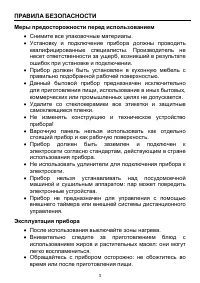
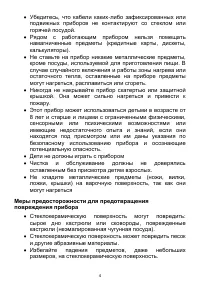
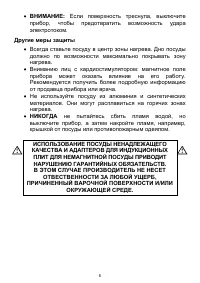
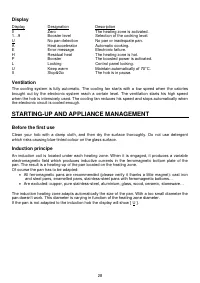
- 3 ПРАВИЛА БЕЗОПАСНОСТИ; Меры предосторожности перед использованием; Снимите все упаковочные материалы.; Эксплуатация прибора; После использования выключайте зоны нагрева.
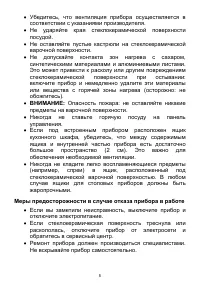
- 5 Меры предосторожности в случае отказа прибора в работе
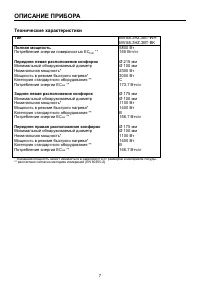
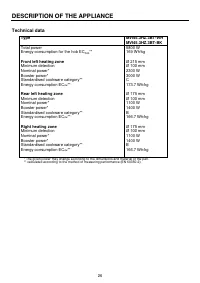
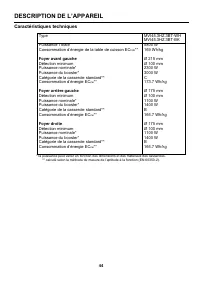
- 7 ОПИСАНИЕ ПРИБОРА; Технические характеристики; Тип; Передняя левая pасположение конфорок; Задняя левая pасположение конфорок; Передняя правая pасположение конфорок
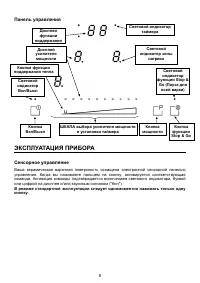
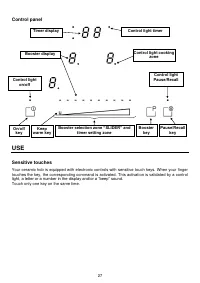
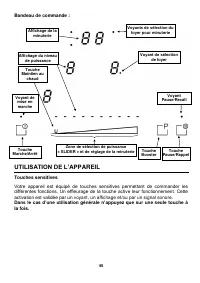
- 8 Панель управления; ЭКСПЛУАТАЦИЯ ПРИБОРА; Сенсорное управление
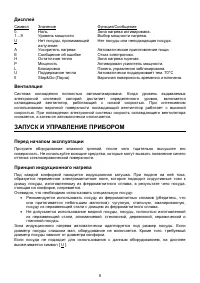
- 9 ЗАПУСК И УПРАВЛЕНИЕ ПРИБОРОМ; Перед началом эксплуатации
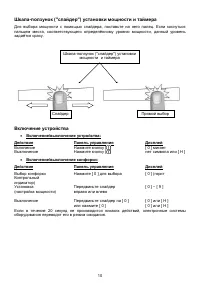
- 10 Включение устройства
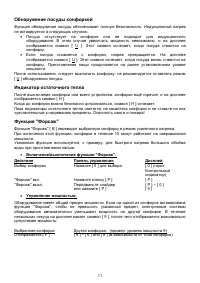
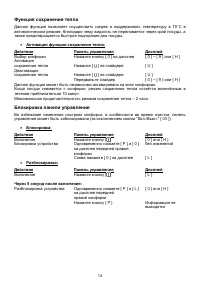
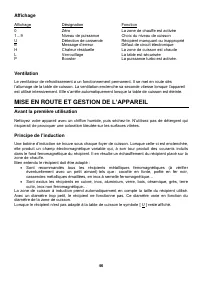
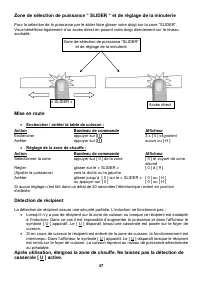
- 11 Обнаружение посуды конфоркой; Индикатор остаточного тепла; Действие; Управление мощностью:
- 12 Таймер
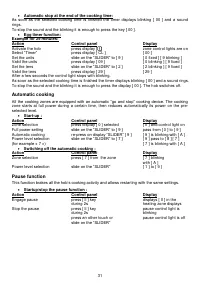
- 13 Автоматическое приготовление пищи
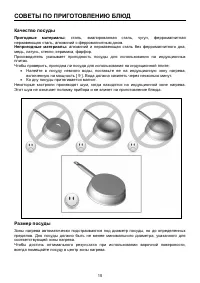
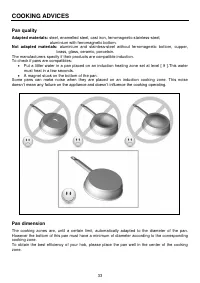
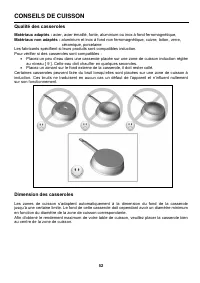
- 15 СОВЕТЫ ПО ПРИГОТОВЛЕНИЮ БЛЮД; Качество посуды; Пригодные материалы:; Непригодные материалы:; Размер посуды
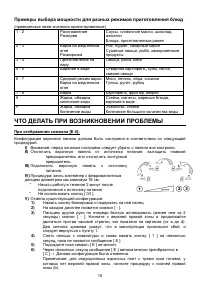
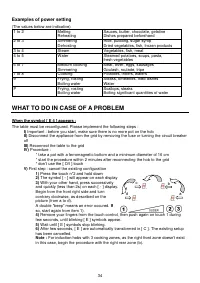
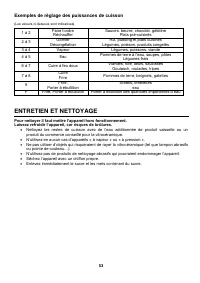
- 16 Примеры выбора мощности для разных режимов приготовления блюд; ЧТО ДЕЛАТЬ ПРИ ВОЗНИКНОВЕНИИ ПРОБЛЕМЫ
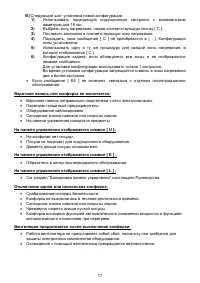
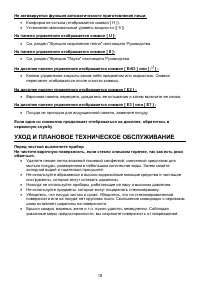
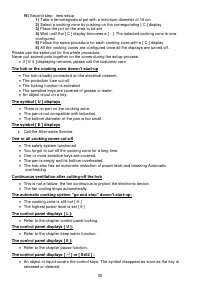
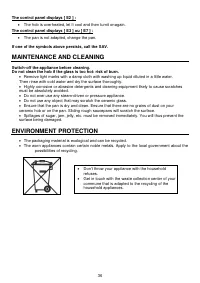
- 18 Не активируется функция автоматического приготовления пищи:; УХОД И ПЛАНОВОЕ ТЕХНИЧЕСКОЕ ОБСЛУЖИВАНИЕ; Перед чисткой выключите прибор.
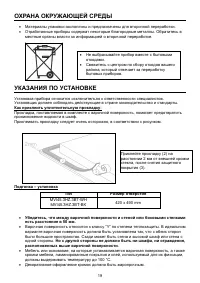
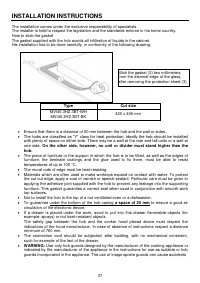
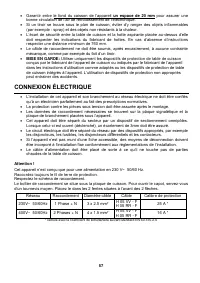
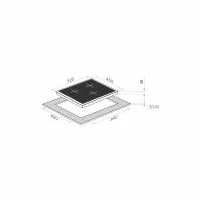
- 20 пространство в 20 мм; ПОДКЛЮЧЕНИЕ К ЭЛЕКТРООБОРУДОВАНИЮ
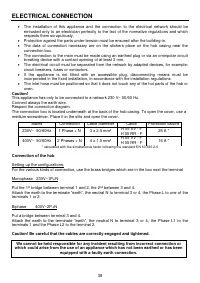
- 21 Подключение варочной поверхности
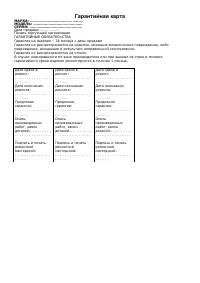
- 59 Гарантийная карта


