
Варочная панель Kuppersberg ECS 623 C - инструкция пользователя по применению, эксплуатации и установке на русском языке. Мы надеемся, она поможет вам решить возникшие у вас вопросы при эксплуатации техники.
Если остались вопросы, задайте их в комментариях после инструкции.
"Загружаем инструкцию", означает, что нужно подождать пока файл загрузится и можно будет его читать онлайн. Некоторые инструкции очень большие и время их появления зависит от вашей скорости интернета.


6
7
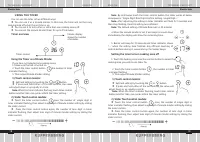
Technical passporT
english
english
Technical passporT
electric hob
electric hob
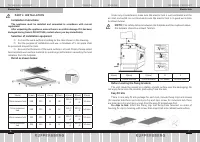
pa rt 2. i n S ta L L at i O n
installation instructions
the appliance must be installed and connected in accordance with current
regulations.
after unpacking the appliance, ensure there is no visible damage. if it has been
damaged during transit, dO nOt USe, contact where you buy immediately.
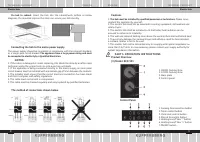
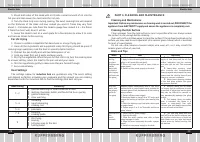
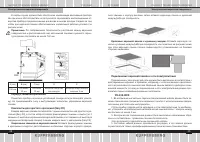
Selection of installation equipment
B
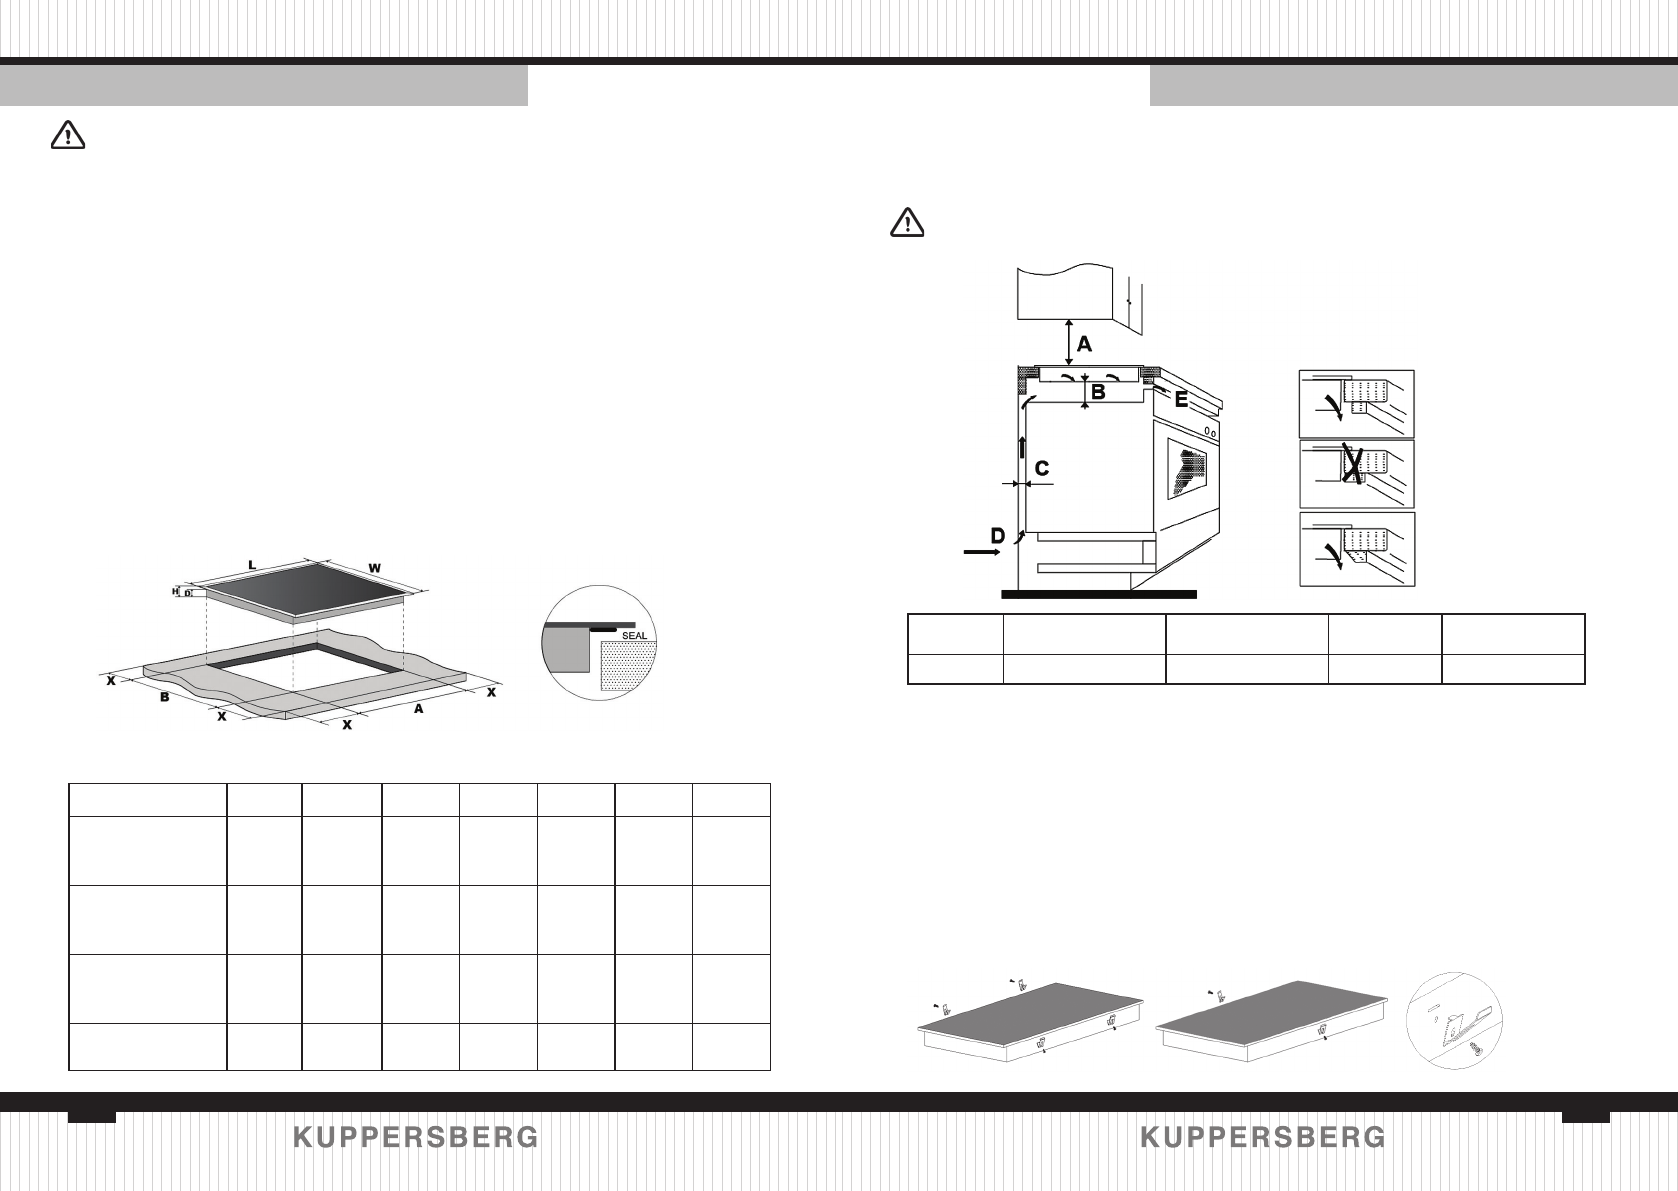
Cut out the work surface according to the sizes shown in the drawing.
B
For the purpose of installation and use, a minimum of 5 cm space shall
be preserved around the hole.
B
Be sure the thickness of the work surface is at least 30mm. Please select
heat-resistant work surface material to avoid larger deformation caused by the heat
radiation from the hotplate.
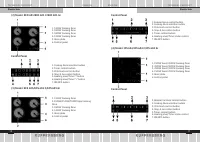
detail as shown below:
Model
L(mm)
W(mm)
H(mm)
D(mm)
A(mm)
B(mm)
X(mm)
30cm ceramic hob
288
520
52
48
265+5
-0
495+5
-0
50 mini
30cm induction
hob
288
520
56
52
265+5
-0
495+5
-0
50 mini
60cm ceramic hob
590
520
52
48
555+5
-0
495+5
-0
50 mini
60cm induction
hob
590
520
56
52
555+5
-0
495+5
-0
50 mini
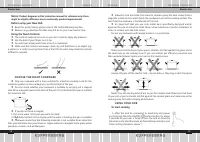
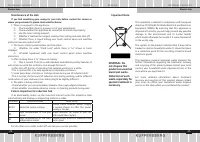
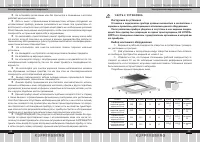
Under any circumstances, make sure the electric hob is well ventilated and the
air inlet and outlet are not blocked. Ensure the electric hob is in good work state.
As shown below:
n Ot e:
The safety distance between the hotplate and the cupboard above
the hotplate should be at least 760mm.
A(mm)
B(mm)
C(mm)
D
E
760mm
50mm minimal
20mm minimal
Air intake
Air exit 5mm
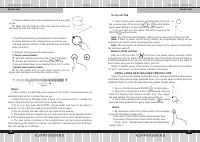
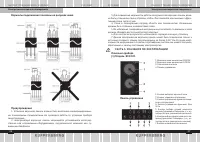
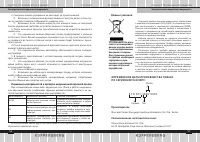
Before locating the fi xing brackets
The unit should be placed on a stable, smooth surface (use the packaging). Do
not apply force onto the controls protruding from the hob.
easy fit kits
There is one easy fi t kits package for each hob, include fi xing clips and screws
(for ceramic hob there are total 2pcs clip and 2pcs screw, for induction hob there
are total 4pcs clip and 4pcs screw). Find the easy fi t kit package fi rst.
Fix clips to hob:
Insert the fi xing clip into fi xing hole reserved on sides of
housing, fi x clip to housing with screw, then insert hob into cabinet/work surface.
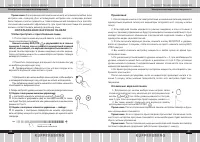
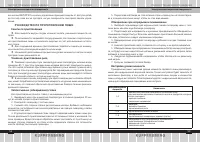
Содержание
- 15 сОД Е ржА н и Е
- 17 ч Ас Т ь 2. ус ТА н О в К А
- 18 перед установкой крепления; Закрепление зажимов на варочной панели:; подключение варочной панели к сети электропитания
- 19 варианты подключения показаны на рисунках ниже.; тивный отвод тепла от нее.; ч Ас Т ь 3. у К А З А н и Я п О Э Кс п Л уАТА ц и и
- 20 панель управления
- 21 перед использованием новой варочной панели
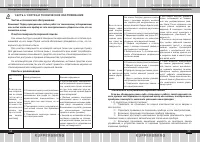
- 22 и с п О Л ь З О в А н и Е в А р О ч н О й п А н Е Л и; нажмите кнопку вКЛ/ОТК; Отключение варочной панели
- 23 и с п О Л ь З О в А н и Е рАс ш и р Е н н ы х З О н н А Г р Е в А; чтобы использовать функцию Booster, во время работы; Отмена функции Booster
- 24 у п рА в Л Е н и Е Фу н К ц и Е й З А щ и Т ы ОТ Д О с Т у п А Д Е Т Е й; ления функцией защиты от доступа детей; и с п О Л ь З О в А н и Е ТА й М Е рА
- 25 Если вы не выбрали ни одной варочной зоны
- 26 О б н А р уж Е н и Е п О су Д ы и М Е Л К и х п р Е Д М Е ТО в
- 27 р у КО в О Д с Т в О п О п р и Г ОТО в Л Е н и ю п и щ и; настройка уровня
- 28 ч Ас Т ь 4. ч и с Т К А и Т Е х н и ч Е с КО Е О б с Л уж и в А н и Е; Проверьте, не отключена ли подача электричества из-за аварии в
- 29 О п р Е Д Е Л Е н и Е Д АТ ы п р О и З в О Д с Т в А ТО в А рА
- 30 ус ТА н О в КА, ГА рА н Т и й н О Е и п О с Т ГА рА н Т и й н О Е О б с Л уж и в А н и Е; Телефон горячей линии Kuppersberg:; полный список авторизованных сервисных центров Kuppersberg; усЛОвиЯ ГАрАнТии


