
Увлажнители Philips HU4813/11 - инструкция пользователя по применению, эксплуатации и установке на русском языке. Мы надеемся, она поможет вам решить возникшие у вас вопросы при эксплуатации техники.
Если остались вопросы, задайте их в комментариях после инструкции.
"Загружаем инструкцию", означает, что нужно подождать пока файл загрузится и можно будет его читать онлайн. Некоторые инструкции очень большие и время их появления зависит от вашей скорости интернета.


9
EN
English
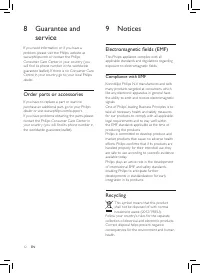
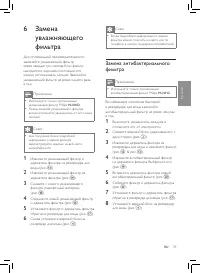
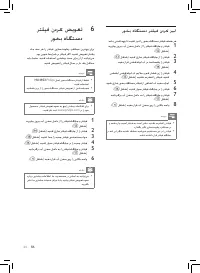
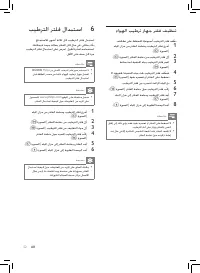
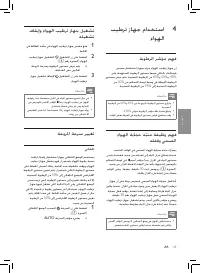
6 Replacing the
humidification filter
Replace the humidification filter ever y three
months for optimal performance. If the filter
is in good condition, you could use it for a
longer period of time. Make sure to replace the
humidification filter at least once a year.
Note
•
Use only Philips original humidification filter
HU4102
.
•
Always unplug the humidifier before you replace
the humidification filter.
Tip
•
Register your product at www.philips.com for
fur ther information on how to replace your
filter.
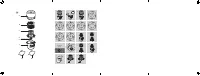
1
Take out the humidification filter and the
filter suppor t from the water tank (fig.
m
).
2
Remove the humidification filter from the
filter suppor t (fig.
n
).
3
Remove the packaging material from the
new humidification filter (fig.
r
).
4
Assemble the new humidification filter
around the filter suppor t (fig.
p
).
5
Put the filter and the filter suppor t back
into the water tank (fig.
q
).
6
Put the upper unit back onto the water
tank (fig.
d
).
Tip
•
You can easily find more information about
how to replace the filter in our web page or by
calling our Consumer Care Center.
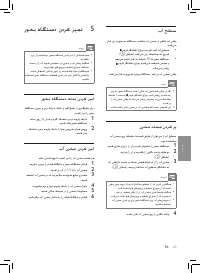
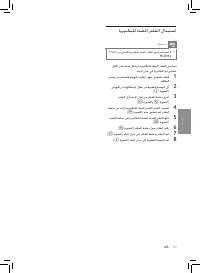
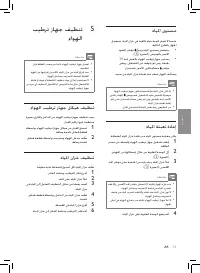
Replace the anti-bacterial filter
Note
•
Use only Philips original anti-bacterial filter
HU4112
.
Replace the anti-bacterial filter at least once a
year to prevent the bacteria from growing in
the water tank.
1
Switch off the humidifier and unplug it.
2
Remove the upper unit by holding it at
both sides (fig.
b
).
3
Take out the filter suppor t from the water
tank and remove the filter (fig.
l
&
fig.
m
).
4
Pull and remove the old anti-bacterial filter
from the filter suppor t. Then, discard it
(fig.
s
).
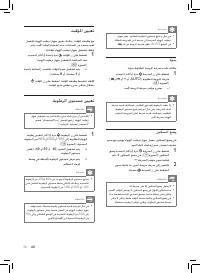
5
Push the new anti-bacterial filter to the
filter suppor t (fig.
t
).
6
Assemble the filter around the filter
suppor t (fig.
p
).
7
Put the filter and the filter suppor t back
into the water tank (fig.
q
).
8
Put the upper unit back onto the water
tank (fig.
d
).
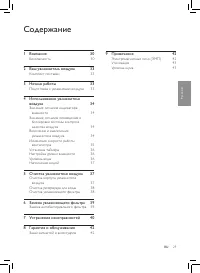
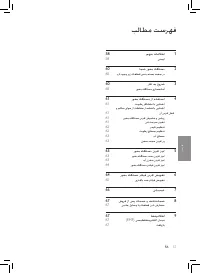
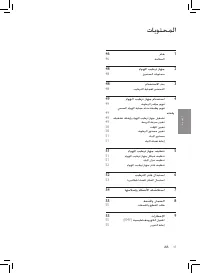
Содержание
- 31 Содержание
- 32 Предупреждение; Внимание; Безопасность
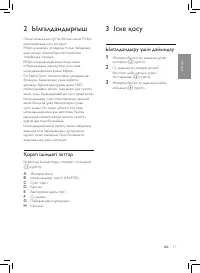
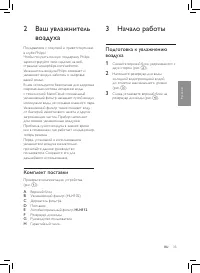
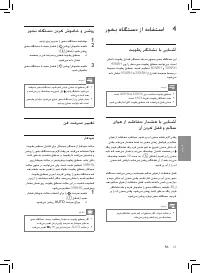
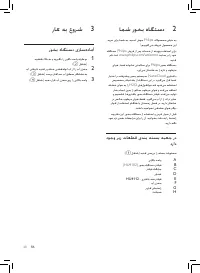
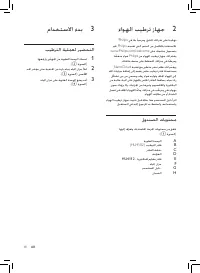
- 35 Ваш увлажнитель; Комплект поставки; Начало работы; Подготовка к увлажнению
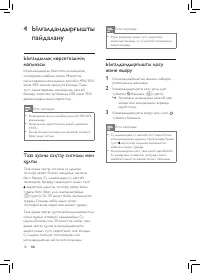
- 36 Использование
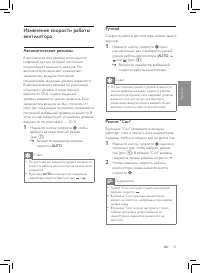
- 37 Изменение скорости работы
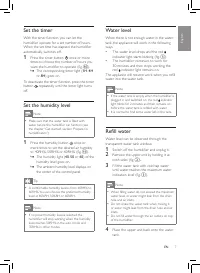
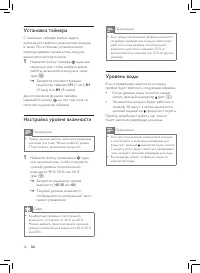
- 38 Уровень воды; Установка таймера
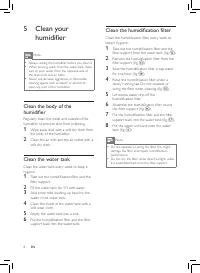
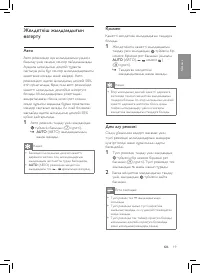
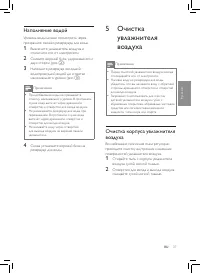
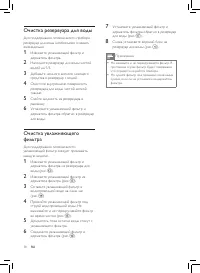
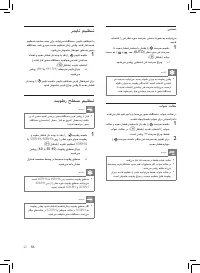
- 39 Наполнение водой; Очистка; Очистка корпуса увлажнителя
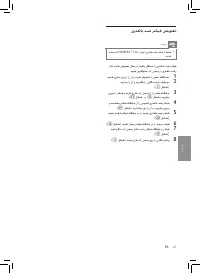
- 41 Замена антибактериального; Замена
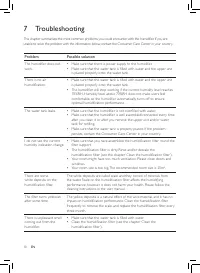
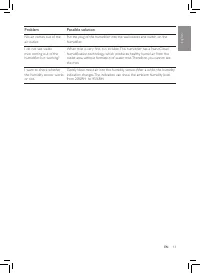
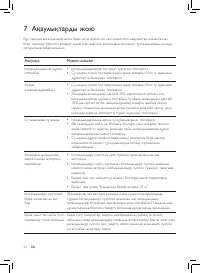
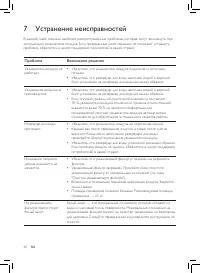
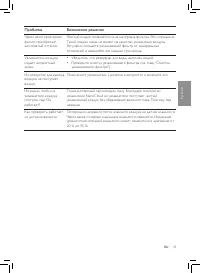
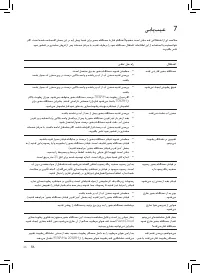
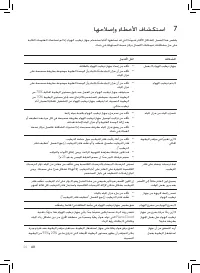
- 42 Устранение неисправностей
- 44 Примечания; Электромагнитные поля; Гарантия и; Заказ запчастей и аксессуаров
- 45 Утилизация


