
Триммеры STIGA ESB 1000 J 291820102/06 - инструкция пользователя по применению, эксплуатации и установке на русском языке. Мы надеемся, она поможет вам решить возникшие у вас вопросы при эксплуатации техники.
Если остались вопросы, задайте их в комментариях после инструкции.
"Загружаем инструкцию", означает, что нужно подождать пока файл загрузится и можно будет его читать онлайн. Некоторые инструкции очень большие и время их появления зависит от вашей скорости интернета.

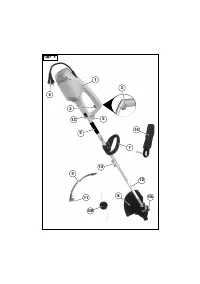


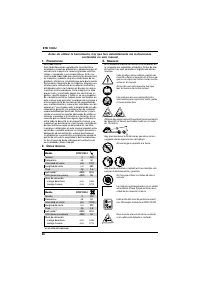


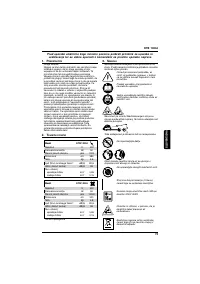


ETB 1000J
15
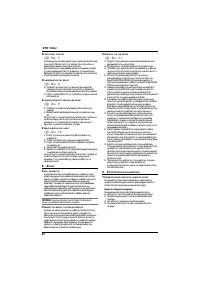
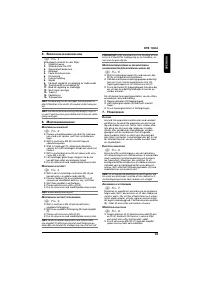
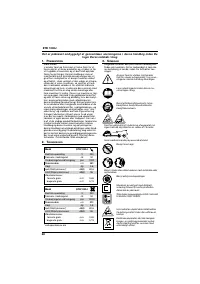
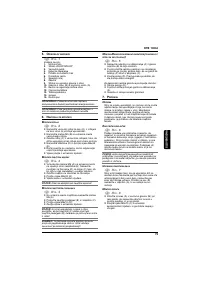
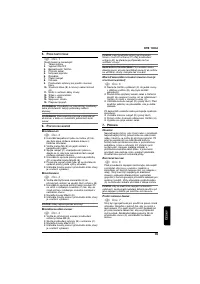
ENGLISH
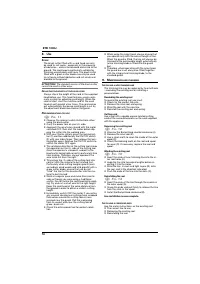
NOTE:
Make sure that the power tool and accesso-
ries in the package are not damaged
NOTE:
Read these operative instructions carefully
before attempting to operate the drill
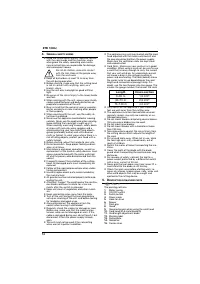
6. A
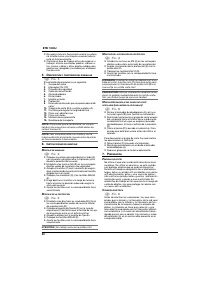
SSEMBLY
INSTRUCTIONS
M
OUNTING
THE
GRIP
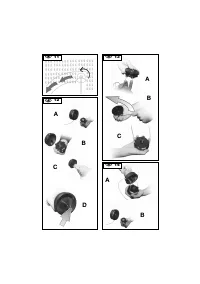
1
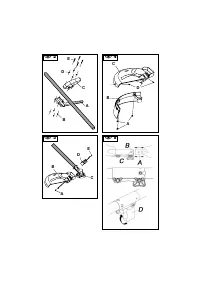
F
IG
. 2
Position the safety lever on the tube (A), with
the lever facing left (as seen by the user).
Fit the M5 nuts (B) into the safety lever.
Attach the grip (C) to the safety lever, keeping
the inclined part of the grip facing the motor.
Fit the washers (D) and push in the M5x35
screws (E).
Slide the grip along the rod until it reaches a
comfortable height.
Tighten the screws with the supplied wrench.
M
OUNTING
THE
GUARD
1
F
IG
. 3
Fit the two square M5 nuts (A) into the relative
holes in the lower part of the guard (B).
Position the connector (D) on the gear box (C) so
that the screw of the gear box lies in the central
hole.
Attach the guard to the connector.
Fit the M5x20 screws (E).
Tighten the screws with the supplied wrench.
ATTENTION:
Never work without the guard!
M
OUNTING
THE
GUARD
EXTENSION
1
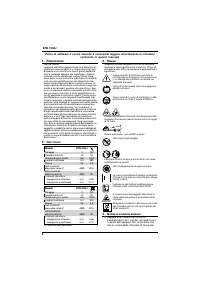
F
IG
. 4
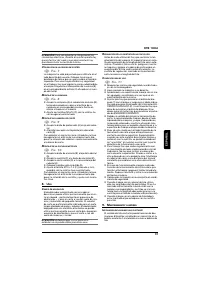
Fit the M5 nuts (A) into their holes.
Attach the guard extension (B) to the guard (C).
Fit the M5x10 screws (D).
Tighten the screws with the supplied wrench.
ATTENTION:
When using the appliance with the cord
head, the guard (C) must always be fitted with the
guard extension (B) to which the cord cutter is at-
tached!
WARNING:
Perform the above operation taking care
not to knock the cord cutter as this may cause inju-
ries!
M
OUNTING
/
DISMOUNTING
THE
CUTTING
ASSEMBLY
(
FOR
DISMOUNTABLE
MODELS
)
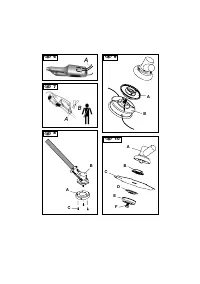
1
F
IG
. 5
Align the release button (A) with the hole in the
guide (B) to simplify installation.
Hold the dismountable cutting assembly firmly
and push it into the clamp until the release but-
ton (A) enters the hole in the clamp (C).
Tighten the knob (D) (right-hand thread). Make
sure it is perfectly tight before using the unit.
To dismount the cutting assembly, proceed in re-
verse order:
Loosen the knob (D) (right-hand thread).
Press down on the release button (A).
Slide the cutting assembly off the clamp.
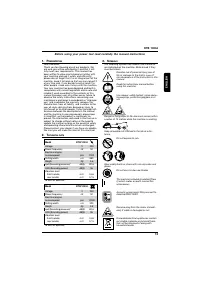
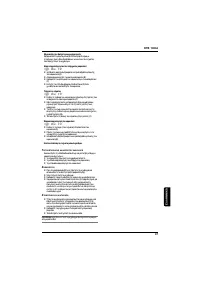
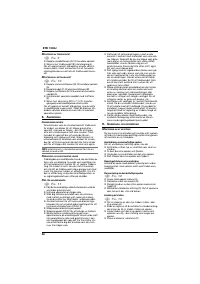
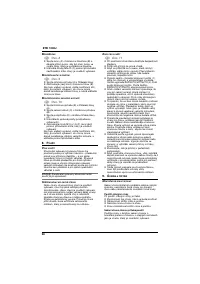
7. P
REPARATION
C
LOTHING
Never use the appliance barefooted or wearing
sandals. Never use the appliance when wearing
loose clothing that could get caught up in it. When
working, wear long trousers, safety boots or shoes
with non-slip soles, goggles and a shield protecting
your face from flying objects, gloves (preferably
leather) and anti-noise ear muffs or helmet. In work
areas where there is a risk of falling objects, pro-
tect your head with a safety helmet.
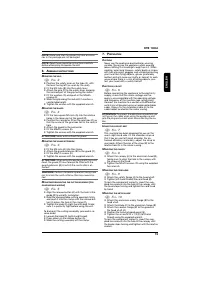
E
LECTRICAL
CIRCUIT
1
F
IG
. 6
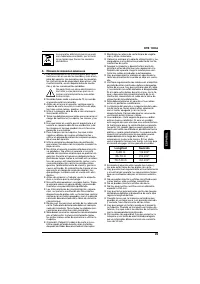
Before connecting the appliance to the electricity
supply, check that the mains voltage and fre-
quency are compatible with the operating voltage
and frequency of the machine (see rating plate).
Connect the machine to a socket with differential
switch (circuit breaker) using an approved outdoor
cable. Always fix the extension cable (A) to the
cable holder located on the motor casing.
ATTENTION:
To protect the electrical connection, do
not tug on the cable when using the appliance and
grip the plug and socket when disconnecting the ca-
ble.
U
SING
THE
SUPPORT
BELT
1
F
IG
. 7
This machine has been designed for use on the
user's right-hand side. Fit the shoulder strap so
that it lies on your left-hand shoulder. For en-
hanced efficiency and safety, adjust the strap to
your body. Attach the clip of the strap (B) to the
relative hole (A) in the motor casing.
M
OUNTING
THE
CANOPY
1
F
IG
. 8
Attach the canopy (A) to the aluminium head (B),
taking care to align the hole in the canopy with
the arrow on the head.
Tighten the M5x10 screws (C) using the supplied
hex wrench.
M
OUNTING
THE
CORD
HEAD
1
F
IG
. 9
Attach the safety flange (A) to the head shaft.
Tighten (left-hand thread) the cord head (B).
To lock the component correctly, insert the sup-
plied hex wrench into the hole in the canopy until
the head stops turning and tighten the cord head
by hand.
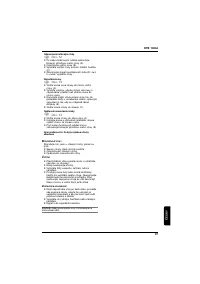
M
OUNTING
THE
METAL
BLADE
1
F
IG
. 10
Attach the aluminium safety flange (B) to the
head shaft.
Attach the blade (C) to the aluminium flange (B).
Attach the counter-flange (B) to the groove in
the head shaft (A).
Position the funnel-shaped guard (E).
Tighten the screw M10 x 1.5 (F) (left-hand
thread) using the supplied wrench.
To lock the component correctly, insert the sup-
plied hex wrench into the hole in the canopy until
the blade stops turning and tighten with the relative
wrench.


