
Триммеры Bosch ART 26 Li 0.600.878.L00 - инструкция пользователя по применению, эксплуатации и установке на русском языке. Мы надеемся, она поможет вам решить возникшие у вас вопросы при эксплуатации техники.
Если остались вопросы, задайте их в комментариях после инструкции.
"Загружаем инструкцию", означает, что нужно подождать пока файл загрузится и можно будет его читать онлайн. Некоторые инструкции очень большие и время их появления зависит от вашей скорости интернета.


English |
21
Bosch Power Tools
F016 L70 510 | (15.11.07)
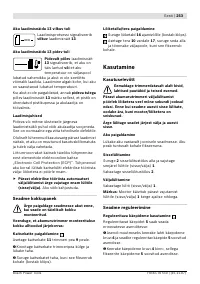
Note:
The charging procedure is only possible
when the battery temperature is within the allow-
able charging temperature range, see section
“Technical Data”.
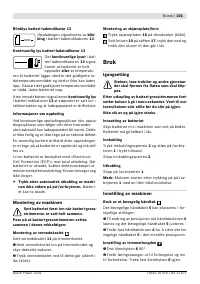
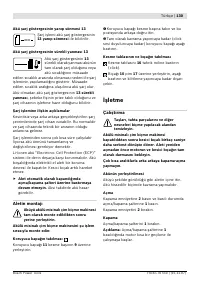
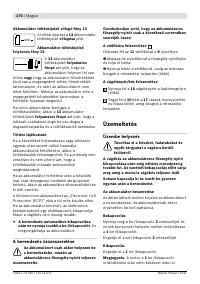
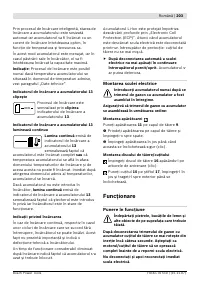
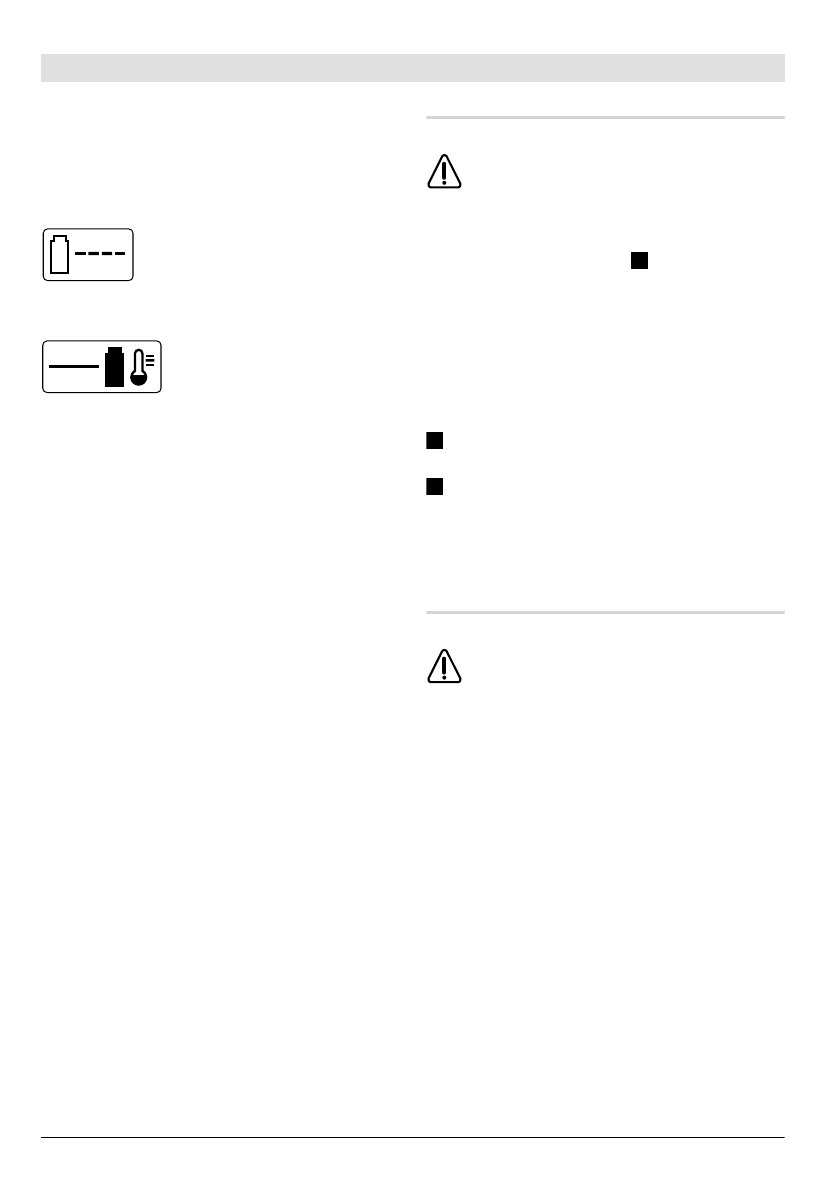
Flashing Battery Charge Indicator 13
The charging procedure is sig-
nalled by a
flashing
battery charge
indicator
13
.
Continuous Lighting of the Battery Charge Indi-
cator 13
Continuous lighting
of the bat-
tery charge indicator
13
indi-
cates that the battery is fully
charged
or
that the tempera-
ture of the battery is not within the allowable
charging temperature range, and cannot be
charged for this reason. The battery is charged as
soon as the allowable charging temperature
range is reached.
When the battery is not inserted,
continuous
lighting
of the battery charge indicator
13
indi-
cates that the mains plug is inserted in the socket
and that the battery charger is ready for opera-
tion.
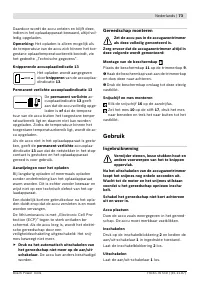
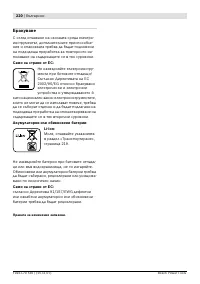
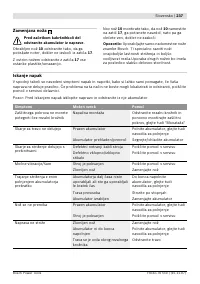
Charging Advice
With continuous or several repetitive charging cy-
cles without interruption, the charger can warm
up. This is not meaningful and does not indicate
a technical defect of the battery charger.
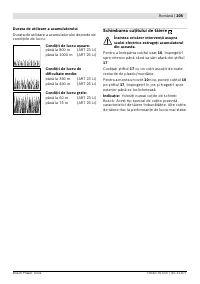
A significantly reduced working period after
charging indicates that the battery is used and
must be replaced.
The Electronic Cell Protection (ECP) protects the
lithium ion battery against deep discharging.
When the battery is run down or discharged, the
machine is shut off by means of a protective cir-
cuit: The blade no longer rotates.
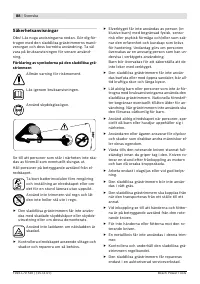
f
Do not continue to press the On/Off switch
after an automatic shut-off of the machine.
The battery can become damaged.
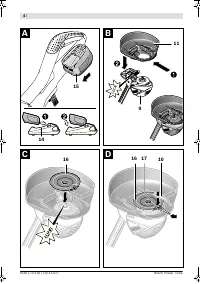
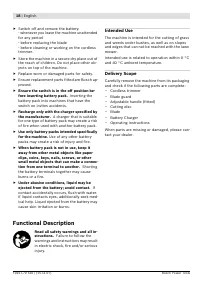
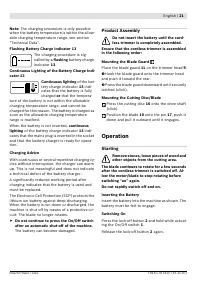
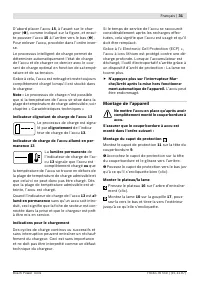
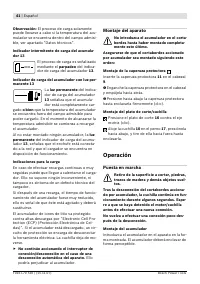
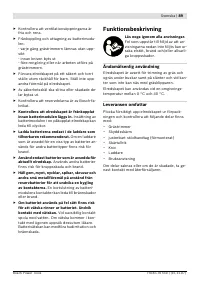
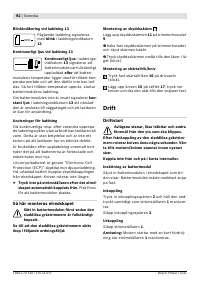
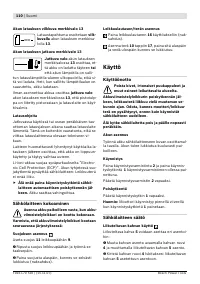
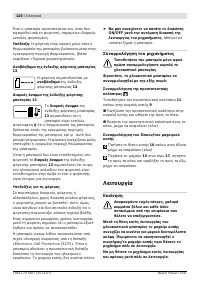
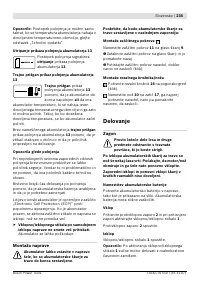
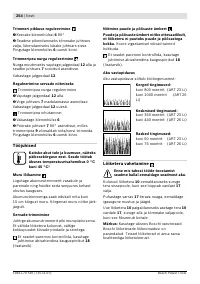
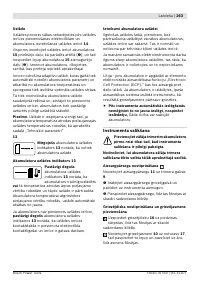
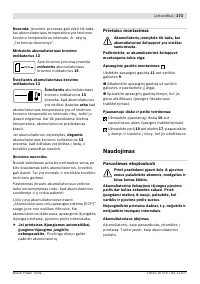
Product Assembly
Do not insert the battery until the cord-
less trimmer is completely assembled.
Ensure that the cordless trimmer is assembled
in the following order:
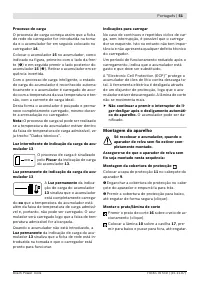
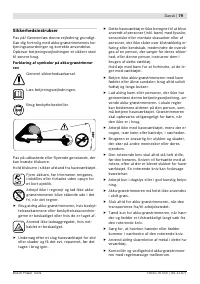
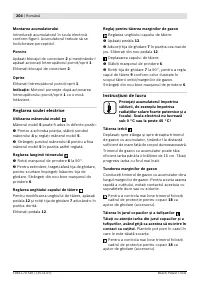
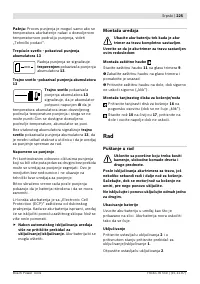
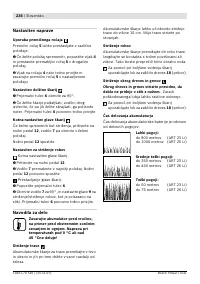
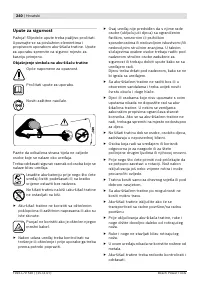
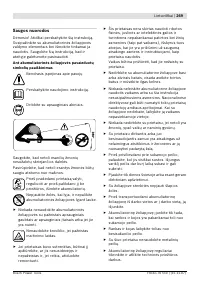
Mounting the Blade Guard
Place the blade guard
11
on the trimmer head
9
.
n
Hook the blade guard onto the trimmer head
and push it toward the rear.
o
Press the blade guard downward until securely
latched (click).
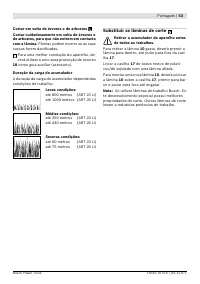
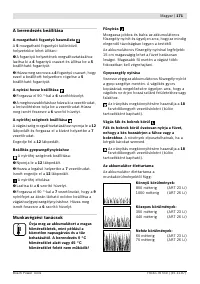
Mounting the Cutting Disc/Blade
Press the cutting disc
16
onto the drive shaft
(click).
Position the blade
10
onto the pin
17
, push it
down and pull it outward until it engages.
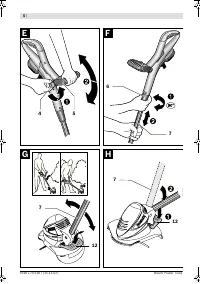
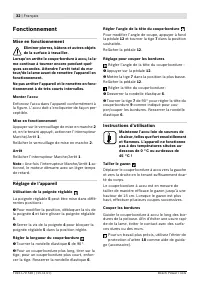
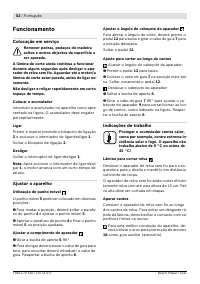
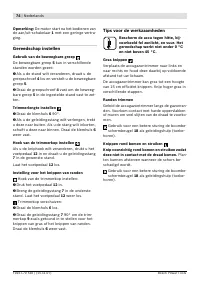
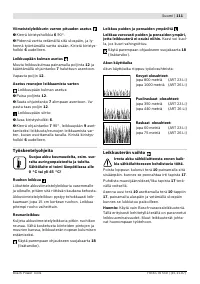
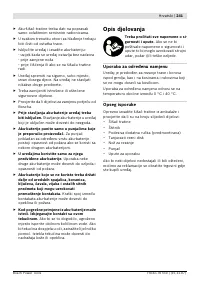
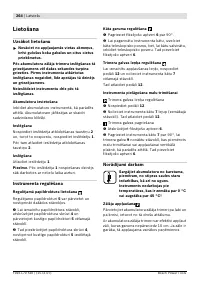
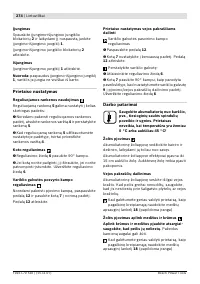
Operation
Starting
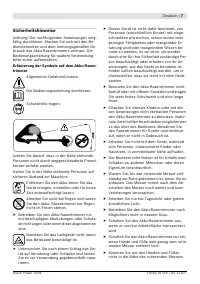
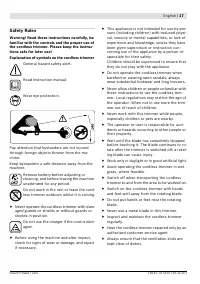
Remove stones, loose pieces of wood and
other objects from the cutting area.
The blade continues to rotate for a few seconds
after the cordless trimmer is switched off. Al-
low the motor/blade to stop rotating before
switching “on” again.
Do not rapidly switch off and on.
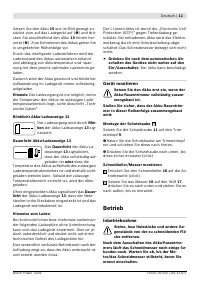
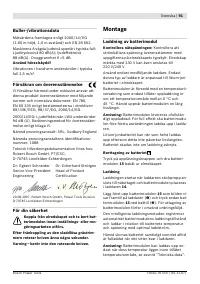
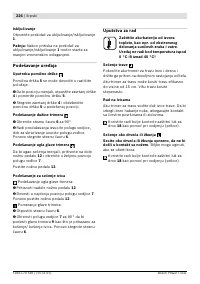
Inserting the Battery
Insert the battery into the machine as shown. The
battery must be felt to engage.
Switching On
Press the lock-off button
2
and hold while actuat-
ing the On/Off switch
1
.
Release the lock-off button
2
again.
B
C
D
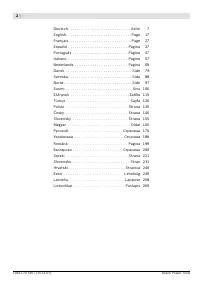
Содержание
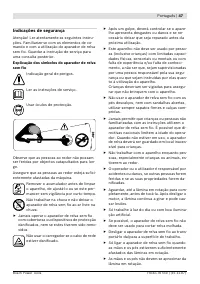
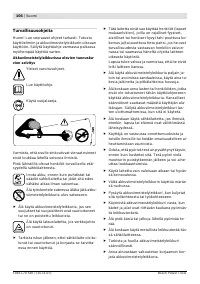
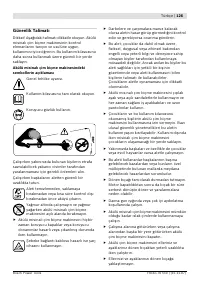
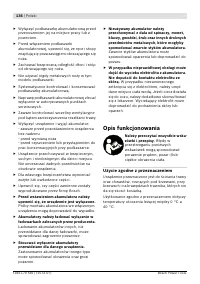
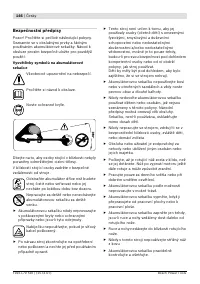
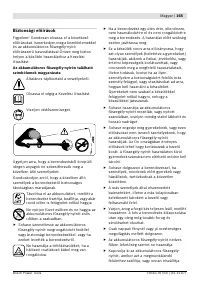
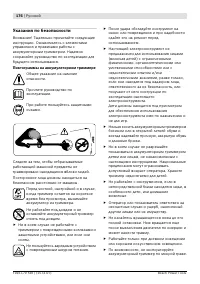
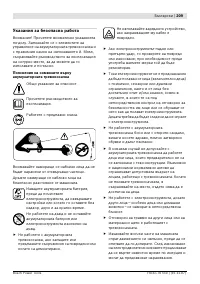
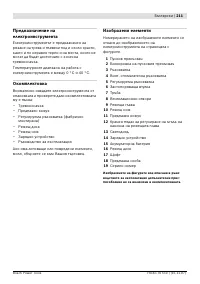
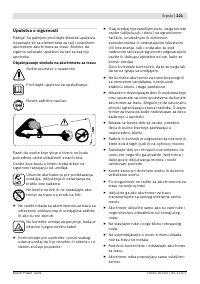
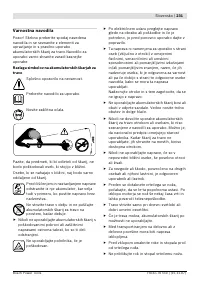
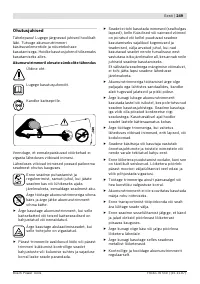
- 177 Указания по безопасности; Пиктограммы на аккумуляторном триммере
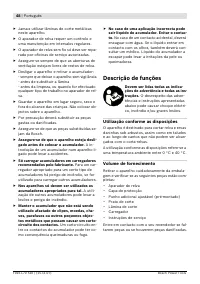
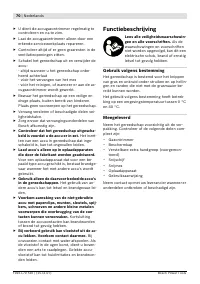
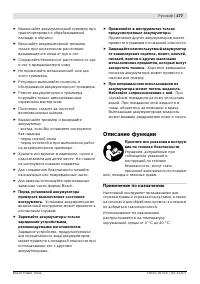
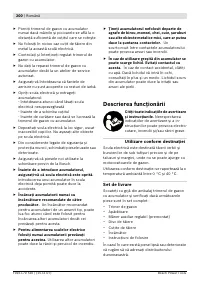
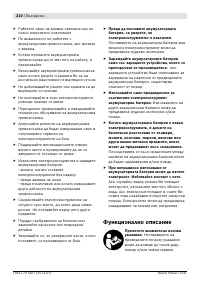
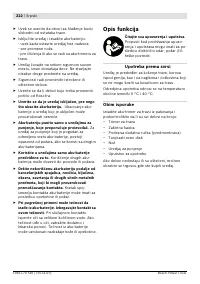
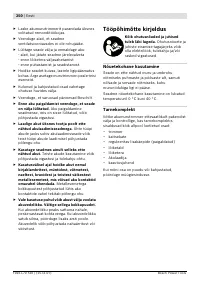
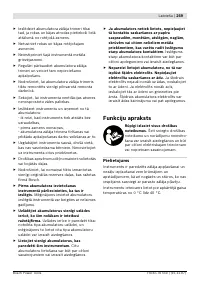
- 178 Описание функции; Применение по назначению
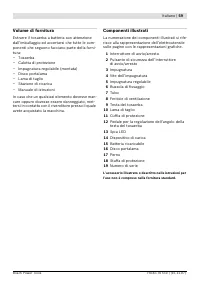
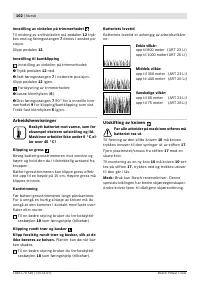
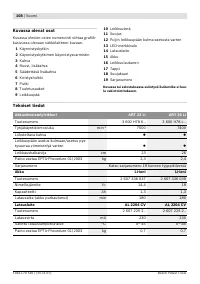
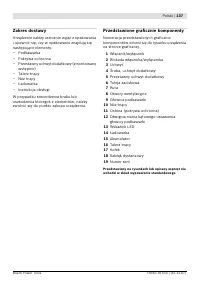
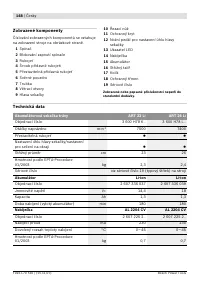
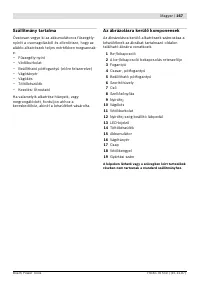
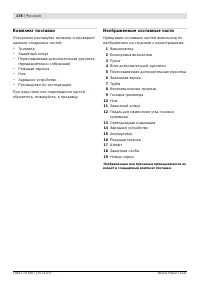
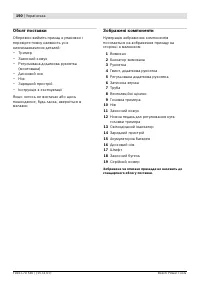
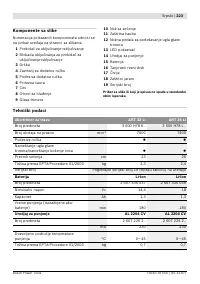
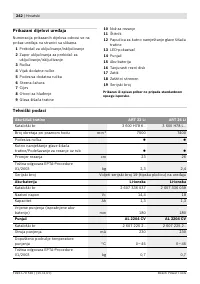
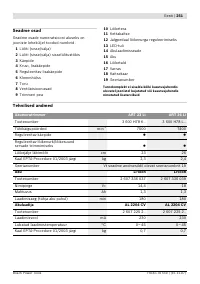
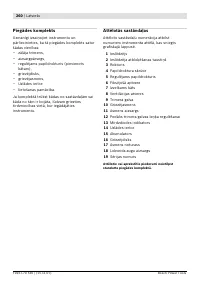
- 179 Комплект поставки
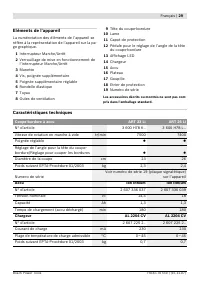
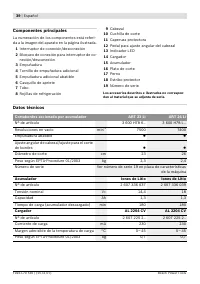
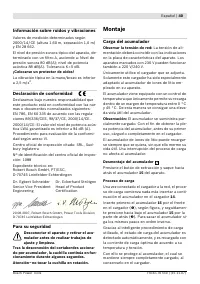
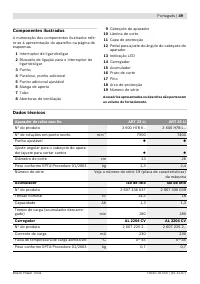
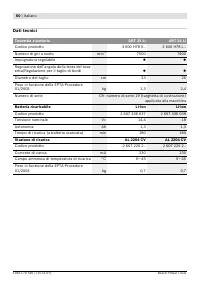
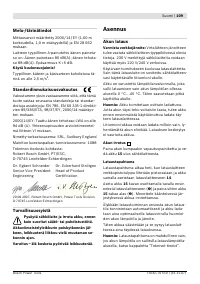
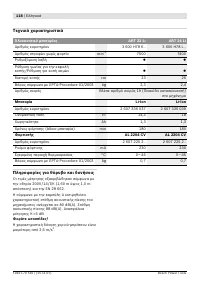
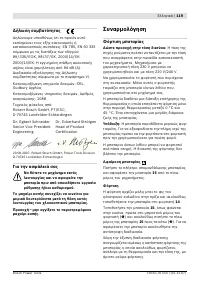
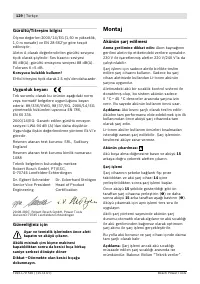
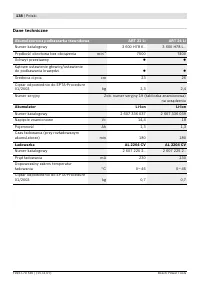
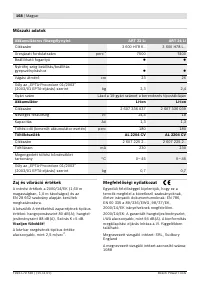
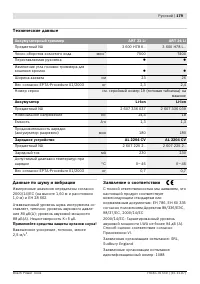
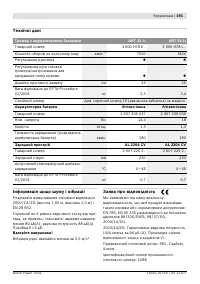
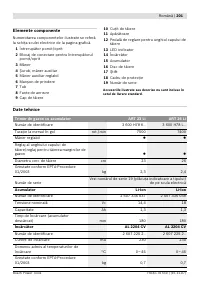
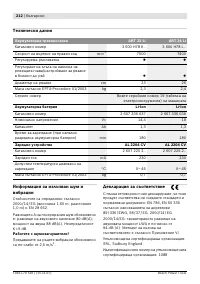
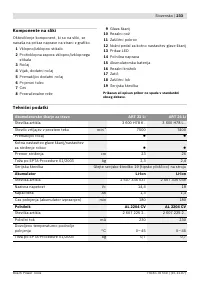
- 180 Технические данные; Применяйте средства защиты органов слуха!; Заявление о соответствии; Аккумуляторный триммер
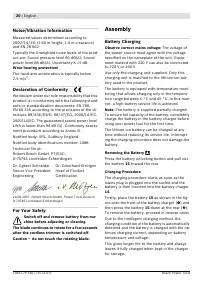
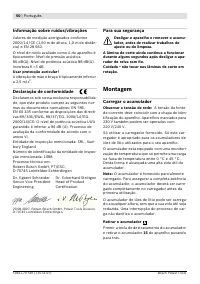
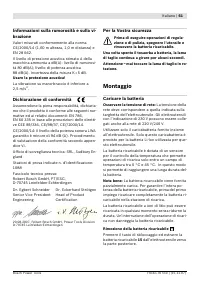
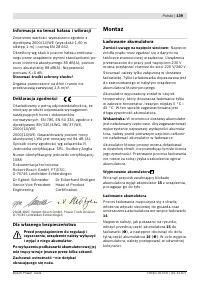
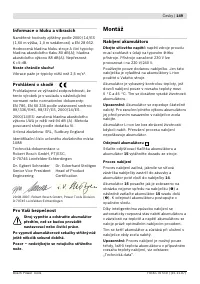
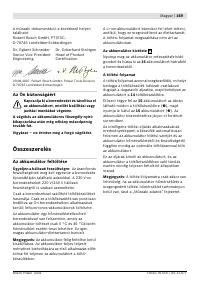
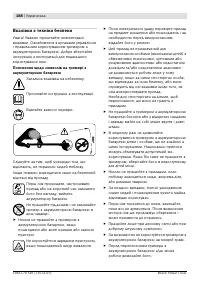
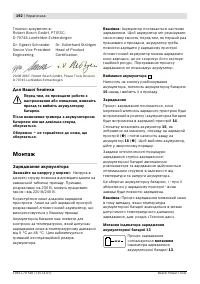
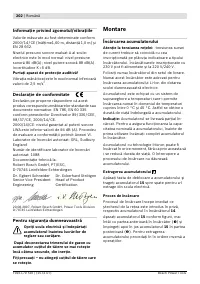
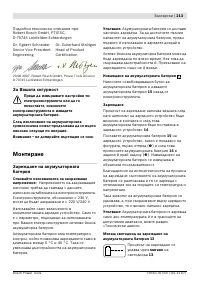
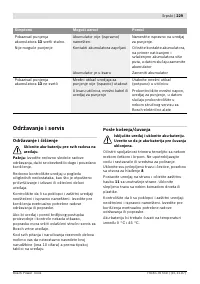
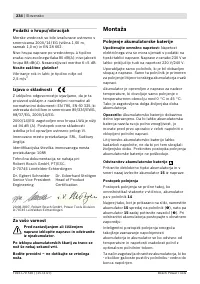
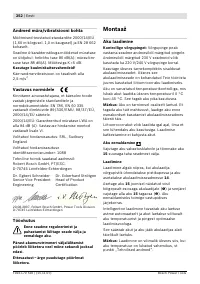
- 181 Для Вашей безопасности; Сборка; Зарядка аккумулятора
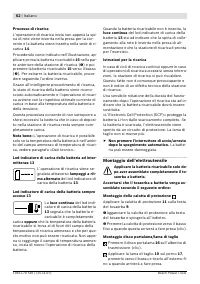
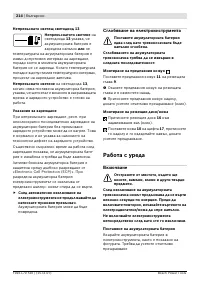
- 182 Сборка инструмента; Работа с инструментом; Включение
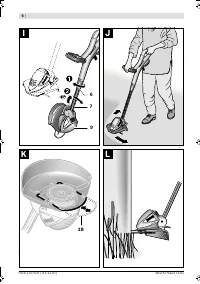
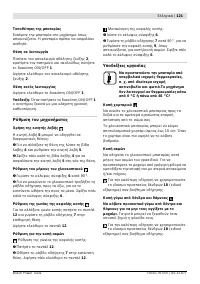
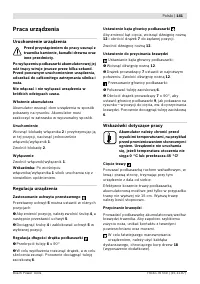
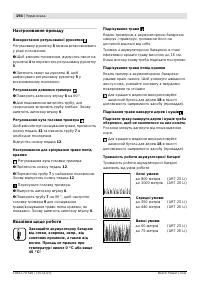
- 183 Настройка инструмента
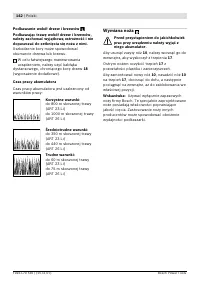
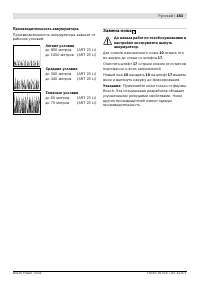
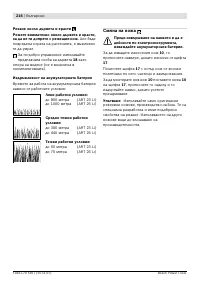
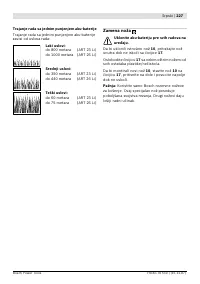
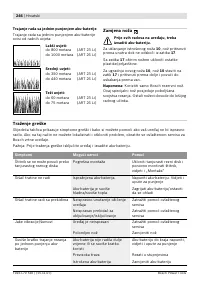
- 184 Производительность аккумулятора; Замена ножа
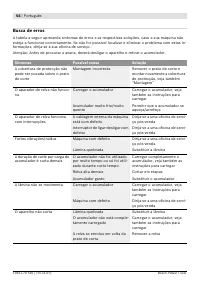
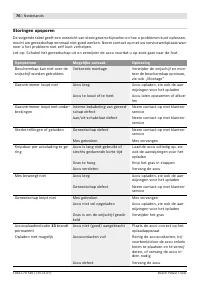
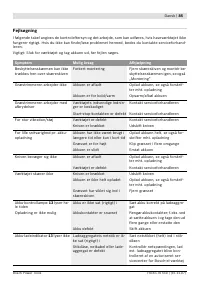
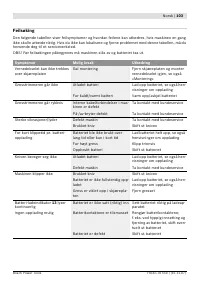
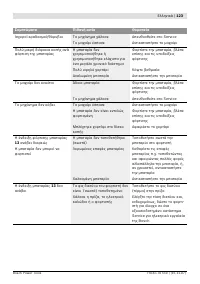
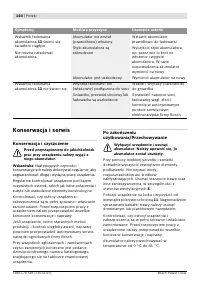
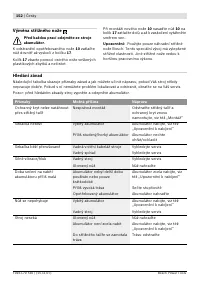
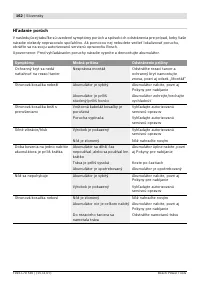
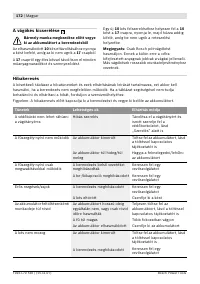
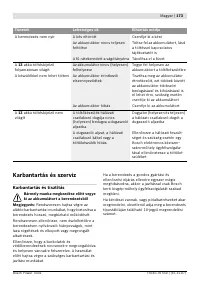
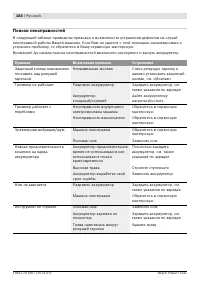
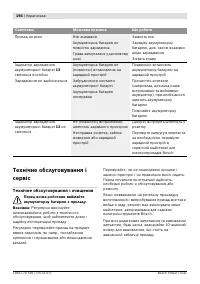
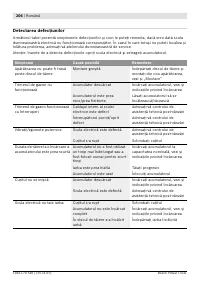
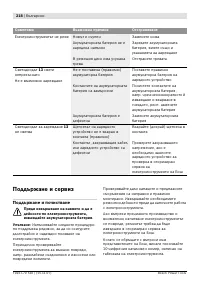
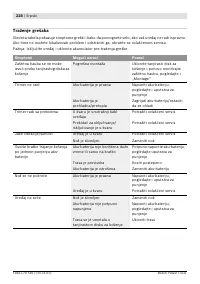
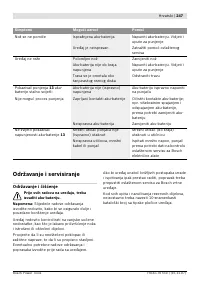
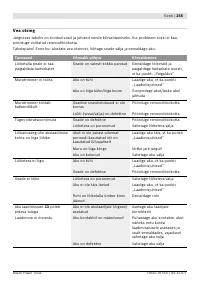
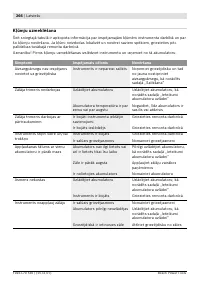
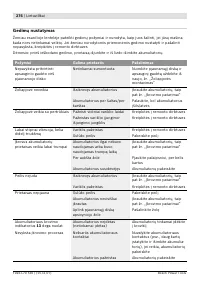
- 185 Поиски неисправностей; Признак
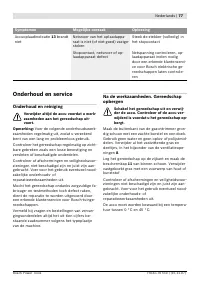
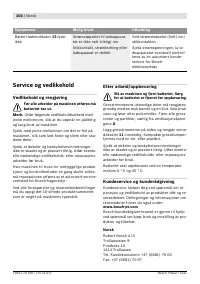
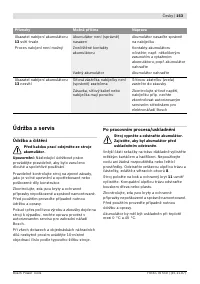
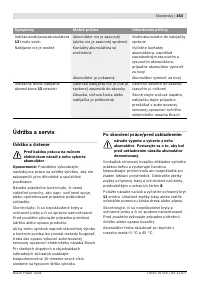
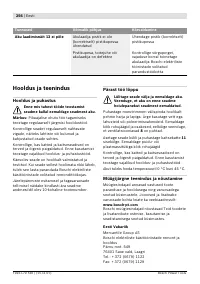
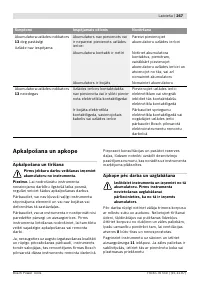
- 186 Техобслуживание и сервис; Техобслуживание и очистка
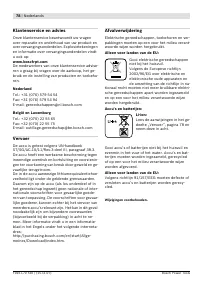
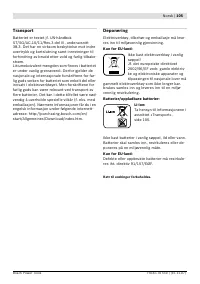
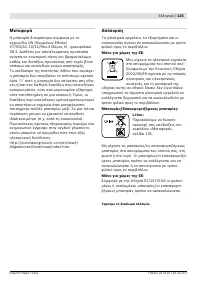
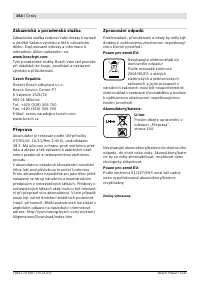
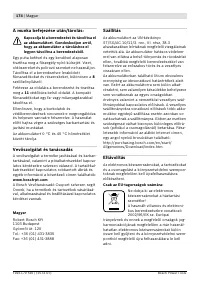
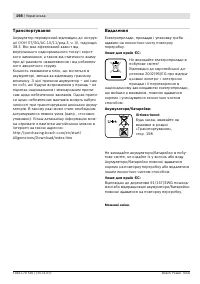
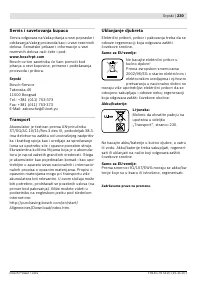
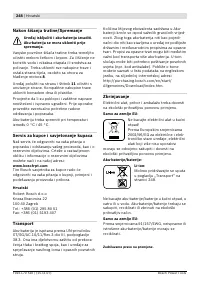
- 187 Россия; Транспорт
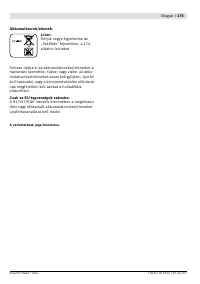
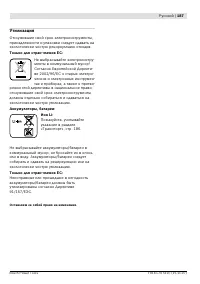
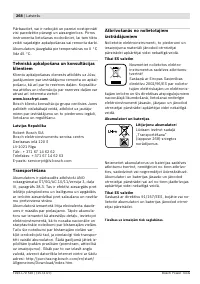
- 188 Утилизация
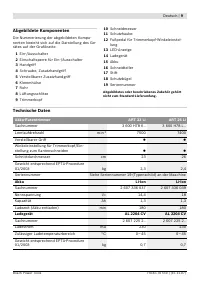
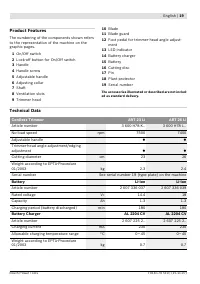
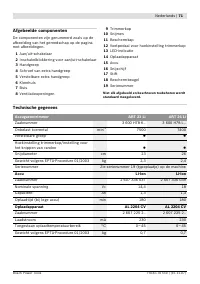
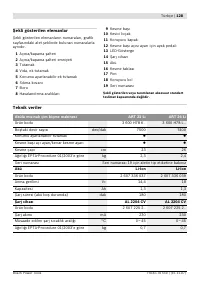
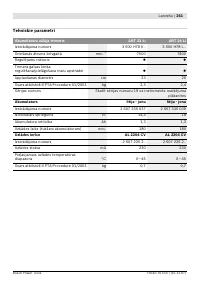
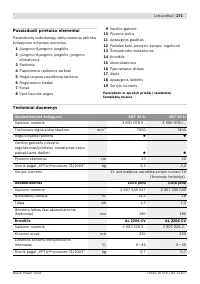
Характеристики

Остались вопросы?Не нашли свой ответ в руководстве или возникли другие проблемы? Задайте свой вопрос в форме ниже с подробным описанием вашей ситуации, чтобы другие люди и специалисты смогли дать на него ответ. Если вы знаете как решить проблему другого человека, пожалуйста, подскажите ему :)


