Телевизоры Thomson T32E53U - инструкция пользователя по применению, эксплуатации и установке на русском языке. Мы надеемся, она поможет вам решить возникшие у вас вопросы при эксплуатации техники.
Если остались вопросы, задайте их в комментариях после инструкции.
"Загружаем инструкцию", означает, что нужно подождать пока файл загрузится и можно будет его читать онлайн. Некоторые инструкции очень большие и время их появления зависит от вашей скорости интернета.


Advanced Functions
1 2
Showing Photo:
1. Select Photo Show item, then press the right or
OK
button to enter the USB device.
2. Press the left or right direction button to select the USB
disk symbol and press the
OK
button to enter the
selected disk.
3. Press the up, down, left or right direction button to
select your desired picture file and press
OK
to show.
4. When showing pictures, you can press the
Menu
button to
display the play console. For the play console, press the
left or right direction button to select an icon, then press
the
OK
button to confirm.
The play console includes:
Note:
If you want to capture a picture as startup logo,
select the
Capture
icon, press
OK
, then select the
LOGO1
and press
OK
, if else, select
Cancel
and press
OK
to
cancel saving.
5. Select the
Stop
icon in play console, and press
OK
or
press
Exit
to return.
Playing Music:
1. select
Music Show
item, then press the right or
OK
button to enter the USB device.
2. Press the left or right direction button to select the USB
disk symbol and press the
OK
button to enter the
selected disk.
Play/Pause, Prev, Next, Stop,
Rotate Right, Rotate Left, Music(on/off), Musiclist, Zoom
In, Zoom Out, Repeat Mode, Brightness, Contrast,
Saturation, Sharpness, Capture and Info.
50
50
0
60
Connect a USB device to a USB socket and display the
main menu by pressing the
Menu
button, then select the
Multimedia
icon and press the up or down direction or
OK
button to enter the
Multimedia
menu.
Notes:
In USB disk catalog, pressing
Menu
can display
Multimedia
menu and you can press the up or down
direction button to toggle among
Movie Show
,
Photo
Show
,
Music Show
and
Auto Play
, then press the
OK
button to confirm.
The short keys of USB include: the up, down, left, right
direction buttons, OK, Picture, Sound, Info, VOL+/- , etc.
In USB state, if no USB device connected, the USB
interface will be displayed, the available buttons include:
TV, VOL+/-, Exit, Menu, , , etc.
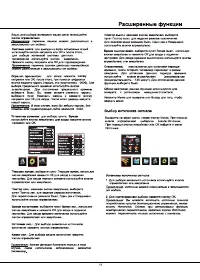
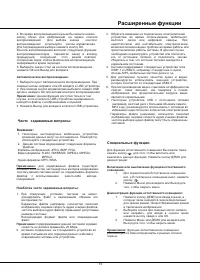
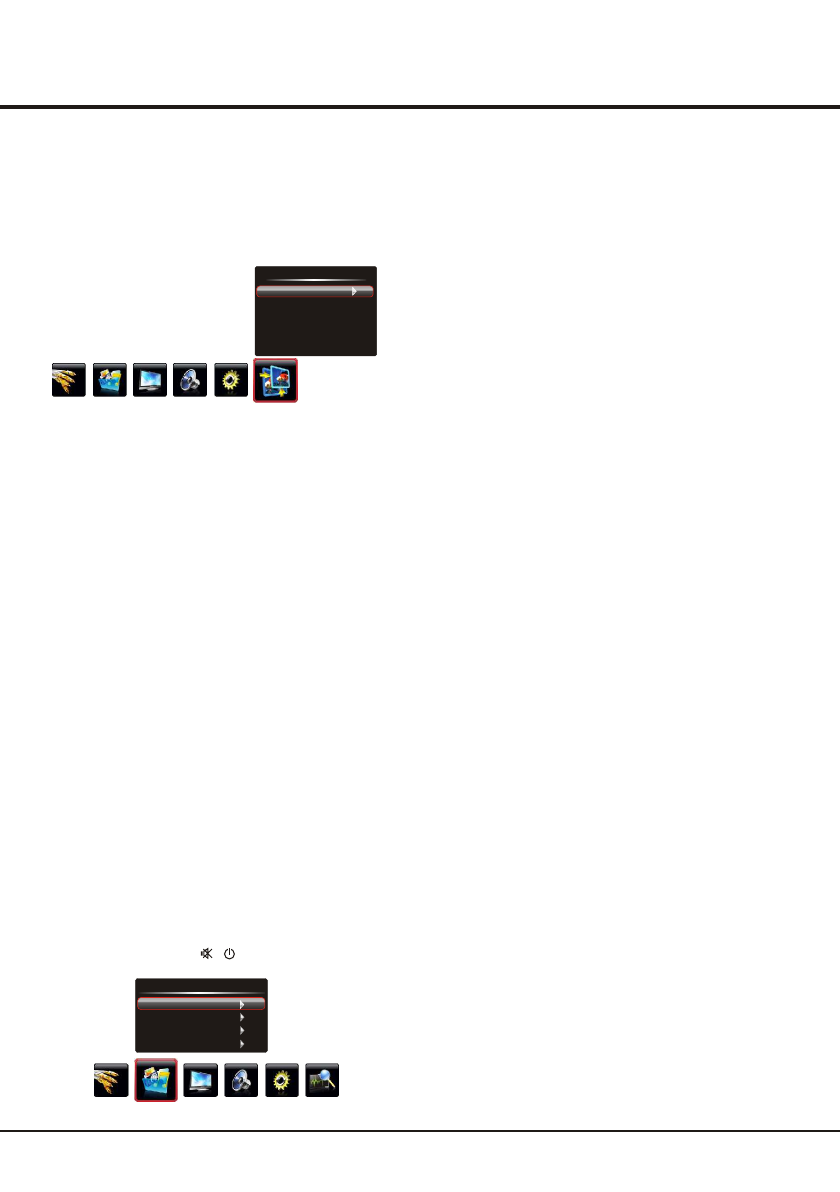
USB Functions
Multimedia
Movie Show
Photo Show
Music Show
Auto Play
Playing Movie:
1. Select
Movie Show
item, then press the right or
OK
button to enter the USB device.
2. Press the left or right direction button to select the USB
disk symbol and press the
OK
button to enter the
selected disk.
3. Press the up, down, left or right direction button to select
a movie file, then press
OK
to play it.
4. When playing a movie, you can press the
Menu
button to
display the play console. For the play console, press the
left or right direction button to select an icon, then press
the
OK
button to confirm.
The play console includes:
5. Select the
Stop
icon in play console, and press
OK
or
press
Exit
to return.
Play/Pause, Backward,
Forward, Prev, Next, Stop, Repeat Mode, AB Repeat
setting, Playlist, Info, Slow Forward, Step Forward,
Goto
Time,
Scale,
Brightness, Contrast, Saturation, Sharpness.
AD Clock:
adjusts the clock sync of the picture.
Phase:
adjusts the picture if there is flicker of screen
Press Menu to return or Exit to close the menu.
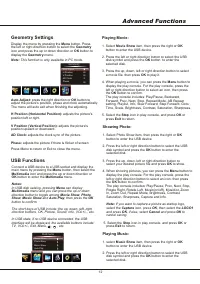
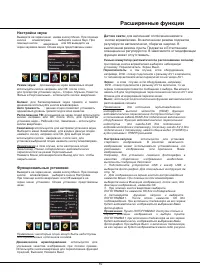
Geometry Settings
Display the menu by pressing the
Menu
button. Press
the left or right direction button to select the
Geometry
icon
and press the
or down direction or
OK
button to
up
display the
Geometry
menu.
Auto Adjust:
press the
direction or
OK
button to
right
adjust the picture's position, phase and clock automatically.
The menu will auto exit when finishing the adjusting.
H Position (Horizontal Position):
adjusts the picture's
position left or right.
V Position (Vertical Position):
adjusts the picture's
position upward or downward.
Note:
This function is only available in PC mode.
Geometry
Auto Adjust
H Position
V Position
AD Clock
Phase
50
50
0
60
Содержание
- 16 Внимание: эту процедуру следует выполнять; В настоящей
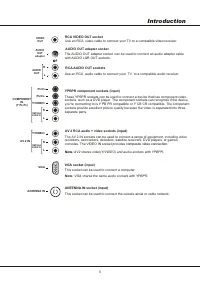
- 17 Введение; Кнопки на ТВ; Разъёмы; Расположение и названия разъёмов может меняться в; Разъём HDMI
- 18 AV; Разъём; прилагаемого переходника звуковоспроизводящего устройства.
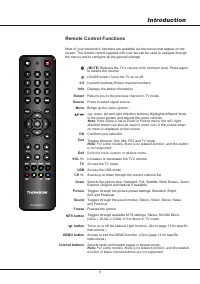
- 19 Функции пульта дистанционного управления; Colored; AT
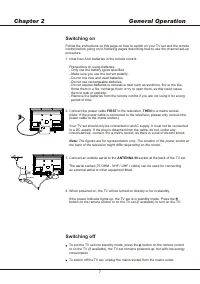
- 20 Включение; Рисунки приведены только в качестве примера.; Выключение
- 21 Основные операции; VHFL
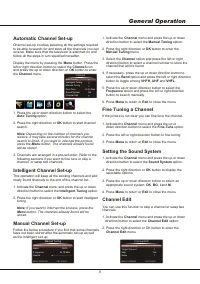
- 22 Пропуск канала; Расширенные функции; EXIT
- 23 Настройка звука; Баланс; Функциональные установки; Динамическое шумоподавление; Переключатель
- 25 Геометрические установки; Фаза; Функции; Воспроизведение фильма:
- 26 Автоматическое воспроизведение:; Часто задаваемые вопросы:; JPEG; Наиболее часто задаваемые вопросы:; Специальные функции; Включение или выключение функции естественного; функцию естественного освещения
- 27 Устранение неисправностей; Windows


