Телевизоры Telefunken TF-LED22S53T2 - инструкция пользователя по применению, эксплуатации и установке на русском языке. Мы надеемся, она поможет вам решить возникшие у вас вопросы при эксплуатации техники.
Если остались вопросы, задайте их в комментариях после инструкции.
"Загружаем инструкцию", означает, что нужно подождать пока файл загрузится и можно будет его читать онлайн. Некоторые инструкции очень большие и время их появления зависит от вашей скорости интернета.


Before you start
5
5
Before you start
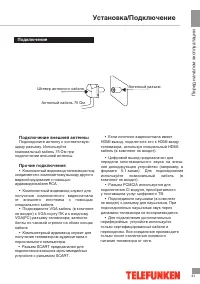
Connection
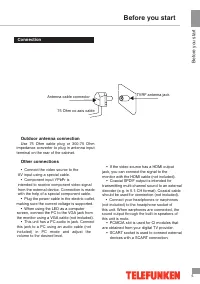
Outdoor antenna connection
Use 75 Ohm cable plug or 300-75 Ohm
impedance converter to plug in antenna input
terminal on the rear of the cabinet.
Other connections
• Plug the power cable in the electric outlet,
making sure the current voltage is supported.
• When using the LED as a computer
screen, connect the PC to the VGA jack from
the monitor using a VGA cable (not included).
• If the video source has a HDMI output
jack, you can connect the signal to the
monitor with the HDMI cable (not included).
• Coaxial SPDIF output is intended for
transmitting multi-channel sound to an external
decoder (e.g. in 5.1-CH format). Coaxial cable
should be used for connection (not included).
• PCMCIA slot is used for CI modules that
are obtained from your digital TV provider.
75 Ohm co-axis cable
TVRF antenna jack
Antenna cable connector
• SCART socket is used to connect external
devices with a SCART connection.
• Connect your headphones or earphones
(not included) to the headphone socket of
this unit. When earphones are connected, the
sound output through the built-in speakers of
this unit is mute.
• This unit has a PC audio in jack. Connect
this jack to a PC using an audio cable (not
included) in PC mode and adjust the
volume to the desired level.
• Connect the video source to the
AV input using a special cable.
• Component input YPbPr is
intended to receive component video signal
from the external device. Connection is made
with the help of a special component cable.
Содержание
- 18 Перед началом эксплуатации; Утилизация изделия
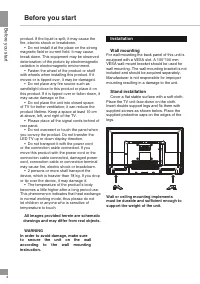
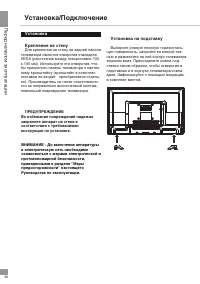
- 20 Установка/Подключение; Установка; Выберите ровную плоскую горизонталь-; ПРЕДУПРЕЖДЕНИЕ
- 21 Подключение; • Разъем SCART предназначен для
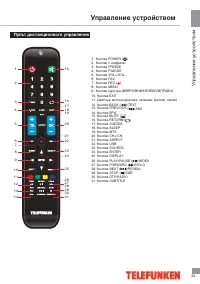
- 23 Пульт дистанционного управления
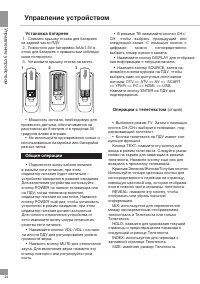
- 24 Общие операции; вилку; Операции с телетекстом
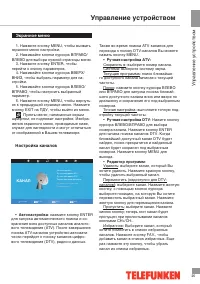
- 25 Экранное меню; Автонастройка
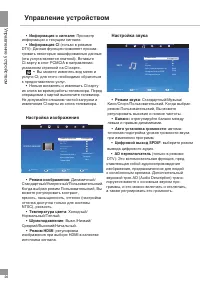
- 26 Информация о сигнале:; Настройка изображения
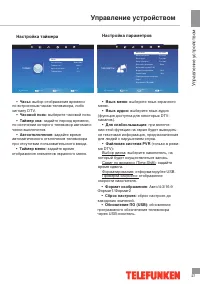
- 27 Настройка таймера; выбор отображения времени; Таймер сна; Настройка параметров; Язык; : выберите язык экранного; отображения элементов экранного меню.; Сброс настроек
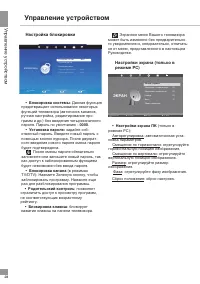
- 28 Настройка блокировки; Настройки экрана (только в; Настройки; Родительский контроль; ЭКРАН
- 29 Операции c USB; Видео
- 30 Музыка; Интерфейс CI
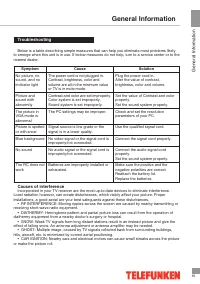
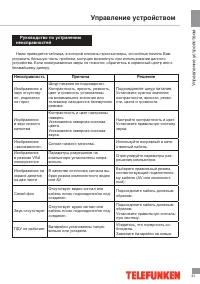
- 31 Руководство по устранению; Неисправность; Подсоедините шнур питания.
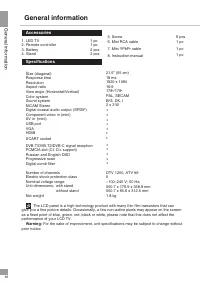
- 32 Общая информация; Источники помех; В Вашем телевизоре приняты все самые; Комплект поставки; Пульт дистанционного управления 1 шт
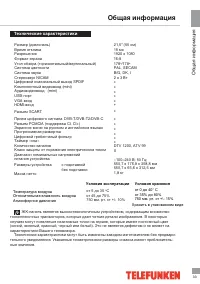
- 33 Технические характеристики; Условия эксплуатации; Хранить в упакованном виде
- 34 Хранение и транспортировка


