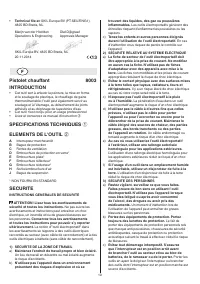
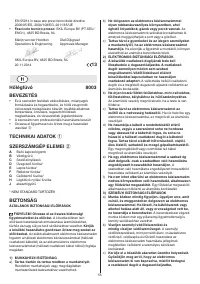
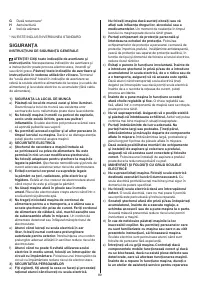
Технические фены Skil 8003 - инструкция пользователя по применению, эксплуатации и установке на русском языке. Мы надеемся, она поможет вам решить возникшие у вас вопросы при эксплуатации техники.
Если остались вопросы, задайте их в комментариях после инструкции.
"Загружаем инструкцию", означает, что нужно подождать пока файл загрузится и можно будет его читать онлайн. Некоторые инструкции очень большие и время их появления зависит от вашей скорости интернета.


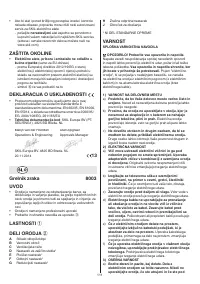


8
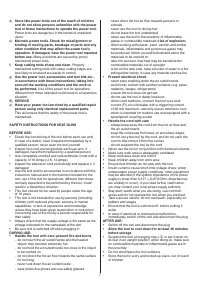
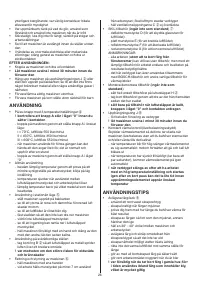
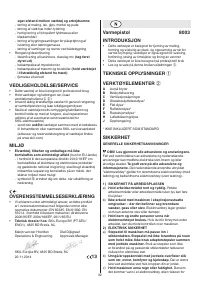
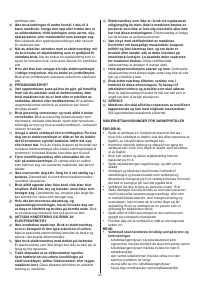
USE
•
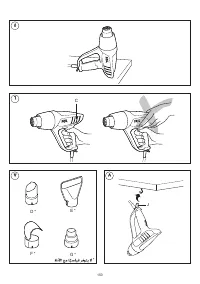
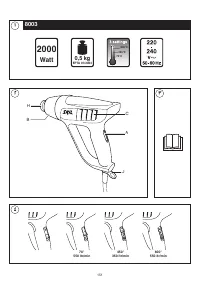
On/off switch with 3 temperature settings
④
!
check if switch A is in position "0" before
plugging in
-
switch on the tool by pushing switch A in desired
position:
I = 70°C, air flow 550 litres/minute
II = 450°C, air flow 350 litres/minute
III = 600°C, air flow 550 litres/minute
-
when using it for the first time, some smoke may emit
from the tool; this is normal and will soon cease
-
switch off the tool by pushing switch A in position "0"
•
General use
-
determine the right temperature by testing out on an
inconspicuous part of the workpiece; start with a low
temperature setting
-
the temperature drops as the distance between the air
outlet/nozzle and the workpiece increases
-
the temperature required depends on the material to
be worked on
•
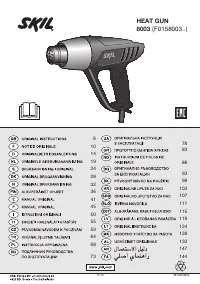
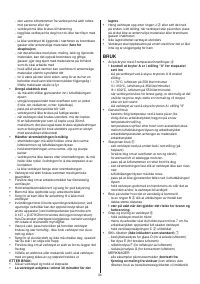
Stationary use
⑤
-
set the tool down on its rear in an upright position
-
make sure the surface is clean and dustfree; polluted
air damages the motor
-
make sure the air flow is directed away from you
-
secure the cord to prevent pulling down the tool
-
do not touch the air outlet/nozzle
-
make sure nothing drops into the air outlet/nozzle
-
carefully hold the tool with one hand while switching it
off with the other hand, and then allow it to cool down
•
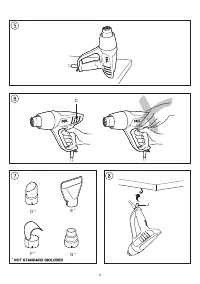
Use at hard-to-reach places
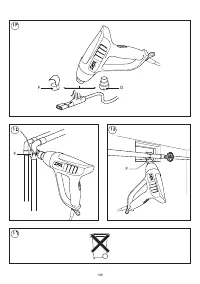
-
remove ring B
②
, thus releasing the metal air outlet
over a greater distance
!
pay attention to increased risk of fire and burns
•
Holding and guiding the tool
⑥
-
hold the tool with one hand
-
while working, keep the nozzle at a minimum distance
of 7 cm from the workpiece; accumulated air damages
the tool
-
keep ventilation slots C
②
uncovered
•
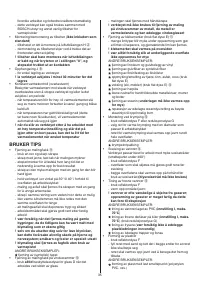
SKIL accessories (
not standard included
)
⑦
-
glass protection nozzle D (for deflecting air flow)
-
flat nozzle E (for broadening air flow)
-
reflector nozzle F (for reflecting air flow)
-
reduction nozzle G (for concentrating air flow)
NOTES:
-
all application examples (
except removing paint
next to glass
) can be performed without accessories;
however, using the appropriate accessory simplifies
the work and significantly improves the quality of the
results
-
this tool can also be used in combination with
BOSCH- and other commonly available accessories
for heat guns
•
Mounting/removing accessories (
not standard
included
)
-
simply fit the accessory onto air outlet H
②
-
remove an accessory by pulling it off to the front after it
has cooled down
!
mount an accessory only when the air outlet is
cold, when the switch is in position "0" and when
the plug is disconnected
•
Hanging ring J
⑧
-
for easy storage of the tool
!
allow the tool to cool down for at least 30 minutes
before storage
•
Constant heat control (overload protection)
Protects heating element from damage when tool is
overloaded without having to stop it and/or let it cool
down for a period of time
-
when the temperature gets too high, the heating
element switches itself off, while the motor continues
to run and produces cold air
-
when the temperature has dropped sufficiently (taking
only a few seconds), the heating element will be
switched on automatically
!
when the tool is switched off after working at a
high temperature setting, and switched on again
after a short break, it may take a while before the
heating element reaches the desired temperature
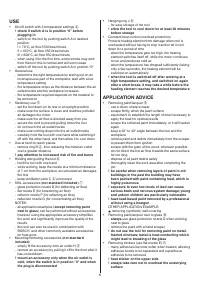
APPLICATION ADVICE
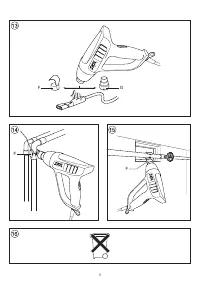
•
Removing paint/lacquer
⑨
-
use a clean, sharp scraper
-
scrape firmly, when the paint softens
-
experiment to establish the length of time necessary to
apply the heat for optimal results
-
scrape the softened paint immediately, or it will harden
again
-
keep a 30° to 40° angle between the tool and the
workpiece
-
remove paint and debris immediately from the scraper
to prevent them from ignition
-
scrape with the grain of the wood, wherever possible
-
do not direct the hot air flow towards the same surface
for too long
-
dispose of all paint debris safely
-
thoroughly clean the work area after completing the
job
!
be careful when removing layers of paint in old
buildings; in the past the building may have
been painted with paint containing lead, which is
highly poisonous
!
exposure to even low levels of lead can cause
serious brain and nervous system damage; young
and unborn children are particularly vulnerable
!
have lead-based paint removed by a professional
without using a heatgun
OTHER APPLICATION EXAMPLE:
removing (synthetic) wall covering
•
Removing paint/lacquer next to glass
⑩
-
always
use glass protection nozzle D when working
next to glass
-
remove the paint with a hand scraper
!
do not use the tool for removing paint on metal-
framed windows; metal is heat-conducting which
might lead to breaking of the glass
•
Removing stickers (use flat nozzle E)
⑪
-
many adhesives become softer when heated, allowing
adhesive bonds to be separated and superfluous
adhesive to be removed
!
heat sticker on the upper side
!
always take care not to overheat the underlying
surface
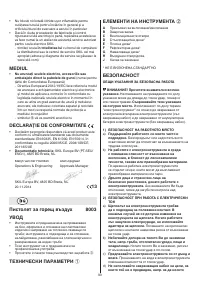
Характеристики

Остались вопросы?Не нашли свой ответ в руководстве или возникли другие проблемы? Задайте свой вопрос в форме ниже с подробным описанием вашей ситуации, чтобы другие люди и специалисты смогли дать на него ответ. Если вы знаете как решить проблему другого человека, пожалуйста, подскажите ему :)


