
Сушилки для овощей и фруктов Zelmer FD 1001 - инструкция пользователя по применению, эксплуатации и установке на русском языке. Мы надеемся, она поможет вам решить возникшие у вас вопросы при эксплуатации техники.
Если остались вопросы, задайте их в комментариях после инструкции.
"Загружаем инструкцию", означает, что нужно подождать пока файл загрузится и можно будет его читать онлайн. Некоторые инструкции очень большие и время их появления зависит от вашей скорости интернета.


26
FD1000-001_v01
the power level, set the switch
2b
to one of the available
positions (other than the starting position). An indicator light
2b
will come on after setting the switch to level II.
6
After operation, switch off the appliance by setting the
ON/OFF switch
2a
to
OFF
position.
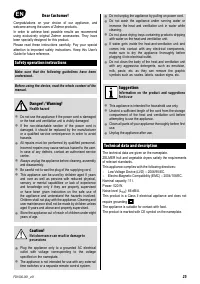
Overheat protection
The dryer is equipped with a thermal protection system:
Circuit breaker
– in case of excessive temperature increase,
the heating element will disengage automatically and the fan
will remain on. The heating element comes on again once
cooled down to normal service temperature.
Troubleshooting
The fan or the heating element does not work:
Return the appliance to a service centre.
Cleaning and maintenance
Wash the drying trays and the lid in warm soapy water.
They are also suitable for dishwasher at max. 60°C.
Clean the heating and ventilation unit
1
with a damp
cloth and wipe dry.
Plastic parts of the appliance may change colour during
long-term use. It is normal and should not be considered
a defect.
Dry all parts thoroughly after cleaning.
Ecology – Environment protection
Each user can protect the natural environment.
It is neither dificult nor expensive.
In order to do it: put the cardboard packing into
recycling paper container; put the polyethylene
(PE) bags into container for plastic.
When worn out, dispose the appliance to particular disposal
centre, because of the dangerous elements of this appliance,
which can be hazardous for natural environment.
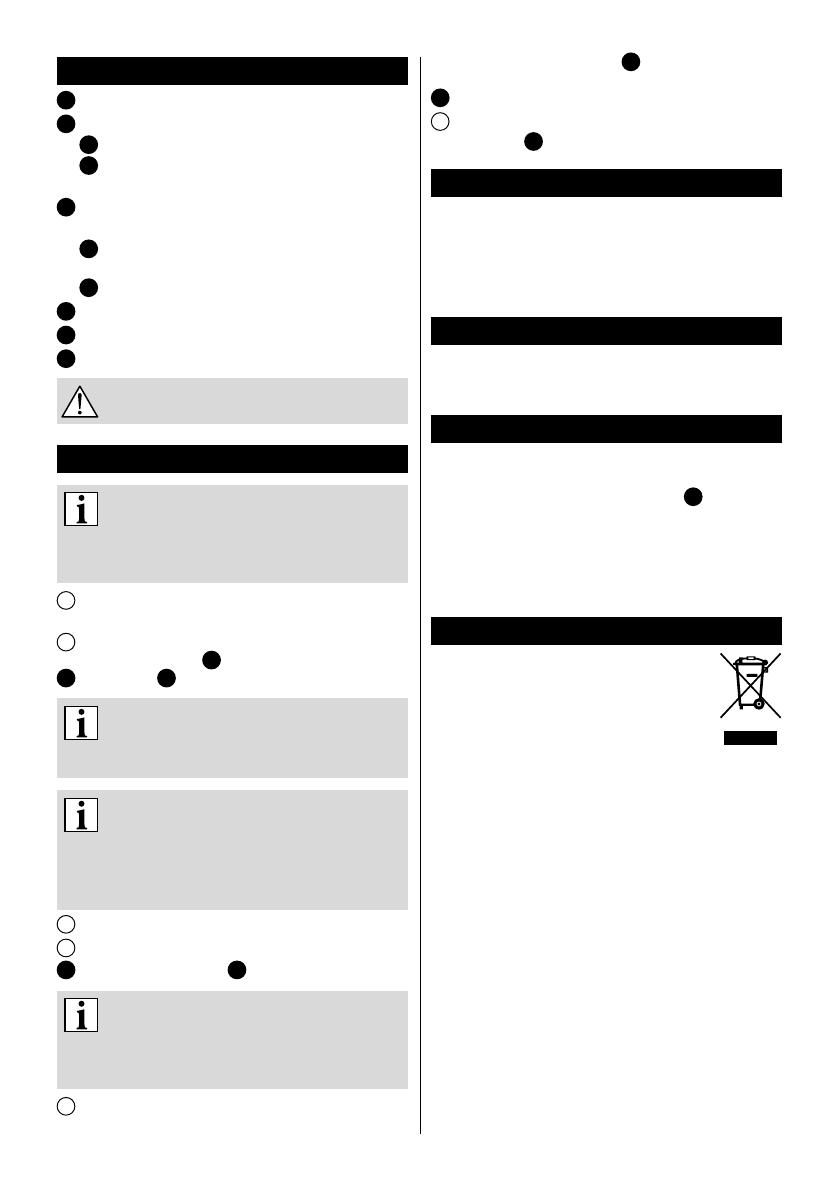
Do not dispose into the domestic waste disposal!!!
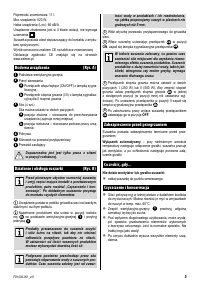
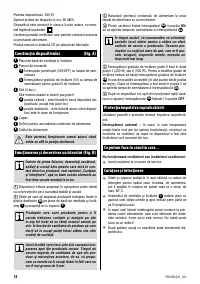
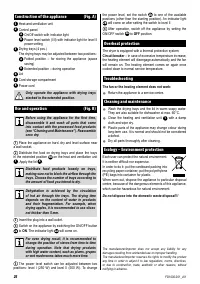
Construction of the appliance
(Fig. A)
1
Heat-and-ventilation unit
2
Control panel
a
On/Off switch with indicator light
b
Power level switch (I/II) with indicator light for level II
power setting
3
Drying trays (4 pcs.)
The drying trays may be adjusted between two positions:
a
Folded position – for storing the appliance (space
saving)
b
Extended position – during operation
4
Lid
5
Cord storage compartment
6
Power cord
Only operate the appliance with drying trays
stacked in the extended position.
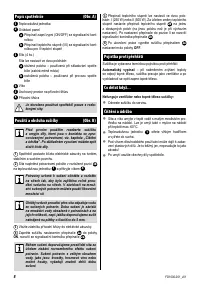
Use and operation
(Fig. B)
Before using the appliance for the irst time,
disassemble it and wash all parts that come
into contact with the processed food products
(see “Cleaning and Maintenance”). Reassemble
once dry.
1
Place the appliance on hard, dry and level surface near
a wall socket.
2
Distribute the food on drying trays and place the trays
in the extended position
3b
on the heat and ventilation unit
1
. Apply the lid
4
.
Distribute food products loosely on trays,
making sure not to block the airlow through the
trays. Choose the number of trays according to
the amount of food you intend to dry.
Dehydration is achieved by the circulation
of hot air through the trays. The drying time
depends on the content of water in products
and their fragmentation. For example, when
drying apples, it is recommended to use slices
not thicker than 5 mm.
3
Insert the plug into a wall outlet.
4
Switch on the appliance by switching the ON/OFF button
2a
to
ON
. The indicator light
2a
will come on.
For even drying result, it is recommended to
change the position of sieves from time to time
during operation. Note that drying products
with high water content, such as plums, grapes
or wet mushrooms takes much more time.
5
The power level switch can be adjusted between two
positions: level I (250 W) and level II (500 W). To change
The manufacturer/importer does not accept any liability for any
damages resulting from unintended use or improper handling.
The manufacturer/importer reserves his rights to modify the product
any time in order to adjust it to law regulations, norms, directives,
or due to construction, trade, aesthetic or other reasons, without
notifying in advance.


