
Шуруповерты HITACHI WH10DCL-TL - инструкция пользователя по применению, эксплуатации и установке на русском языке. Мы надеемся, она поможет вам решить возникшие у вас вопросы при эксплуатации техники.
Если остались вопросы, задайте их в комментариях после инструкции.
"Загружаем инструкцию", означает, что нужно подождать пока файл загрузится и можно будет его читать онлайн. Некоторые инструкции очень большие и время их появления зависит от вашей скорости интернета.


8
English
CAUTION
If the battery is heated due to direct sunlight, etc.,
just after operation, the charger pilot lamp may
not light. At that time cool the battery first, then
start charging.
䡬
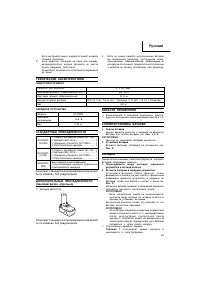
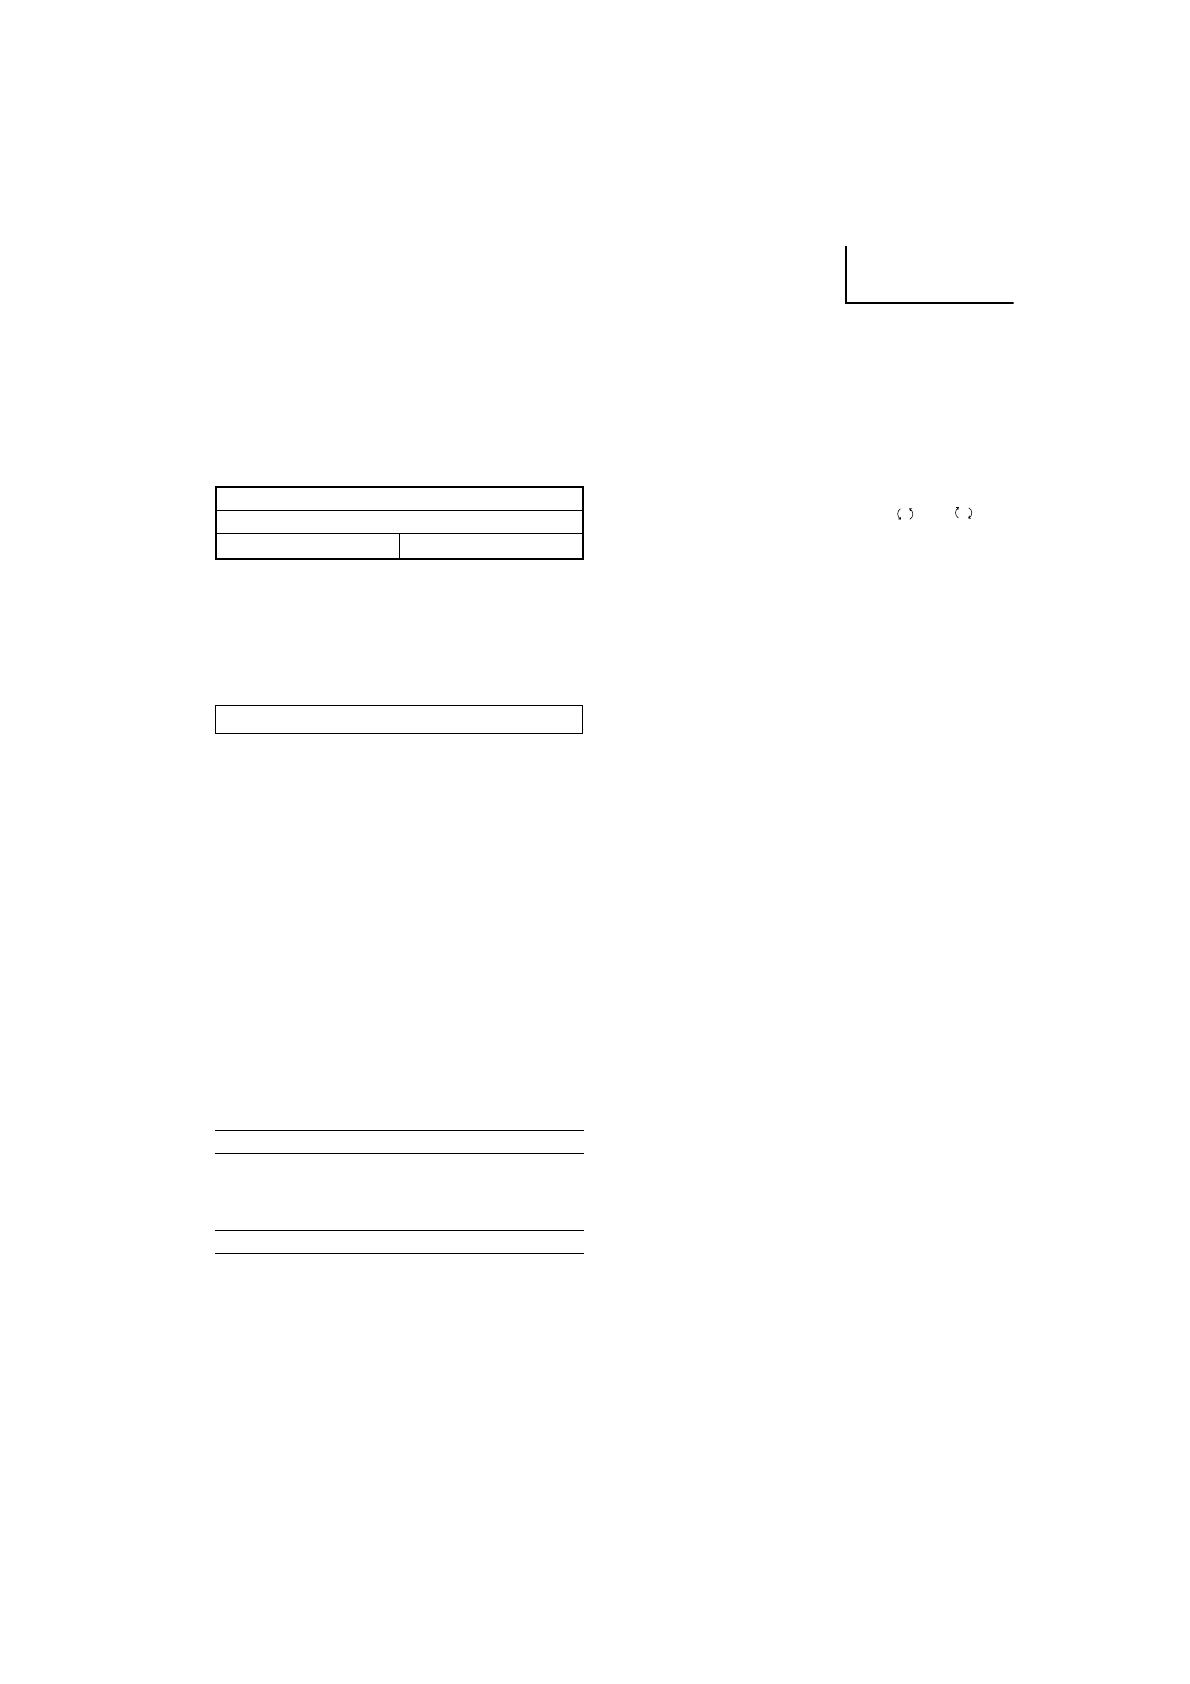
Regarding recharging time
Table 1
shows the recharging time required according
to the type of battery.
NOTE:
The recharging time may vary according to the
ambient temperature.
3. Disconnect the charger’s power cord from the
receptacle.
4. Hold the charger firmly and pull out the battery.
NOTE
Be sure to pull out the battery from the charger after
use, and then keep it.
How to make the batteries perform longer
(1) Recharge the batteries before they become completely
exhausted.
When you feel that the power of the tool becomes
weaker, stop using the tool and recharge its battery.
If you continue to use the tool and exhaust the electric
current, the battery may be damaged and its life will
become shorter.
(2) Avoid recharging at high temperatures.
A rechargeable battery will be hot immediately after
use. If such a battery is recharged immediately after
use, its internal chemical substance will deteriorate,
and the battery life will be shortened. Leave the battery
and recharge it after it has cooled for a while.
CAUTION:
䡬
When the battery charger has been continuously used,
the battery charger will be heated, thus constituting
the cause of the failures. Once the charging has been
completed, give 15 minutes rest until the next
charging.
䡬
If the battery charger does not work while the battery
is mounted correctly, it is probable that the battery or
charger is malfunctioning. Take it to your authorized
Service Center.
PRIOR TO OPERATION
1. Setting up and checking the work environment
Check if the work environment is suitable by the
above precautions.
HOW TO USE
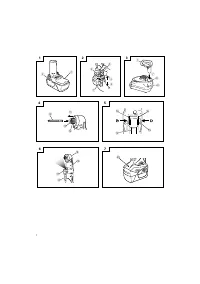
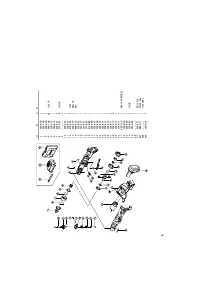
1. Installing the bit
Always follow the following procedure to install driver
bit. (
Fig. 4
)
(1) Pull the guide sleeve forward.
(2) Insert the bit into the hexagonal hole in the socket.
(3) Release the guide sleeve and it returns to its original
position.
CAUTION:
If the guide sleeve does not return to its original
position, then the bit is not installed properly.
2. Removing the bit
Please do the opposite point on the method of
installing bit.
3. Confirm that the battery is mounted correctly
4. Check the rotational direction
The bit rotates clockwise (viewed from the rear side)
by pushing the R-side of the selector button.
The L-side of the selector button is pushed to turn the
bit counterclockwise (See
Fig. 5
) (The
L
and
R
marks are provided on the body).
5. Switch operation
䡬
When the trigger switch is depressed, the tool rotates.
When the trigger is released, the tool stops.
䡬
The rotational speed of the drill can be controlled by
varying the amount that the trigger switch is pulled.
Speed is low when the trigger switch is pulled slightly
and increases as the trigger switch is pulled more.
NOTE
䡬
A buzzing noise is produced when the motor is about
to rotate. This is only a noise, not a machine failure.
6. Using the light
Pull the trigger switch to light up the light. The light
keeps on lighting while the trigger switch is being
pulled. The light goes out after releasing the trigger
switch. (
Fig. 6
)
CAUTION:
Do not look directly into the light. Such actions could
result in eye injury.
7. Tightening and loosening screws
Install the bit that matches the screw, line up the bit in
the grooves of the head of the screw, then tighten it.
Push the angle impact driver just enough to keep the
bit fitting the head of the screw.
CAUTION
Applying the angle impact driver for too long tightens
the screw too much and can break it.
Tightening a screw with the angle impact driver at an
angle to that screw can damage the head of the
screw and the proper force will not be transmitted to
the screw.
Tighten with this angle impact driver lined up straight
with the screw.
8. Battery Level Warning Lamp
The battery level can be checked by pulling the trigger
switch while the power tool is in a no-load state. The
battery level warning lamp lights when the battery
power is very low. If this happens, charge the battery.
(
Fig. 7
)
NOTE:
䡬
The level at which the battery level warning lamp
lights may vary due to the ambient temperature,
characteristics of the battery, etc. and is intended
only as a guide.
䡬
The battery level warning lamp may light when the
power tool is overloaded. This does not mean that
the battery power is very low.
Be sure to check the battery level while the tool is in a
no-load state.
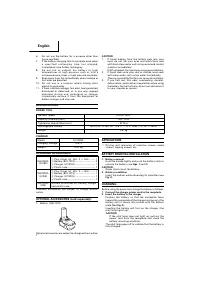
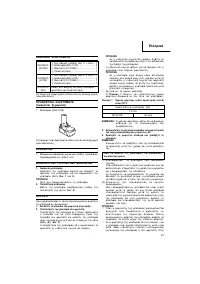
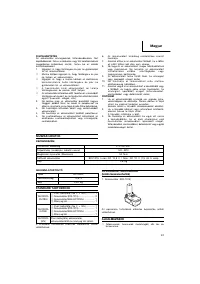
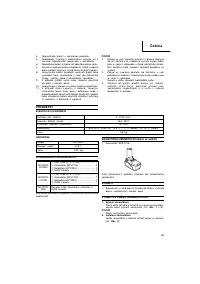
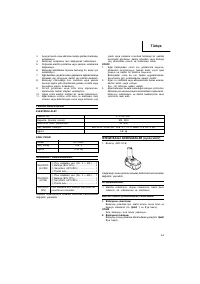
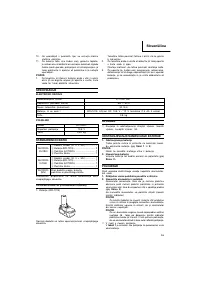
Table 1
Recharging time (approx. min.) at 20°C
Battery capacity (Ah)
1.5 Ah
BCL1015
40 min.


