
Шуруповерты FESTOOL PDC 18/4 Li 5.2-Plus-SCA 574918 - инструкция пользователя по применению, эксплуатации и установке на русском языке. Мы надеемся, она поможет вам решить возникшие у вас вопросы при эксплуатации техники.
Если остались вопросы, задайте их в комментариях после инструкции.
"Загружаем инструкцию", означает, что нужно подождать пока файл загрузится и можно будет его читать онлайн. Некоторые инструкции очень большие и время их появления зависит от вашей скорости интернета.


12
PDC 18/4 Li
GB
7
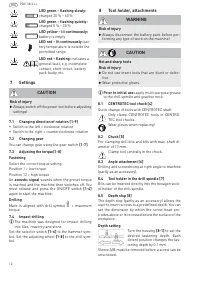
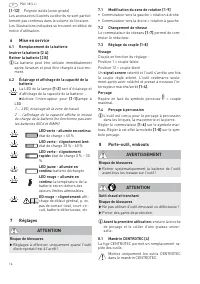
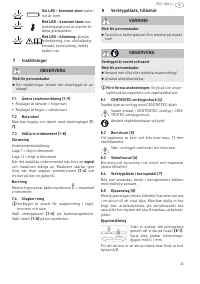
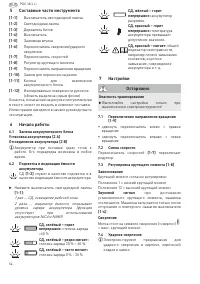
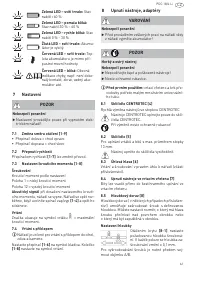
Settings
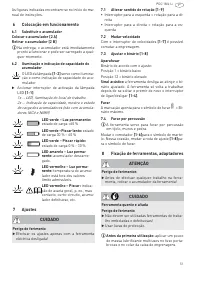
7.1
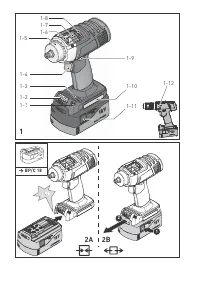
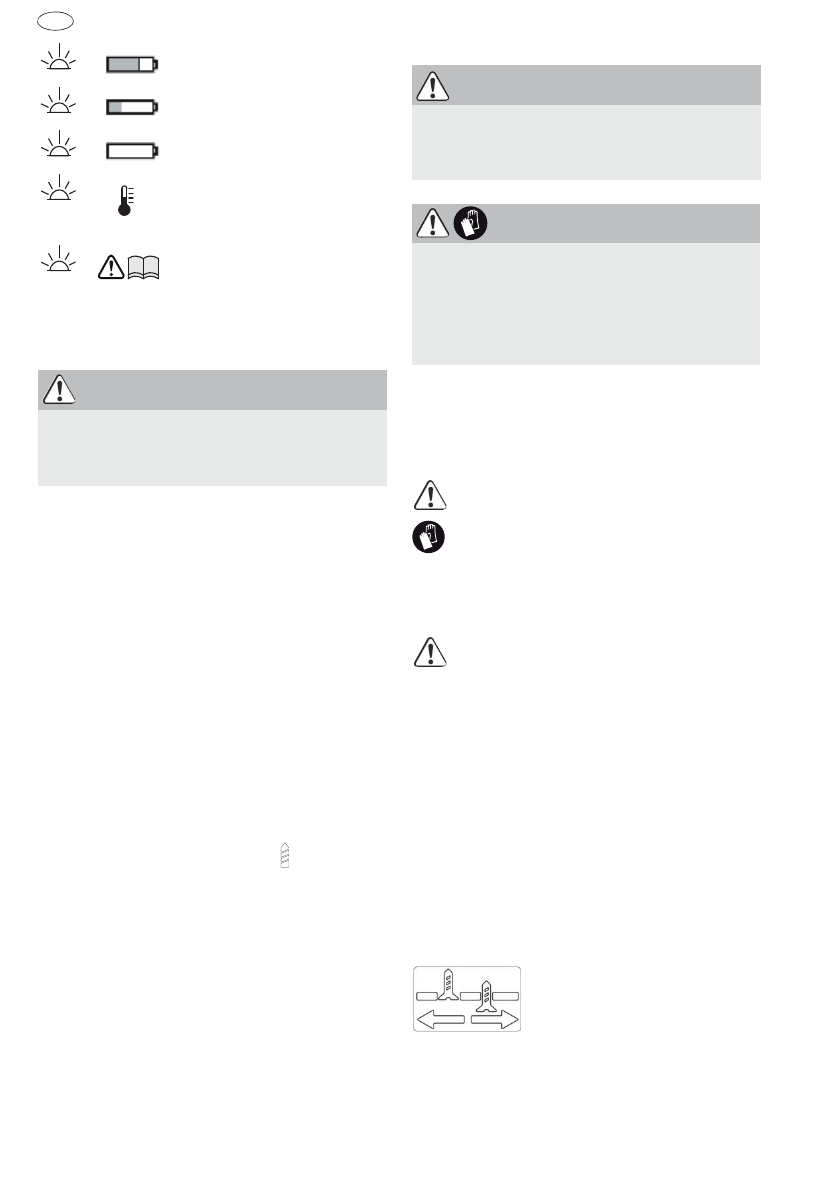
Changing direction of rotation [1-9]
• Switch to the left = clockwise rotation
• Switch to the right = counterclockwise rotation
7.2
Changing gear
You can change gear using the gear switch
[1-7]
.
7.3
Adjusting the torque[1-8]
Fastening
Select the correct torque setting:
Position 1 = low torque
Position 12 = high torque
An
acoustic signal
sounds when the preset torque
is reached and the machine then switches off. You
must release and press the ON/OFF switch
[1-4]
again to start the machine.
Drilling
Mark is aligned with drill symbol
= maximum
torque.
7.4
Impact drilling
L
The machine was designed for impact drilling
into tiles, masonry and stone.
Set the selector switch
[1-6]
to the hammer sym-
bol. Set the adjusting wheel
[1-8]
to the drill sym-
bol.
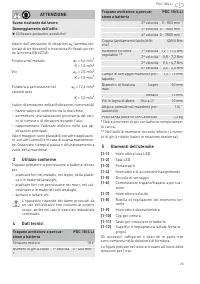
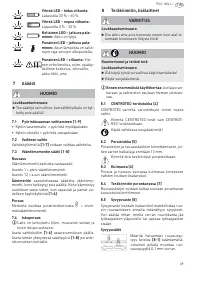
8
Tool holder, attachments
L
Prior to initial use:
apply multi-purpose grease
to the drill spindle and gearbox neck.
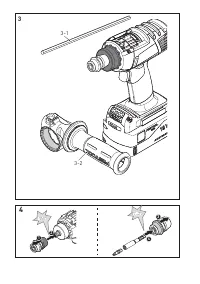
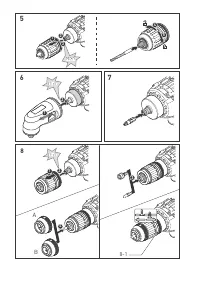
8.1
CENTROTEC tool chuck [4]
Quick change of tools with CENTROTEC shaft
Only clamp CENTROTEC tools in CENTRO-
TEC tool chucks.
Wear gloves when replacing!
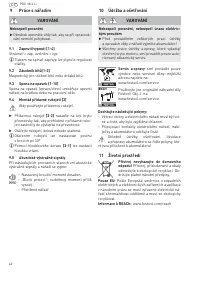
8.2
Chuck [5]
For clamping drill bits and bits with max. shaft di-
ameter of 13 mm.
Clamp tool centrally in the chuck.
8.3
Angle attachment [6]
Drilling and screwdriving at right angle to machine
(partly as an accessory).
8.4
Tool holder in the drill spindle [7]
Bits can be inserted directly into the hexagon sock-
et holder of the drill spindle.
8.5
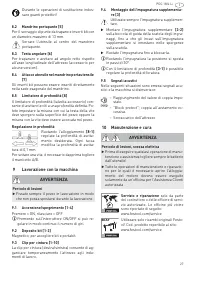
Depth stop [8]
The depth stop (partly as an accessory) allows the
user to insert screws to a predefined depth. You can
set the dimension by which the screw head pro-
trudes above or is recessed below the surface of the
workpiece.
Depth setting
Turn the housing
[8-1]
to set the
desired fastening depth. Each
detent position changes the fas-
tening depth by 0.1 mm.
Sleeve A/B must be removed before a screw can be
unscrewed.
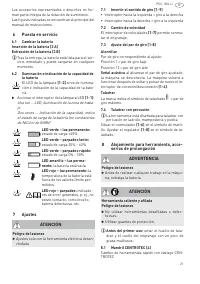
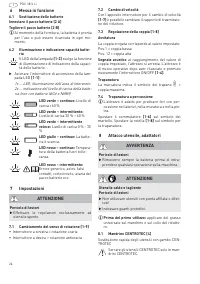
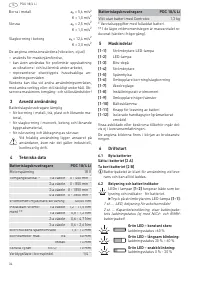
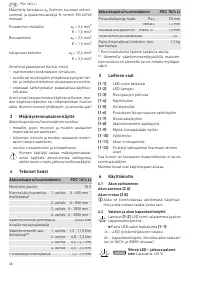
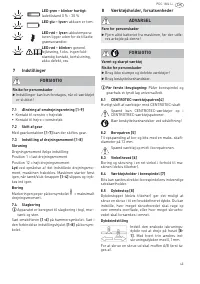
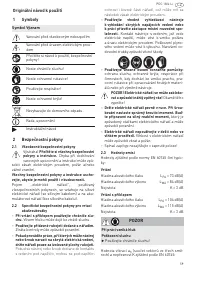
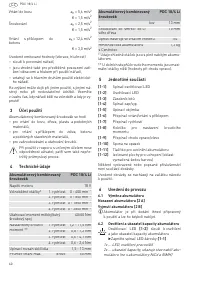
LED green – flashing slowly:
charged 30 % – 60 %
LED green – flashing quickly:
charged 0 % – 30 %
LED yellow – lit continuously:
battery is empty
LED red – lit continuously:
bat-
tery temperature is outside the
permitted range.
LED red – flashing:
indicates a
general fault, e.g. incomplete
contact, short circuit, battery
pack faulty, etc.
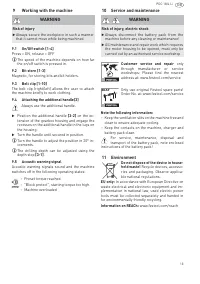
CAUTION
Risk of injury
X
Always switch off the power tool before adjusting
settings!
WARNING
Risk of injury
X
Always disconnect the battery pack before per-
forming any type of work on the machine!
CAUTION
Hot and sharp tools
Risk of injury
X
Do not use insert tools that are blunt or defec-
tive.
X
Wear protective gloves.


