
Шуруповерты DeWalt DCD701D2 (MULTI) - инструкция пользователя по применению, эксплуатации и установке на русском языке. Мы надеемся, она поможет вам решить возникшие у вас вопросы при эксплуатации техники.
Если остались вопросы, задайте их в комментариях после инструкции.
"Загружаем инструкцию", означает, что нужно подождать пока файл загрузится и можно будет его читать онлайн. Некоторые инструкции очень большие и время их появления зависит от вашей скорости интернета.


10
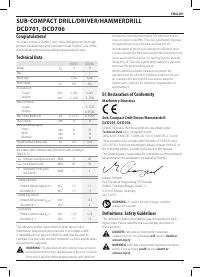
English
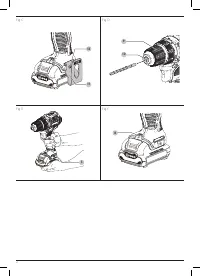
Belt Hook (Fig. C)
Optional Accessories
WARNING: To reduce the risk of serious personal
injury, DO NOT
suspend tool overhead or suspend
objects from the belt hook.
ONLY
hang tool’s belt hook
from a work belt.
WARNING: To reduce the risk of serious personal
injury,
ensure the screw holding the belt hook is secure.
iMPORTAnT:
When attaching or replacing a belt hook, use only
the screw that is provided. Be sure to securely tighten the screw.
A belt hook
11
can be be attached to either side of the tool
using only the screw
12
provided, to accommodate left- or
right-handed users. If the belt hook is not desired at all, it can be
removed from the tool.
To move the belt hook, remove the screw
12
that holds it in
place then reassemble on the opposite side. Be sure to securely
tighten the screw.
Installing a Bit or Accessory into a
Keyless Chuck (Fig. D)
WARNING:
Do not attempt to tighten drill bits (or
any other accessory) by gripping the front part of the
chuck and turning the tool on. Damage to the chuck
and personal injury may result. Always lock off trigger
switch and disconnect tool from power source when
changing acces sories.
WARNING:
Always ensure the bit is secure before starting
the tool. A loose bit may eject from tool causing possible
personal injury.
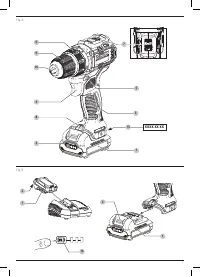
Your tool features a keyless chuck
10
with one rotating sleeve
9
for one-handed operation of the chuck. To insert a drill bit or
other accessory, follow these steps.
1. Turn tool off and remove battery pack.
2. Grasp the black sleeve of the chuck with one hand
and use the other hand to secure the tool. Rotate the
sleeve counterclockwise far enough to accept the
desired accessory.
3. Insert the accessory about 19 mm into the chuck and
tighten securely by rotating the chuck sleeve clockwise with
one hand while holding the tool with the other. Your tool is
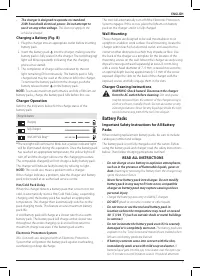
Fuel Gauge Battery Packs (Fig. B)
Some
D
e
WALT
battery packs include a fuel gauge which
consists of three green LED lights that indicate the level of
charge remaining in the battery pack.
To actuate the fuel gauge, press and hold the fuel gauge
button
14
. A combination of the three green LED lights will
illuminate designating the level of charge left. When the level
of charge in the battery is below the usable limit, the fuel gauge
will not illuminate and the battery will need to be recharged.
nOTE:
The fuel gauge is only an indication of the charge left on
the battery pack. It does not indicate tool functionality and is
subject to variation based on product components, temperature
and end-user application.
equipped with an automatic spindle lock mechanism. This
allows you to open and close the chuck with one hand.
Be sure to tighten chuck with one hand on the chuck sleeve and
one hand holding the tool for maximum tightness.
To release the accessory, repeat steps 1 and 2 above.
Speed Selection (Fig. A)
The tool features two speed settings for greater versatility.
nOTE:
Do not change speeds when the tool is running.
Always allow the tool to come to a complete stop before
changing speed.
1. To select speed 1 (high torque setting), turn the tool off and
permit it to stop. Slide the speed selector
7
back (away
from the chuck).
2. To select speed 2 (high speed setting), turn the tool off and
permit it to stop. Slide the speed selector
7
forward (toward
the chuck).
If the tool does not change speeds, confirm that the speed
selection switch is completely engaged in the forward or
back position.
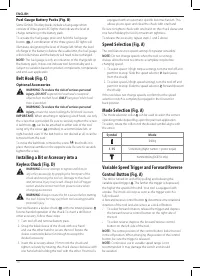
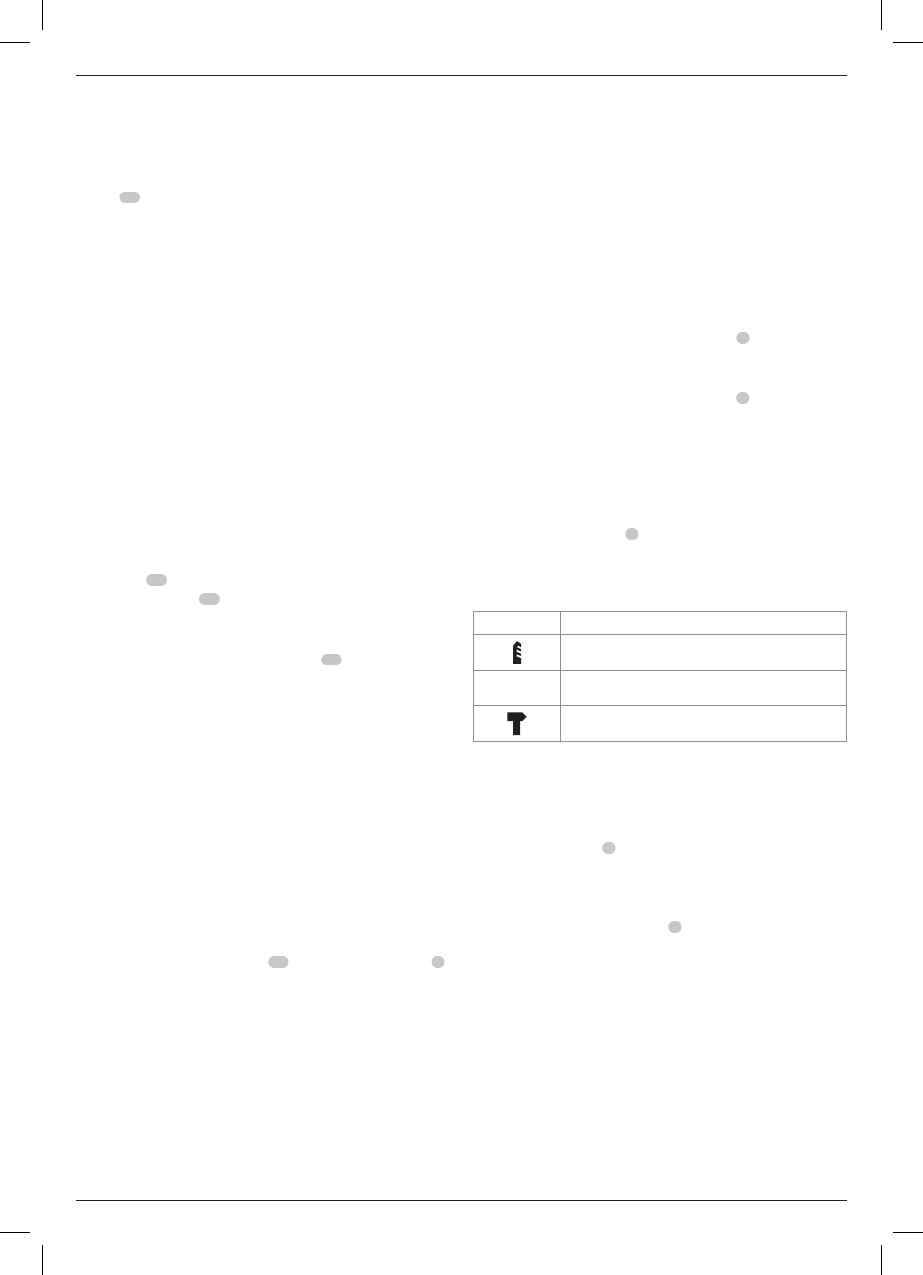
Mode Selection (Fig. A)
The mode selection collar
6
can be used to select the correct
operating mode depending upon the planned application.
To select, rotate the collar until the desired symbol aligns with
the arrow.
symbol
Mode
Drilling
1-15
Screwdriving (higher number = greater torque)
Hammerdrilling (DCD706 only)
Variable Speed Trigger and Forward/Reverse
Control Button (Fig. A)
The drill is turned on and off by pulling and releasing the
variable speed trigger
4
. The farther the trigger is depressed,
the higher the speed of the drill. Your tool is equipped with
a brake. The chuck will stop as soon as the trigger switch is
fully released.
A forward/reverse control button
5
determines the rotational
direction of the tool and also serves as a lock-off button.
• To select forward rotation, release the trigger and depress
the forward/reverse control button on the right side of
the tool.
• To select reverse, depress the forward/reverse control
button on the left side of the tool.
nOTE:
The centre position of the control button locks the tool
in the off position. When changing the position of the control
button, be sure the trigger is released.
nOTE:
Continuous use in variable speed range is not
recommended. It may damage the switch and should
be avoided.
Содержание
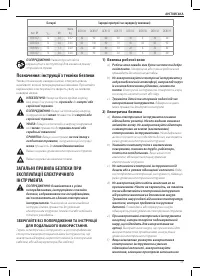
- 16 ОБЩИЕ ПРАВИЛА ТЕХНИКИ; СОХРАНИТЕ ВСЕ ИНСТРУКЦИИ ДЛЯ; Батареи
- 17 ) Эксплуатация электроинструмента и уход
- 18 ) Использование аккумуляторных
- 19 Зарядные устройства; Электробезопасность; Использование удлинительного кабеля; Остаточные риски; СОХРАНИТЕ НАСТОЯЩЕЕ РУКОВОДСТВО
- 20 Работа с зарядным устройством; Температурная задержка
- 21 Аккумуляторные батареи; ВНИМАТЕЛЬНО ПРОЧТИТЕ ВСЕ ИНСТРУКЦИИ; Транспортировка
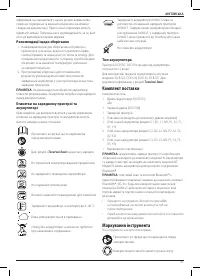
- 22 Комплектация поставки; Тип батареи; Рекомендации по хранению
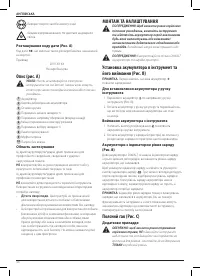
- 23 Установка и извлечение аккумуляторной; Маркировка на инструменте; Сфера применения; НЕ
- 24 Дополнительные принадлежности; Установка батареи в рукоятку инструмента; Установка насадки или принадлежности в
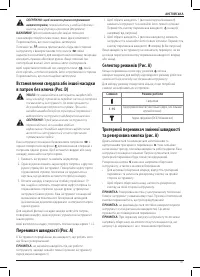
- 25 Заворачивание; Правильное положение рук во время; символ; Пусковой выключатель-регулятор
- 26 Чистка; Смазка; Ударное сверление
- 27 Защита окружающей среды
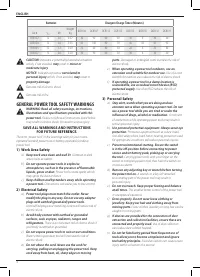
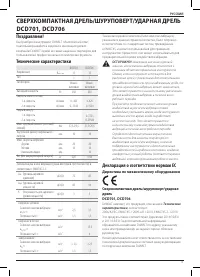
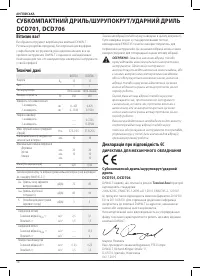
Характеристики

Остались вопросы?Не нашли свой ответ в руководстве или возникли другие проблемы? Задайте свой вопрос в форме ниже с подробным описанием вашей ситуации, чтобы другие люди и специалисты смогли дать на него ответ. Если вы знаете как решить проблему другого человека, пожалуйста, подскажите ему :)


