
Шуруповерты CROWN CT10113 - инструкция пользователя по применению, эксплуатации и установке на русском языке. Мы надеемся, она поможет вам решить возникшие у вас вопросы при эксплуатации техники.
Если остались вопросы, задайте их в комментариях после инструкции.
"Загружаем инструкцию", означает, что нужно подождать пока файл загрузится и можно будет его читать онлайн. Некоторые инструкции очень большие и время их появления зависит от вашей скорости интернета.


18
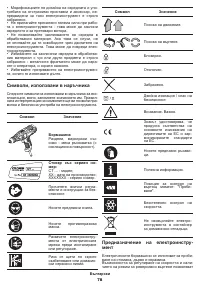
English
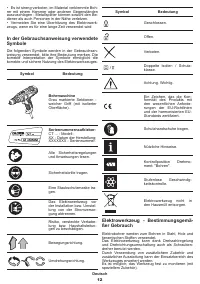
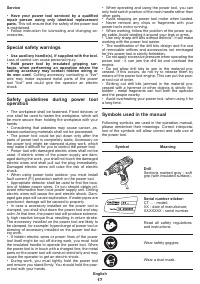
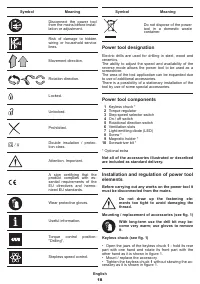
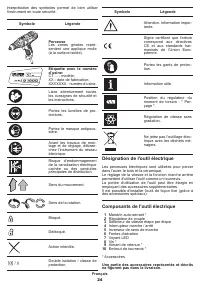
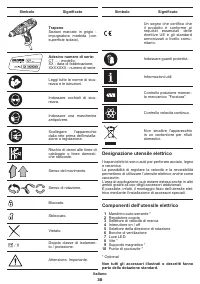
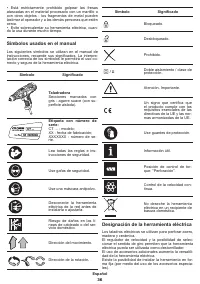
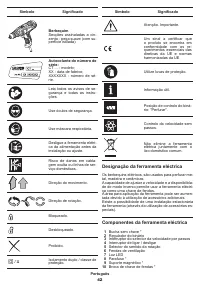
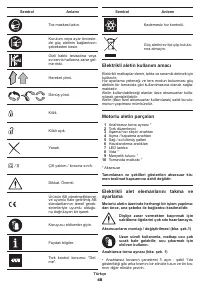
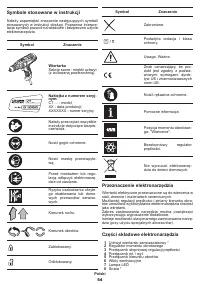
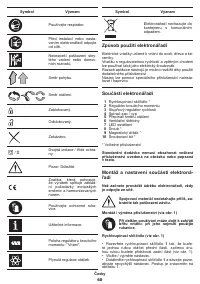
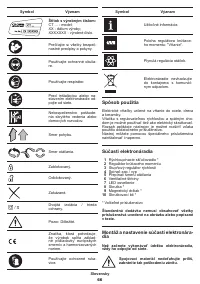
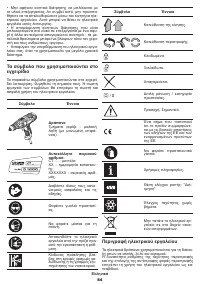
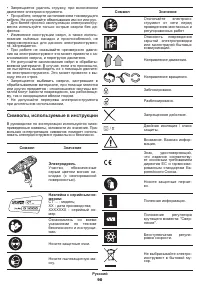
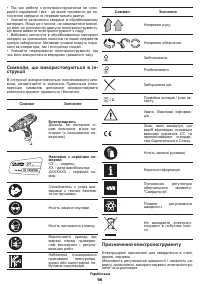
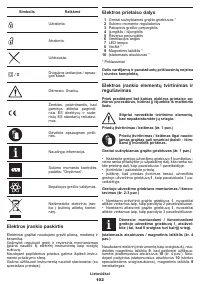
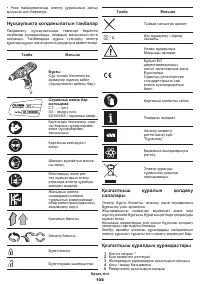
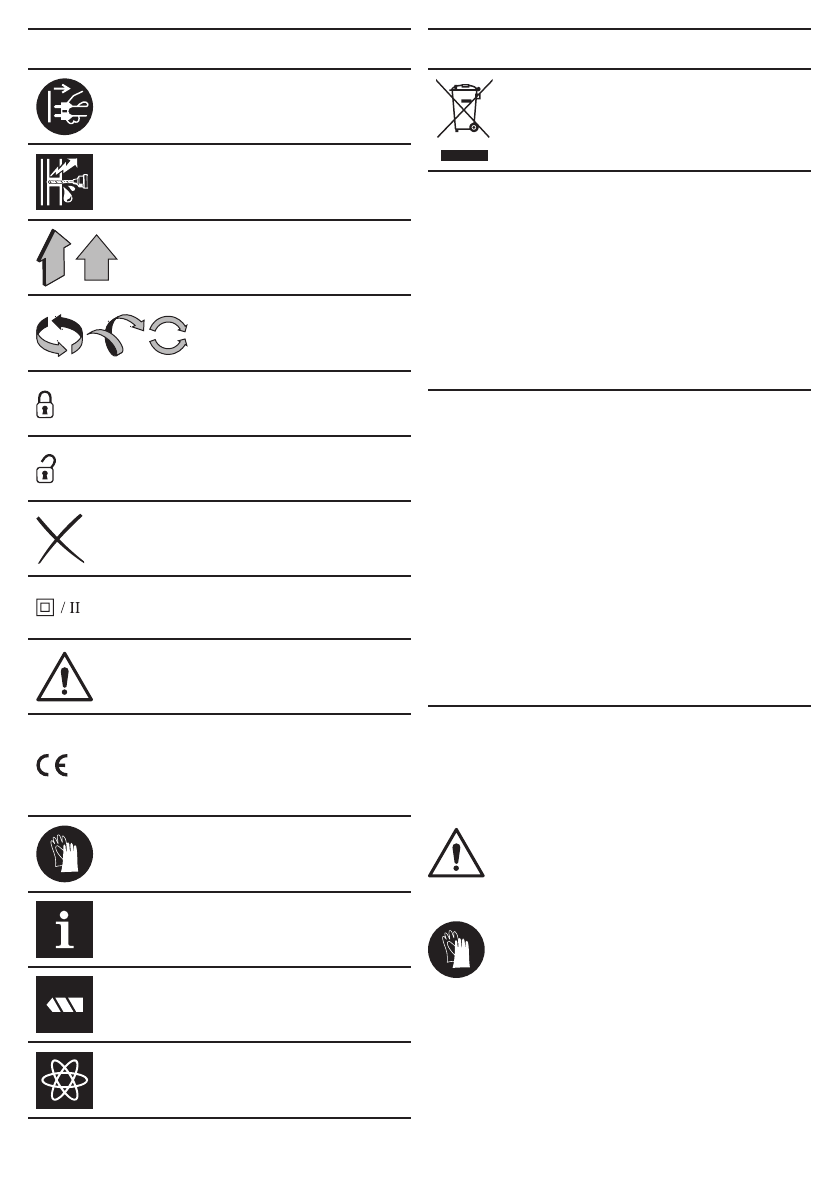
Symbol
Meaning
Disconnect the power tool
from the mains before instal-
lation or adjustment�
Risk of damage to hidden
wiring or household service
lines�
Movement direction�
Rotation direction�
Locked�
Unlocked�
Prohibited�
Double insulation / protec-
tion class�
Attention� Important�
A sign certifying that the
product complies with es-
sential requirements of the
EU directives and harmo-
nized EU standards�
Wear protective gloves�
Useful information�
Torque control position:
"Drilling"�
Stepless speed control�
Symbol
Meaning
Do not dispose of the power
tool in a domestic waste
container�
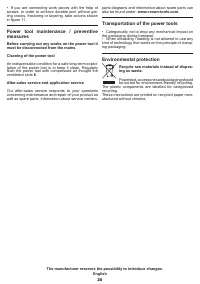
Power tool designation
Electric drills are used for drilling in steel, wood and
ceramics�
The ability to adjust the speed and availability of the
reverse mode allows the power tool to be used as a
screwdriver�
The area of the tool application can be expanded due
to use of additional accessories�
There is a possibility of a stationary installation of the
tool by use of some special accessories�
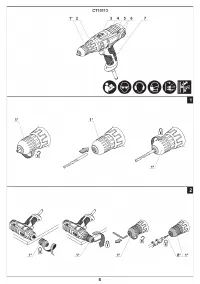
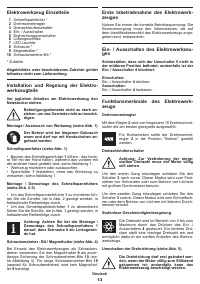
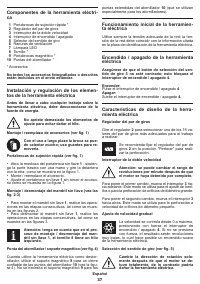
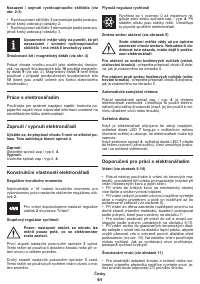
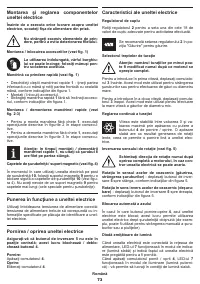
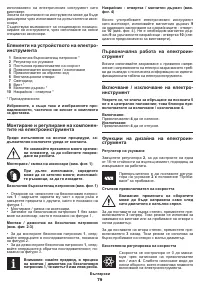
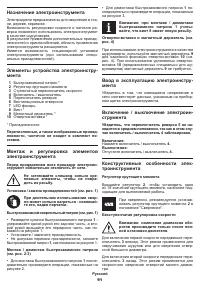
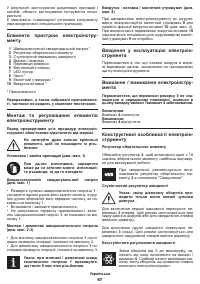
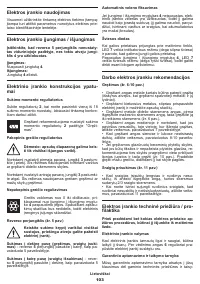
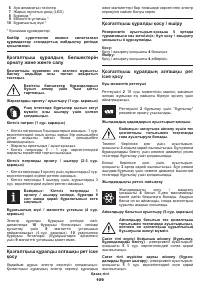
Power tool components
1
Keyless chuck *
2
Torque regulator
3
Step speed selector switch
4
On / off switch
5
Rotational direction switch
6
Ventilation slots
7
Light-emitting diode (LED)
8
Screw *
9
Magnetic holder *
10
Screwdriver bit *
* Optional extra
Not all of the accessories illustrated or described
are included as standard delivery.
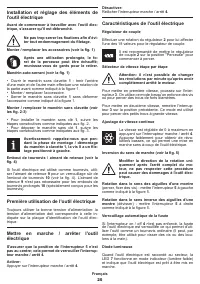
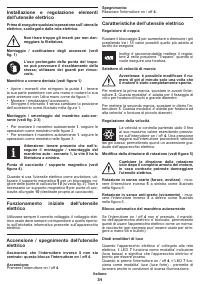
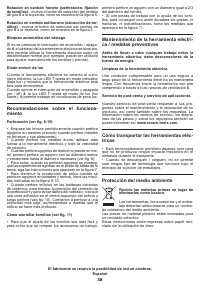
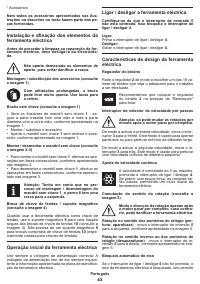
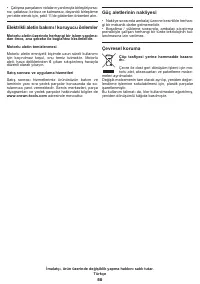
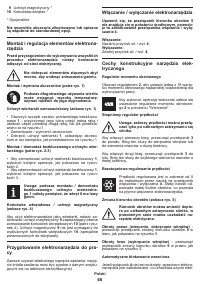
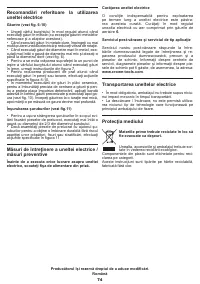
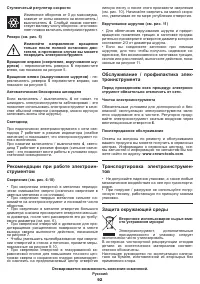
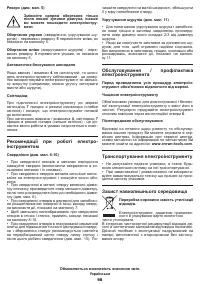
Installation and regulation of power tool
elements
B
efore carrying out any works on the power tool it
must be disconnected from the mains.
Do not draw up the fastening ele-
ments too tight to avoid damaging the
thread.
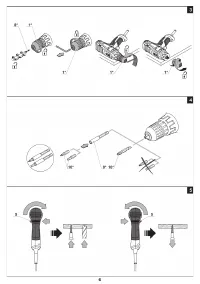
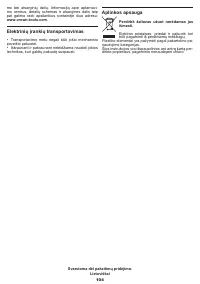
Mounting / replacement of accessories (see fig. 1)
With long-term use the drill bit may be-
come very warm; use gloves to remove
it.
Keyless chuck (see fig. 1)
•
Open the jaws of the keyless chuck
1
- hold its rear
part with one hand and rotate its front part with the
other hand as it is shown in figure 1.
•
Mount / replace the accessory�
•
Tighten the keyless chuck
1
without skewing the ac-
cessory as it is shown in figure 1.


