
Шуруповерты BOSCH GTB 650 06014A2000 - инструкция пользователя по применению, эксплуатации и установке на русском языке. Мы надеемся, она поможет вам решить возникшие у вас вопросы при эксплуатации техники.
Если остались вопросы, задайте их в комментариях после инструкции.
"Загружаем инструкцию", означает, что нужно подождать пока файл загрузится и можно будет его читать онлайн. Некоторые инструкции очень большие и время их появления зависит от вашей скорости интернета.


English |
11
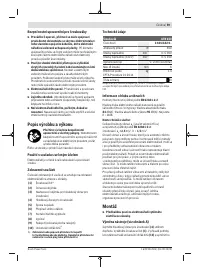
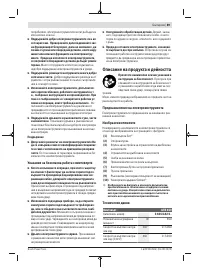
Implement additional safety measures to protect the oper-
ator from the effects of vibration, such as servicing the
power tool and application tools, keeping their hands warm,
and organising workflows correctly.
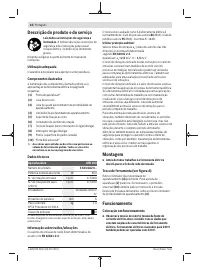
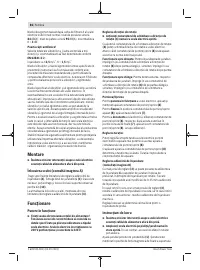
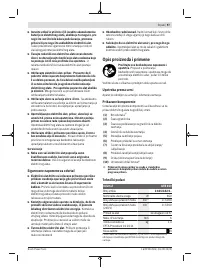
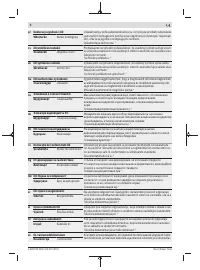
Assembly
u
Pull the plug out of the socket before carrying out any
work on the power tool.
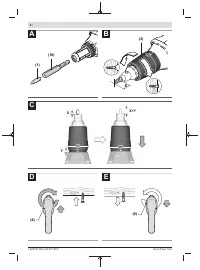
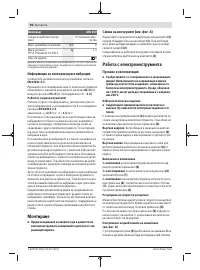
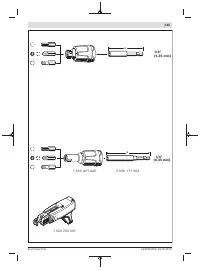
Changing the Tool (see figure A)
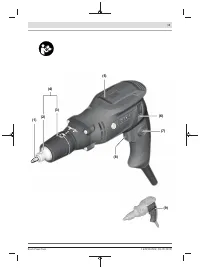
Pull the screw depth stop
(4)
off towards you. Pull the
screwdriver bit
(1)
out. If required, the universal bit
holder
(10)
can also be pulled out and replaced.
After changing the tool, reattach the screw depth stop
(4)
.
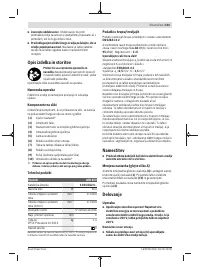
Operation
Starting Operation
u
Pay attention to the mains voltage. The voltage of the
power source must match the voltage specified on the
rating plate of the power tool. Power tools marked
with 230 V can also be operated with 220 V.
u
Products that are only sold in AUS and NZ:
Use a resid-
ual current device (RCD) with a nominal residual current
of 30 mA or less.
Setting the Rotational Direction
u
Only push the rotational direction switch
(6)
when the
power tool is not in use.
The rotational direction switch
(6)
is used to change the ro-
tational direction of the power tool. However, this is not pos-
sible while the on/off switch
(8)
is being pressed.
Clockwise rotation:
To drill and drive in screws, slide the
rotational direction switch
(6)
downwards on the left-hand
side and upwards on the right-hand side at the same time.
Anticlockwise rotation:
To loosen and unscrew screws,
slide the rotational direction switch
(6)
downwards on the
left-hand side and upwards on the right-hand side at the
same time.
Switching on/off
To
start
the power tool, press and hold the on/off switch
(8)
.
Press the lock-on button
(7)
to
lock
the on/off switch
(8)
in
this position.
To
switch off
the power tool, release the on/off switch
(8)
;
or, if the switch is locked with the lock-on button
(7)
, briefly
press the on/off switch
(8)
and then release it.
Adjusting the Speed
You can adjust the speed of the power tool when it is on by
pressing in the on/off switch
(8)
to varying extents.
A light pressure on the on/off switch
(8)
results in a low rota-
tional speed. Increased pressure on the switch causes an in-
crease in speed.
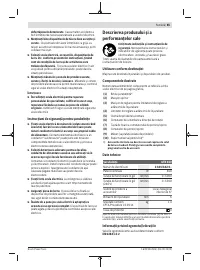
Adjusting the screw-in depth (see figure B)
The depth to which the screw head is screwed into the work-
piece
X
can be preset by turning the adjusting sleeve
(3)
to 8
engaging steps for each rotation. Each step corresponds to a
0.25 mm change in the screw-in depth.
Turning the adjusting sleeve
(3)
clockwise increases the
screw-in depth; turning it anticlockwise decreases the
screw-in depth.
The best way to determine the setting you require is to drive
in some test screws.
Practical advice
u
Pull the plug out of the socket before carrying out any
work on the power tool.
u
Only apply the power tool to the screw/nut when the
tool is switched off.
Rotating tool inserts can slip off.
Place the screw against the screwdriver bit
(1)
. The screw
will be held in place by the magnetic retention force of the
universal bit holder
(10)
. Forcefully press the tip of the
screw against the material you wish to screw until the screw
depth stop
(4)
rests on the workpiece.
Switch the power tool on. The screw is screwed into the
workpiece until it reaches the set screw depth. The drive is
disconnected; the tool holder stops rotating. Check the
screw depth and adjust it if necessary.
Quick screw-in depth adjustment (see figure
C)
The screw-in depth
Y
can be preset using the adjusting
sleeve
(3)
:
To loosen screws, slide the screw depth stop
(4)
towards
the handle
(9)
until you hear a click.
Slide the rotational direction switch
(6)
upwards on the left-
hand side and downwards on the right-hand side at the same
time.
Switch on the power tool.
Belt clip
You can use the belt clip
(5)
to hang the power tool on a belt,
for example. You then have both hands free and the power
tool is always at hand.
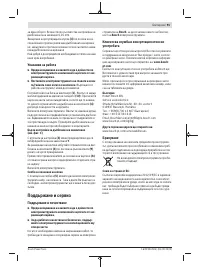
Maintenance and Service
Maintenance and Cleaning
u
Pull the plug out of the socket before carrying out any
work on the power tool.
u
To ensure safe and efficient operation, always keep
the power tool and the ventilation slots clean.
In order to avoid safety hazards, if the power supply cord
needs to be replaced, this must be done by
Bosch
or by an
after-sales service centre that is authorised to repair
Bosch
power tools.
After-Sales Service and Application Service
Our after-sales service responds to your questions concern-
ing maintenance and repair of your product as well as spare
parts. You can find explosion drawings and information on
Bosch Power Tools
1 609 92A 5DE | (04.09.2020)


