Шлифмашины VERTO 51G075 - инструкция пользователя по применению, эксплуатации и установке на русском языке. Мы надеемся, она поможет вам решить возникшие у вас вопросы при эксплуатации техники.
Если остались вопросы, задайте их в комментариях после инструкции.
"Загружаем инструкцию", означает, что нужно подождать пока файл загрузится и можно будет его читать онлайн. Некоторые инструкции очень большие и время их появления зависит от вашей скорости интернета.


13
• In case of tools adapted for fastening of grinding wheels with a
threaded opening, make sure the grinding wheel thread length
is suitable for the spindle thread length.
• Always secure the workpiece. It is always preferable to secure
the workpiece in a vice or other fastening tool than holding it
in your hand.
• If own weight of the workpiece does not guarantee a stable
position, it should be fastened.
• Do not touch cut-off and grinding wheels, before they cool
down.
• Do not exert lateral pressure on the grinding or cut-off wheel.
• Do not cut a workpiece of a thickness larger than the maximum
cutting depth of the cut-off wheel.
NOT
E
: The tools is intended for indoor works.
Despite using the construction, which is safe by design itself,
protection means and additional safety features, there is always a
residual risk of injuries during operation.
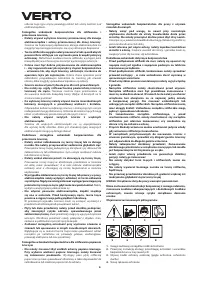
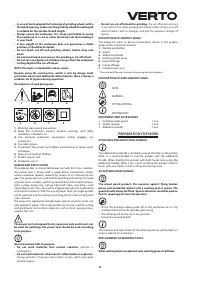
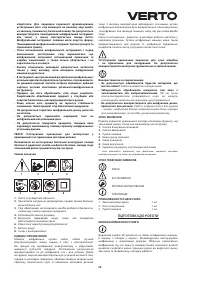
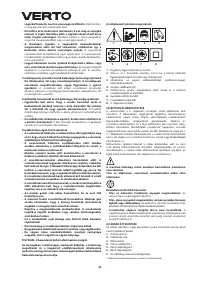
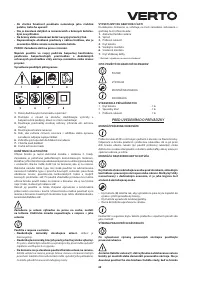
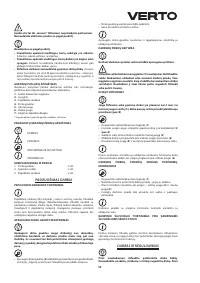
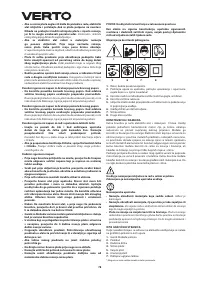
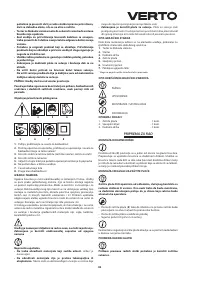
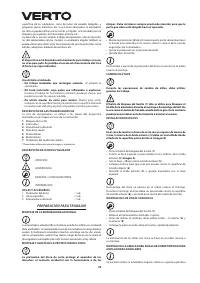
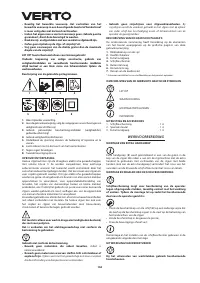
Descriptions of used pictograms.
1 2 3 4
5 6 7 8
1.
Warning, take special precautions.
2.
Read the instruction manual, observe warnings and safety
conditions included in it!
3.
Use personal protection equipment (safety goggles, ear
protectors).
4.
Use safety gloves.
5.
Disconnect the power cord, before maintenance or repair works
are begun.
6.
Keep out of reach of children.
7.
Protect against rain
8.
Protection class II
D
ES
IGN AND A
PP
LICATION
The angle grinder is a hand-held power tool with the II class isolation.
The power tool is driven with a single-phase, commutator motor,
whose rotational speed is reduced by means of an intersecting axis
gear. The power tool can used both for grinding and cutting. This type
of power tools is widely used for removal of burrs from metal surfaces,
weld surface processing, cutting light-wall tubes and other small
metal objects etc. They are used in engineering industry, automotive
and chemical industry. With the use of proper tools, the angle grinder
can be used not only for cutting or grinding, but also for rust and paint
coats removal.
The areas of its application include repair and construction works, not
only related to metals. The angle grinder can also be used for cutting
and grinding of construction materials, such as brick, paving stones,
ceramic tiles, etc.
The power tool is designed for dry operation only and it must not
be used for polishing. The power tool should be used according
to its purpose.
Use inconsistent with its purpose
• Do not work materials that contain asbestos.
Asbestos is
carcinogenic.
• Do not work materials, whose dust is inflammable or explosive.
During operation, the power tool produces sparks, which may ignite
emitted vapours.
• Do not use cut-off wheels for grinding.
The cut-off wheels are used
to cut with its face, while grinding with lateral surface of such a cut-off
wheel threatens with its damages and puts the operate in danger of
injuries.
D
ES
C
R
I
P
TION OF G
R
A
P
HIC
P
AG
ES
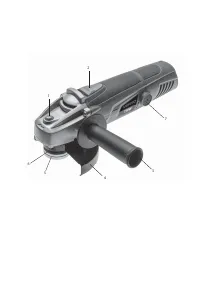
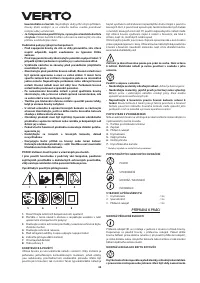
The below list refers to device components shown in the graphic
pages of this instruction manual.
1.
Spindle lock button
2.
Switch
3.
Additional handle
4.
Grinding wheel cover
5.
External flange
6.
Internal flange
7.
Carbon brush cover
* There can be differences between the drawing and actual product.
D
ES
C
R
I
P
TION OF U
SE
D G
R
A
P
HIC
S
IGN
S
NOTE
WARNING
FITTING/SETTING
INFORMATION
E
QUI
P
M
E
NT AND ACC
ESS
O
R
I
ES
1. Grinding wheel guard
- 1 pce
2
. Socket spanner
- 1 pce
3
. Additional handle
- 1 pce
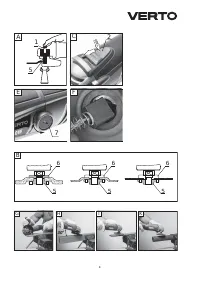
PREPARATION FOR WORK
ATTACHING TH
E
ADDITIONAL HANDL
E
The additional handle (
3
) is installed in one of the holes in the grinder
head. It is recommended to use the grinder with the additional
handle. When holding the grinder with both hands (also using the
additional handle), there is less risk of touching the grinder wheel or
brush with your hand, as well as of injuries during recoil.
ADJU
S
TABL
E
MAIN HANDL
E
The wheel guard protects the operator against flying broken
pieces and accidental contact with a working tool or sparks. The
guard should always be fitted.
S
pecial attention should be paid so
that its covering part faces the operator.
•
Install the grinding wheel guard (
4
) so the protrusion on its clip
matches the notch on the grinder gear casing.
•
The wheel guard can be set in any position.
•
Secure the mounting bolt.
The removal and adjustment of the wheel guard are performed in a
reverse order to its installation.
REP
LAC
E
M
E
NT OF WO
R
KING TOOL
S
When working tools are replaced, wear working gloves at all times.
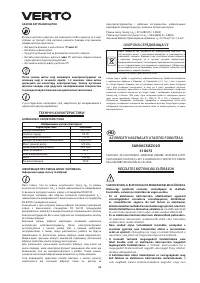
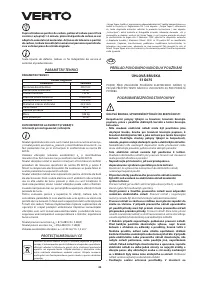
Характеристики

Остались вопросы?Не нашли свой ответ в руководстве или возникли другие проблемы? Задайте свой вопрос в форме ниже с подробным описанием вашей ситуации, чтобы другие люди и специалисты смогли дать на него ответ. Если вы знаете как решить проблему другого человека, пожалуйста, подскажите ему :)
