
Шлифмашины Stanley SGV115 - инструкция пользователя по применению, эксплуатации и установке на русском языке. Мы надеемся, она поможет вам решить возникшие у вас вопросы при эксплуатации техники.
Если остались вопросы, задайте их в комментариях после инструкции.
"Загружаем инструкцию", означает, что нужно подождать пока файл загрузится и можно будет его читать онлайн. Некоторые инструкции очень большие и время их появления зависит от вашей скорости интернета.


(Original instructions)
ENGLISH
7
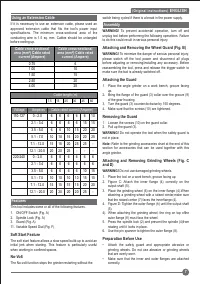
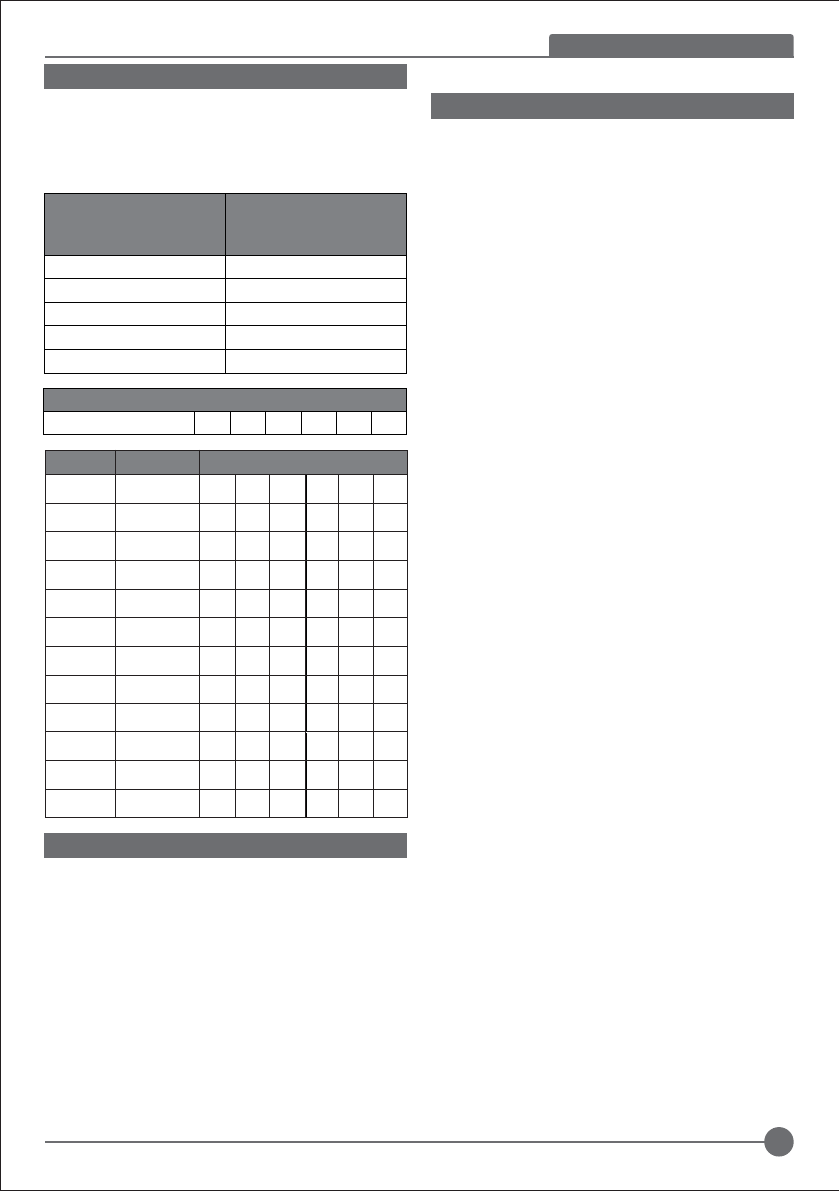
Using an Extension Cable
If it is necessary to use an extension cable, please used an
approved extension cable that fits the tool’s power input
specifications. The minimum cross-sectional area of the
conducting wire is 1.5 sq. mm. Cables should be untangled
before reeling up.
Features
This tool includes some or all of the following features.
1. ON/OFF Switch (Fig. A)
2. Spindle Lock (Fig. A)
3. Guard (Fig. A)
11. Variable Speed Dial (Fig. F)
Soft Start Feature
The soft start feature allows a slow speed build-up to avoid an
initial jerk when starting. This feature is particularly useful
when working in confined spaces.
No-Volt
The No-volt function stops the grinder restarting without the
switch being cycled if there is a break in the power supply.
Assembly
WARNING!
To prevent accidental operation, turn off and
unplug tool before performing the following operations. Failure
to do this could result in serious personal injury.
Attaching and Removing the Wheel Guard (Fig. B)
WARNING!
To minimize the danger of serious personal injury,
please switch off the tool power and disconnect all plugs
before adjusting or removing/installing any accessory. Before
reassembling the tool, press and release the trigger switch to
make sure the tool is already switched off.
Attaching the Guard
1. Place the angle grinder on a work bench, groove facing
up.
2. Bring the flange of the guard (3) collar over the groove (9)
of the gear housing.
3. Turn the guard (3) counterclockwise by 150 degrees.
4. Make sure that the screws (10) are tightened.
Removing the Guard
1. Loosen the screws (10) on the guard collar.
2. Pull up the guard (3).
WARNING!
Do not operate the tool when the safety guard is
not in place.
Note:
Refer to the grinding accessories chart at the end of this
section for accessories that can be used together with this
angle grinder.
Attaching and Removing Grinding Wheels (Fig. C
and D)
WARNING!
Do not use damaged grinding wheels.
1. Place the tool on a work bench, groove facing up.
2. Figure C: Attach the inner flange (4) correctly on the
output shaft (5).
3. Place the grinding wheel (6) on the inner flange (4).When
attaching a grinding wheel with a raised center,make sure
that the raised center (7) faces the innerflange (4).
4. Figure D: Tighten the outer flange (h) until the output shaft
(5).
4). When attaching the grinding wheel, the ring on top ofthe
outer flange (8) must face the wheel.
5. Press the spindle lock (2) and prevent the spindle (4)from
rotating until it locks in place.
6. Use the pin spanner to tighten the outer flange (8).
Preparation Before Use
• Attach the safety guard and appropriate abrasive or
grinding wheels. Do not use abrasive or grinding wheels
that are overly worn.
• Make sure that the inner and outer flanges are attached
correctly.
Cable cross-sectional
area (mm
2
) Cable rated
current (Ampere)
Cable cross-sectional
area (mm
2
) Cable rated
current (Ampere)
0.75
6
1.00
10
1.50
15
2.50
20
4.00
25
Cable length (m)
7.5
15
25
30
45
60
Voltage
Amperes
Cable rated current (Ampere)
110-127
0 - 2.0
6
6
6
6
6
10
2.1 - 3.4
6
6
6
6
15
15
3.5 - 5.0
6
6
10
15
20
20
5.1 - 7.0
10
10
15
20
20
25
7.1 - 12.0
15
15
20
25
25
-
12.1 - 20.0
20
20
25
-
-
-
220-240
0 - 2.0
6
6
6
6
6
6
2.1 - 3.4
6
6
6
6
6
6
3.5 - 5.0
6
6
6
6
10
15
5.1 - 7.0
10
10
10
10
15
15
7.1 - 12.0
15
15
15
15
20
20
12.1 - 20.0
20
20
20
20
25
-
Содержание
- 15 Hz
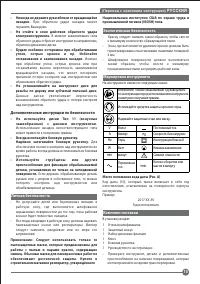
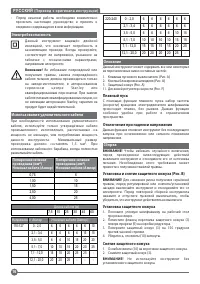
- 16 РУССКИЙ; • Перед началом работы необходимо внимательно; Электробезопасность; проводника должен составлять 1,5 мм2. При; Описание; Клавиша пускового выключателя; Плавный пуск; (скорости) вращения электродвигателя шлифмашины; Отключение при падении напряжения; Положите угловую шлифмашину на рабочий стол; Снятие защитного кожуха; Поперечное сечение; Напряжение Ампер
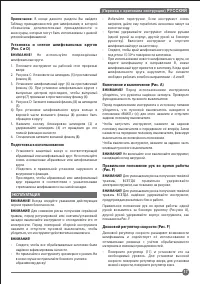
- 18 Предупреждение! Крепко удерживайте корпус; Обработка металла; Шлифование поверхности с использованием
- 20 ВАЖНО! В целях обеспечения БЕЗОПАСНОСТИ; Дополнительные принадлежности; УГЛОВАЯ ШЛИФМАШИНА
- 21 Гарантийные условия; Уважаемый покупатель!; Изготовитель
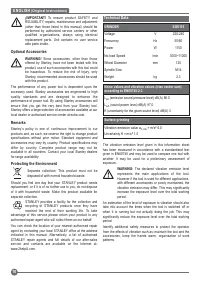
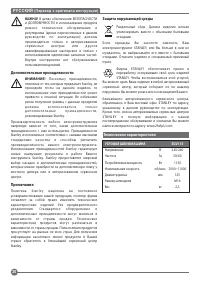
Характеристики

Остались вопросы?Не нашли свой ответ в руководстве или возникли другие проблемы? Задайте свой вопрос в форме ниже с подробным описанием вашей ситуации, чтобы другие люди и специалисты смогли дать на него ответ. Если вы знаете как решить проблему другого человека, пожалуйста, подскажите ему :)


