Шлифмашины Sparky EX 150E - инструкция пользователя по применению, эксплуатации и установке на русском языке. Мы надеемся, она поможет вам решить возникшие у вас вопросы при эксплуатации техники.
Если остались вопросы, задайте их в комментариях после инструкции.
"Загружаем инструкцию", означает, что нужно подождать пока файл загрузится и можно будет его читать онлайн. Некоторые инструкции очень большие и время их появления зависит от вашей скорости интернета.


6
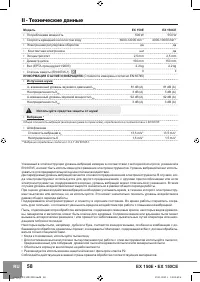
EX 150E • EX 150CE
EN
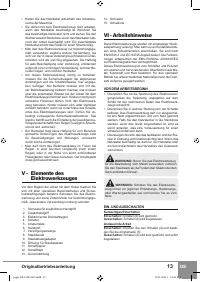
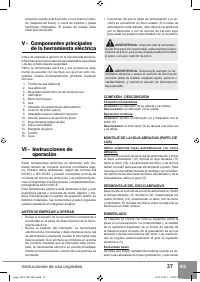
VI - Operation
These power tools are supplied from single-phase al-
ternating current mains only. They are double insulated
according to EN 60745-1 and IEC 60745 and can be con-
nected to grounded or not grounded sockets. This power
tool is radio suppressed in compliance with EMC Direc-
tive 2004/108/EC.
This power tool is designed for sanding and polish-
ing flat and convex metal, plastics and wood surfaces.
The speed can be adjusted smoothly in a wide range to
achieve optimum operation mode for different materials.
PRIOR TO INITIALOPERATION
▪
Make sure the power supply voltage corresponds to
the value indicated on the name plate with technical
data of the tool.
▪ Always check the position of ON/OFF switch. The
power tool must be connected to the power supply
socket only when this switch is in OFF position. If the
plug is connected to a receptacle while the power
switch is in the ON position, the power tool will start
operating immediately, which could cause a serious
accident.
▪
Make sure that the cord and the plug are in order. If the
replacement of the supply cord is necessary, this has
to be done by the manu-facturer or his agent in order
to avoid a safety hazard.
WARNING:
Before using the sander with
metal, always remove the dust bag from the outlet as
sparks may ignite the dust or the bag.
WARNING:
Always switch off and unplug the
power tool prior to any adjustment, servicing or main-
tenance or in case of mains drop-out.
SWITCHING ON - SWITCHING OFF
Brief activation
Switching on:
press ON/OFF switch (4) and hold it.
Switching off:
release ON/OFF switch (4).
Continuous use
Switching on:
press ON/OFF switch (4) and in pressed
position lock it by button (5).
Switching off:
press ON/OFF switch (4) once and re
-
lease it immediately.
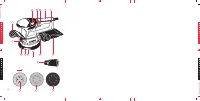
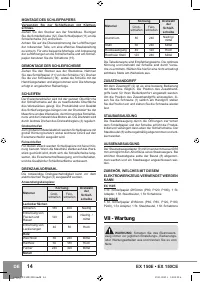
MOUNTING THE SANDPAPER
Use only hook-and-loop sandpaper.
Withdraw the plug from the power supply socket. Clean
up the sanding disk (12). Press the sandpaper (11) to the
disc (12). Ensure the alignment of the disk and the sand-
ing sheet apertures to achieve proper dust extraction. To
ensure convenient assembly and optimum alignment of
the disk and sandpaper sheet apertures use the guide
(15).
DISMOUNTINGTHE SANDING DISC
Withdraw the plug from the power supply socket. Dis-
mount the sandpaper (11) from the disc (12). Support-
ing the disc by hand remove the four screws (14) and
dismount the disc. Mounting the disc is performed in
reverse order.
SANDING
Place the power tool flat on the machined piece. Efficien
-
cy and quality of work depends on the applied pressure,
sandpaper grit and rotation speed. Rotation speed can
be adjusted smoothly, by rotating the dial of the elec-
tronic regulator (3).
Rough sanding
Thicker layer will be removed when using sandpaper
with coarse grit and by applying less pressure on the
machine.
Fine sanding
For this purpose fine sandpaper is used. When increas
-
ing the pressure on the machine the grinding disc runs
slowly, preserving its eccentric movement, and high
quality of the surface is achieved.
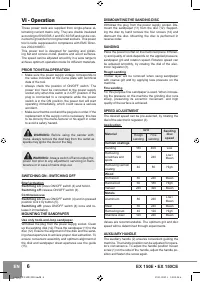
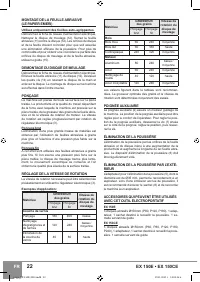
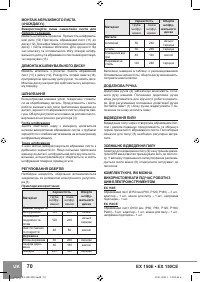
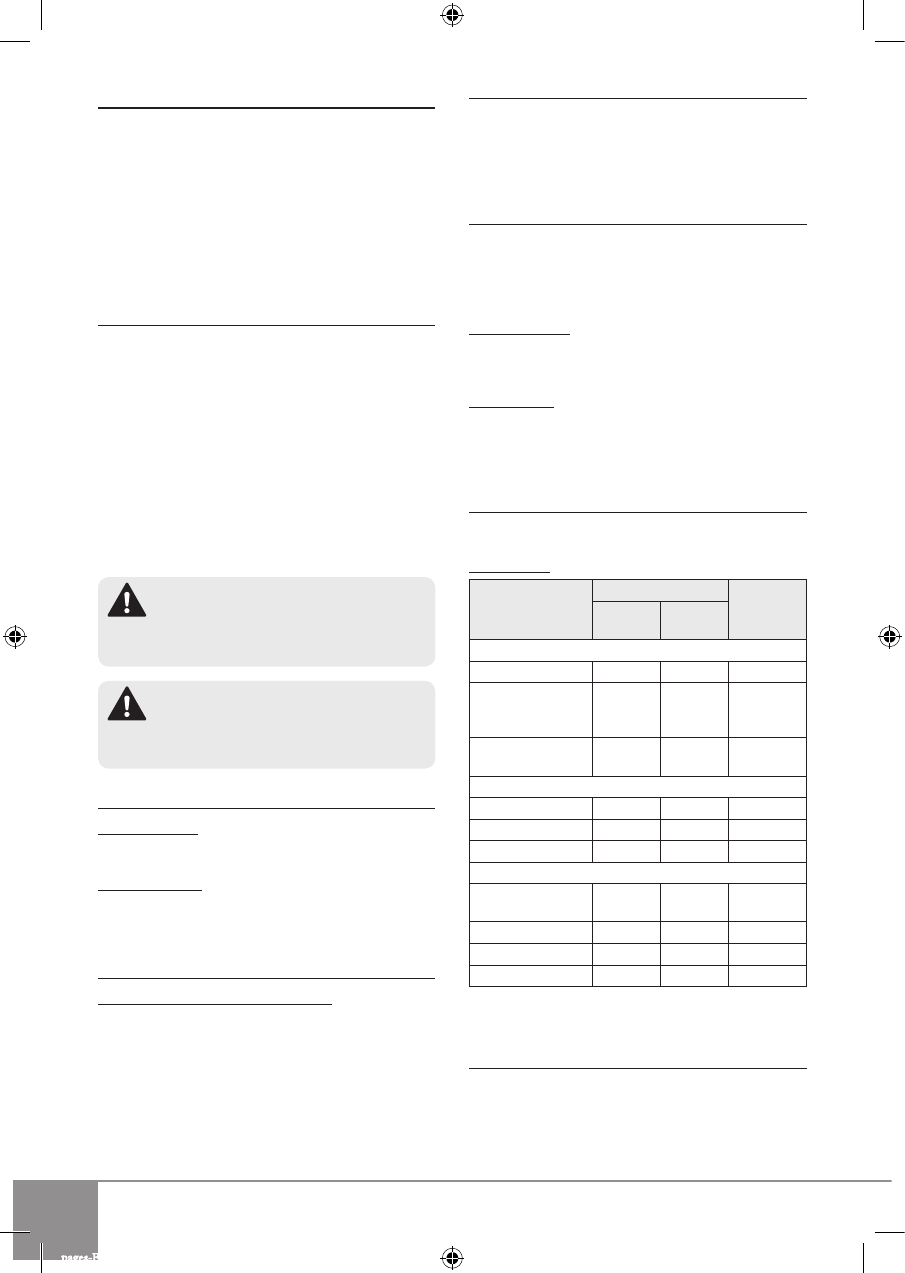
SPEED ADJUSTMENT
The desired speed can be pre-selected, by rotating the
dial of the electronic regulator (3).
Application:
Material
Grit
Sanding
disc
speed
Rough
sanding
Fine
sanding
Varnish coatings
Sanding
180
400
Low
Removing
scratches and
spots
120
240
Low /
Mean
Removing varnish
coating
40
80
High
Wood
Soft wood
60
240
Mean
Hard wood
60
180
High
Veneer
240
320
Mean
Metals
Aluminium
80
240
Low /
Mean
Steel
60
240
Mean
Removing rust
40
120
High
Stainless steel
120
240
Mean
Values are recommendable. The optimum grit and disc
speed will be determined through experiments.
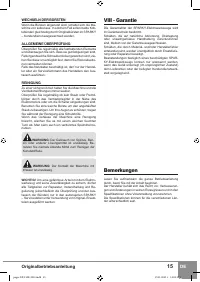
AUXILIARY HANDLE
The auxiliary handle (2) ensures convenient guiding the
machine. The handle position can be adjusted for opera-
tor’s convenience. To adjust the handle position loosen
screw (1) on the side of the handle, adjust the handle po-
sition and fasten the screw again.
pages-EX 150E-2012.indd 6
19.11.2012 г. 10:05:34 ч.
Характеристики

Остались вопросы?Не нашли свой ответ в руководстве или возникли другие проблемы? Задайте свой вопрос в форме ниже с подробным описанием вашей ситуации, чтобы другие люди и специалисты смогли дать на него ответ. Если вы знаете как решить проблему другого человека, пожалуйста, подскажите ему :)


