
Шлифмашины Metabo W 650-125 - инструкция пользователя по применению, эксплуатации и установке на русском языке. Мы надеемся, она поможет вам решить возникшие у вас вопросы при эксплуатации техники.
Если остались вопросы, задайте их в комментариях после инструкции.
"Загружаем инструкцию", означает, что нужно подождать пока файл загрузится и можно будет его читать онлайн. Некоторые инструкции очень большие и время их появления зависит от вашей скорости интернета.


8
ENGLISH
en
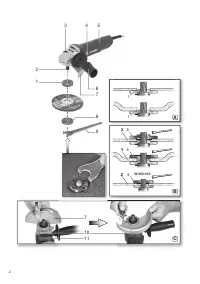
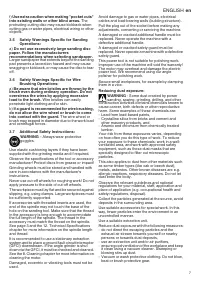
See page 2.
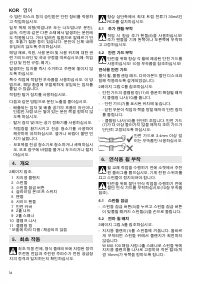
1 Support flange
2 Spindle
3 Spindle locking button
4 Sliding on/off switch
5 Handle
6 Side handle
7 Safety cover
8 Two-hole nut
9 two-hole spanner
10 Clamp screw
11 Clamping ring
* depending on model / not in scope of delivery
Before commissioning, check that the rated
mains voltage and mains frequency stated on
the type plate match your power supply.
Always install an RCD with a maximum trip
current of 30 mA upstream.
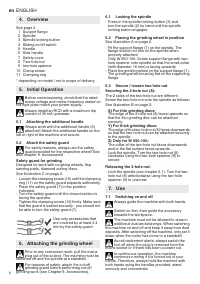
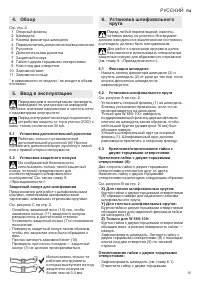
5.1 Attaching the additional handle
Always work with the additional handle (6)
attached! Attach the additional handle on the
left or right of the machine and secure.
5.2 Attach the safety guard
For safety reasons, always use the safety
guard provided for the respective wheel! See
also chapter 9. Accessories!
Safety guard for grinding
Designed for work with roughing wheels, flap
sanding pads, diamond cutting discs.
See illustration C on page 2.
- Loosen the clamping screw (10) until the clamping
ring (11) on the safety guard expands sufficiently.
- Place the safety guard (7) in the position
indicated.
- Turn the safety guard until the closed section is
facing the operator.
- Tighten the clamping screw (10) firmly. Make sure
that the guard is seated securely - you should not
be able to turn the safety guard (7).
Use only accessories that
are covered by at least 3.4
mm by the safety guard.
Prior to any conversion work: pull the mains
plug out of the socket. The machine must be
switched off and the spindle at a standstill.
For reasons of safety, attach the cut-off
grinding guard before performing cut-off
grinding work (see Chapter 9. Accessories).
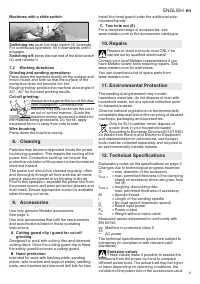
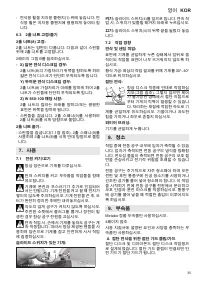
6.1 Locking the spindle
- Press in the spindle locking button (3) and
turn the spindle (2) by hand until the spindle
locking button engages.
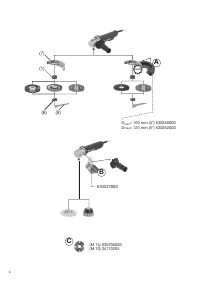
6.2 Placing the grinding wheel in position
See illustration A on page 2.
- Fit the support flange (1) on the spindle. The
flange should not turn on the spindle when
properly attached.
Only W 650-100: Screw support flange with two-
hole spanner onto spindle so that the small collar
(with diameter 16 mm) is facing upwards.
- Place the grinding wheel on the support flange (1).
The grinding wheel must lay flat on the supporting
flange.
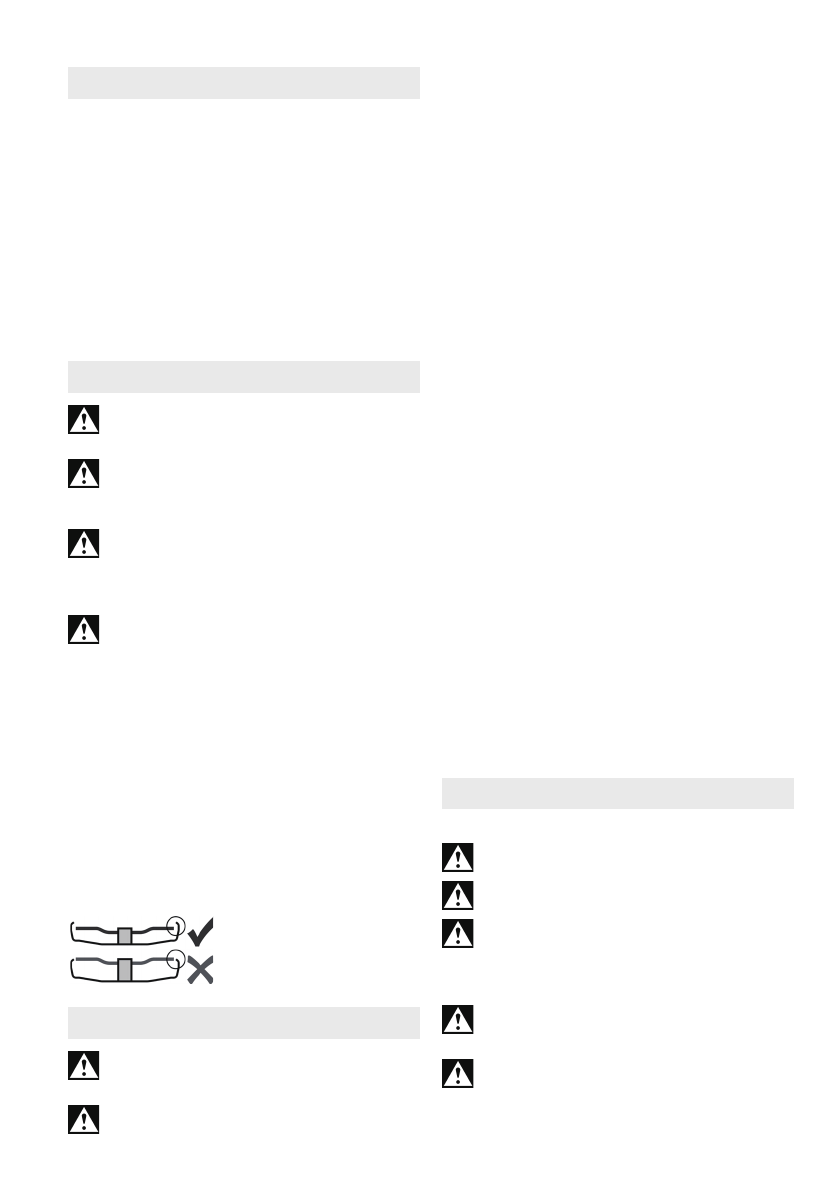
6.3 Secure / loosen two hole nut
Securing the 2-hole nut (8):
The 2 sides of the two-hole nut are different.
Screw the two-hole nut onto the spindle as follows:
See illustration B on page 2.
- X) For thin grinding discs:
The edge of the 2-hole nut (8) faces upwards so
that the thin grinding disc can be attached
securely.
Y) For thick grinding discs:
The edge of the two-hole nut (8) faces downwards
so that the two-hole nut can be attached securely
to the spindle.
Z) Only for W 650-100:
The collar of the two-hole nut faces downwards
and/or the flat surface faces upwards.
- Lock the spindle. Turn the two-hole nut (8)
clockwise using the two-hole spanner (9) to
secure.
Releasing the 2-hole nut:
- Lock the spindle (see chapter 6.1). Turn the two-
hole nut (8) anticlockwise using the two-hole
spanner (9) to unscrew.
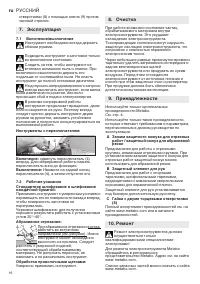
7.1 Switching on and off
Always guide the machine with both hands.
Switch on first, then guide the accessory
towards the workpiece.
The machine must not be allowed to draw in
additional dust and shavings. When switching
the machine on and off and keep it away from dust
deposits. After switching off the machine, only set it
down when the motor has come to a standstill.
Avoid inadvertent starts: always switch the
tool off when the plug is removed from the
mains socket or if there has been a power cut.
In continuous operation, the machine
continues running if it is forced out of your
hands. Therefore, always hold the machine with
both hands using the handles provided, stand
securely and concentrate.
4. Overview
5. Initial Operation
6. Attaching the grinding wheel
7. Use
Характеристики

Остались вопросы?Не нашли свой ответ в руководстве или возникли другие проблемы? Задайте свой вопрос в форме ниже с подробным описанием вашей ситуации, чтобы другие люди и специалисты смогли дать на него ответ. Если вы знаете как решить проблему другого человека, пожалуйста, подскажите ему :)

