
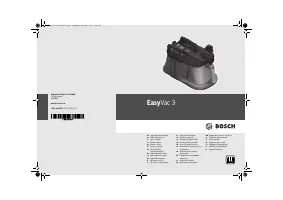
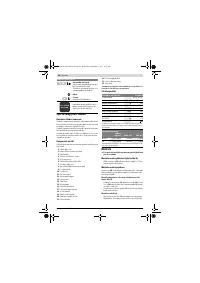
Пылесос Bosch EasyVac3 - инструкция пользователя по применению, эксплуатации и установке на русском языке. Мы надеемся, она поможет вам решить возникшие у вас вопросы при эксплуатации техники.
Если остались вопросы, задайте их в комментариях после инструкции.
"Загружаем инструкцию", означает, что нужно подождать пока файл загрузится и можно будет его читать онлайн. Некоторые инструкции очень большие и время их появления зависит от вашей скорости интернета.


12
| English
1 609 92A 43U | (6.9.17)
Bosch Power Tools
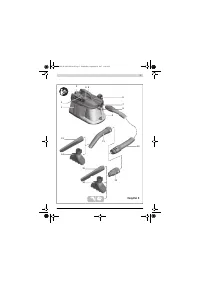
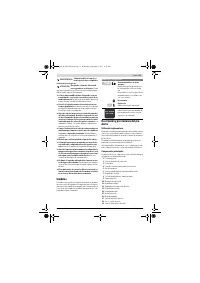
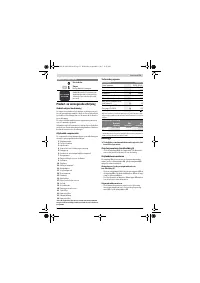
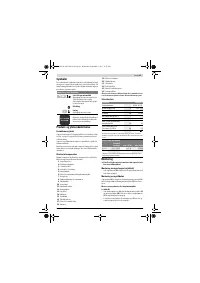
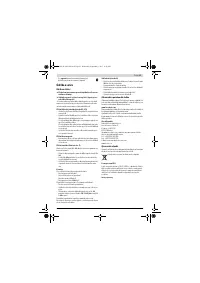
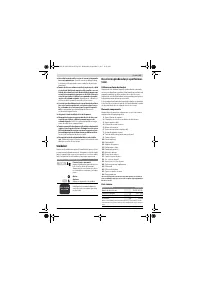
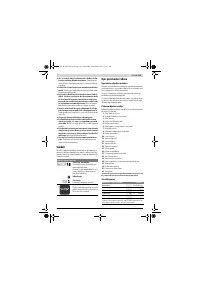
17
Lid of the dust cup
18
Dust bag
19
Dust bag holder
20
Air diffuser
21
Fabric filter
22
Flat-pleated filter
23
Exhaust air cover
24
Permanent filter
* Accessories shown or described are not part of the standard de-
livery scope of the product. A complete overview of accessories
can be found in our accessories program.
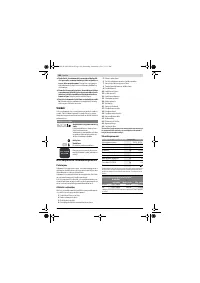
Technical Data
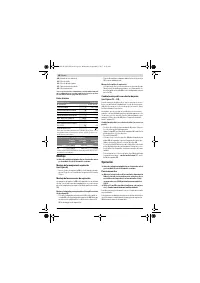
Assembly
Before any work on the vacuum cleaner itself, pull the
mains plug.
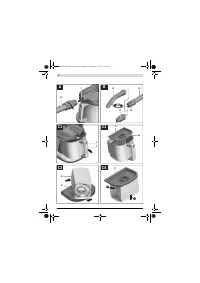
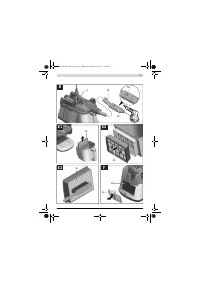
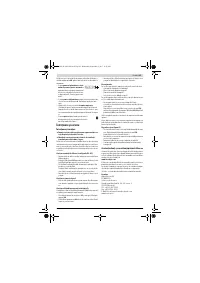
Mounting the Vacuum Hose (see figure A)
– Insert the vacuum hose
10
into the hose connection piece
7
and turn it all the way in clockwise direction.
Mounting VAC Accessories
The vacuum hose
10
is equipped with a clip system, with
which the VAC accessories (extraction adapter
12
, curved
nozzle
11
) can be connected.
Fitting the extraction adapter or curved nozzle
(see figure B)
– Fit the extraction adapter
12
or the curved nozzle
11
to the
vacuum hose
10
until the two snap fasteners
15
of the vac-
uum hose click into place.
– To disassemble, press both snap-fasteners
15
inward and
pull the components apart.
Mounting the suction nozzles
– Then attach the required vacuuming accessory (floor noz-
zle, crevice nozzle, etc.) firmly to the curved nozzle
11
or
the extraction adapter
12
.
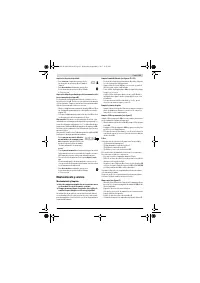
Replacing/Inserting the Dust Bag
(see figures C1 – C4)
For vacuuming fine dust, which is generated when working
with sanders, drills or fine saw blades, you should use a dust
bag (accessory). This makes the dust easier to dispose of.
Chips, which are generated when working with larger saws, or
coarser dirt can be vacuumed without using a dust bag. When
doing so, you should clean the fabric filter
21
occasionally
(see “Cleaning the Filter Assembly”, page 13).
Replacing/Inserting the Dust Bag (Accessory)
– Press the release button
8
and pull the dust cup
9
out of
the vacuum cleaner.
– Grip the lid
17
at the connection flange
16
and remove the
lid from the dust cup.
– Turn the lid
17
over.
– Put the dust bag
18
over the connection flange
16
of the
vacuum cleaner and turn the cardboard flaps under the
dust bag holder
19
.
– Press the lid
17
back onto the dust cup
9
and then slide the
dust cup back into the vacuum cleaner until it clicks into
place.
– To remove a full dust bag
18
, twist it off the connection
flange
16
in a downward direction –
without turning the
lid 17 over
.
Operation
Before any work on the vacuum cleaner itself, pull the
mains plug.
Starting Operation
Observe correct mains voltage! The voltage of the pow-
er source must agree with the voltage specified on the
nameplate of the vacuum cleaner. Equipment marked
with 230 V can also be operated with 220 V.
Only use an undamaged filter (no cracks, small holes,
etc.). Replace a damaged filter immediately.
Products sold in AUS and NZ only
: Use a residual current de-
vice (RCD) with a rated residual current of 30 mA or less.
To save energy, only switch the vacuum cleaner on when us-
ing it.
To ensure optimal vacuuming performance, always complete-
ly unwind the vacuum hose
10
from the vacuum cleaner lid .
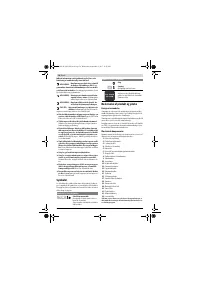
Vacuuming of deposited dust
Dry vacuum cleaner
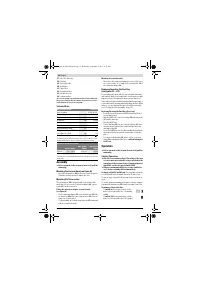
EasyVac 3
Article number
0 603 3D1 0..
Rated voltage
V
220 – 240
Rated power input
W
700
Frequency
Hz
50 / 60
Container volume (gross)
l
2.1
Vacuum (turbine), max.
mbar
240
Airflow (turbine), max.
l/s
35
Weight according to EPTA-
Procedure 01:2014
kg
4.3
Protection class
/
I
The values given are valid for nominal voltages [U] of 230 V. For lower
voltage and models for specific countries, these values can vary.
Automatic Start/Stop feature*
Rated voltage
max. power
output
min. power
output
EU/AUS
220 – 240 V
2000 W
100 W
UK
220 – 240 V
1800 W
100 W
* Specification of the allowable load of the connected power tool (coun-
try-specific)
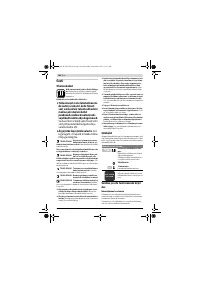
– To
switch on
the vacuum cleaner, set the
mode selector switch
2
to the “Vacuuming”
symbol.
– To
switch off
the vacuum cleaner, set the
mode selector switch
2
to the “Off” symbol.
OBJ_BUCH-2992-002.book Page 12 Wednesday, September 6, 2017 11:43 AM
Характеристики

Остались вопросы?Не нашли свой ответ в руководстве или возникли другие проблемы? Задайте свой вопрос в форме ниже с подробным описанием вашей ситуации, чтобы другие люди и специалисты смогли дать на него ответ. Если вы знаете как решить проблему другого человека, пожалуйста, подскажите ему :)


