
Пылесос Bosch BGS7SIL1 - инструкция пользователя по применению, эксплуатации и установке на русском языке. Мы надеемся, она поможет вам решить возникшие у вас вопросы при эксплуатации техники.
Если остались вопросы, задайте их в комментариях после инструкции.
"Загружаем инструкцию", означает, что нужно подождать пока файл загрузится и можно будет его читать онлайн. Некоторые инструкции очень большие и время их появления зависит от вашей скорости интернета.


45
* Dependent on model
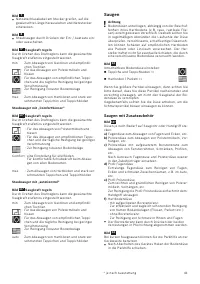
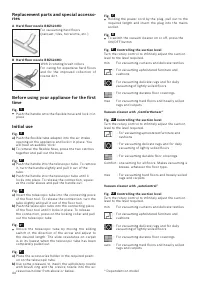
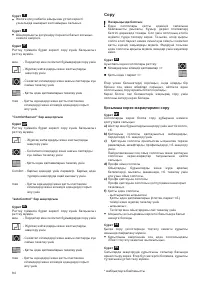
Vacuuming
!
Caution
Floor tools are subject to a cer tain amount of wear,
depending on the type of hard floors you have (e.g.
rough, rustic tiles). Therefore, you must check the
underside of the floor tool at regular inter vals. Worn
undersides of floor tools may have sharp edges that
can damage sensitive hard floors, such as parquet or
linoleum. The manufacturer does not accept any re -
sponsibility for damage caused by worn floor tools.
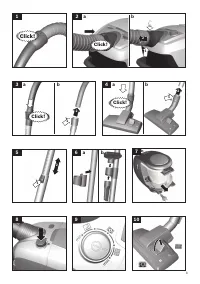
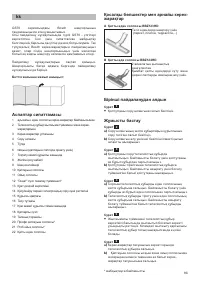
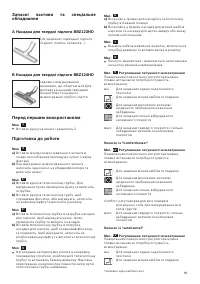
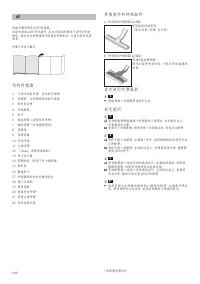
Fig.
12
Set the adjustable floor nozzle:
Rugs and carpets =>
Hard floors/parquet =>
If you are vacuuming up larger par ticles, make sure that
you vacuum them up successively and carefully to en-
sure that the vacuum channels of the floor tool do not
become blocked.
If necessar y, you should raise the nozzle in order to
better vacuum up the dir t par ticles.
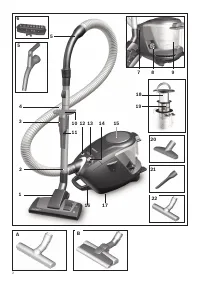
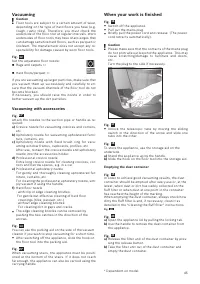
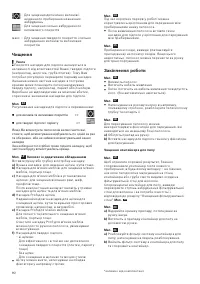
Vacuuming with accessories
Fig.
13*
Attach the nozzles to the suction pipe or handle as re -
quired:
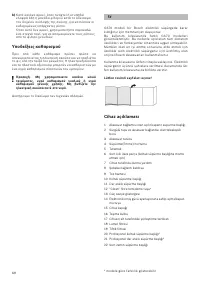
a)
Crevice nozzle for vacuuming crevices and corners,
etc.
b)
Upholster y nozzle for vacuuming upholstered furni-
ture, cur tains, etc.
c)
Upholster y nozzle with fixed brush ring for vacu-
uming window frames, cupboards, profiles, etc.
After use, reinser t the crevice nozzle and upholster y
nozzle into the accessories holder.
d)
Professional crevice nozzle
E xtra-long crevice nozzle for cleaning crevices, cor-
ners and narrow spaces, e.g. in a car.
e)
Professional upholster y nozzle
For gently and thoroughly cleaning upholstered fur-
niture, cur tains, etc.
For cleaning the professional upholster y nozzle, sim-
ply vacuum it using the handle.
f)
Hard-floor nozzle
- with clip-in edge cleaning bristles:
For gentle but effective cleaning of hard floor
coverings (tiles, parquet, etc.)
- without edge cleaning bristles:
For cleaning dir t in gaps and cracks
The edge cleaning bristles can be removed by
pushing the two catches in the direction of the
arrows.
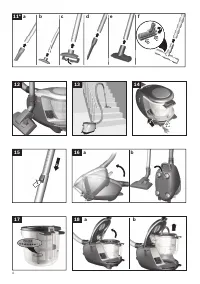
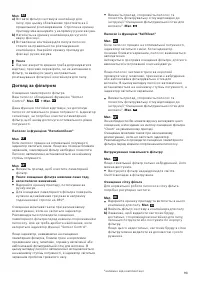
Fig.
14
You can use the parking aid on the side of the vacuum
cleaner if you wish to stop vacuuming for a shor t time.
After switching off the appliance, slide the hook on
the floor tool into the parking aid.
Fig.
15*
When vacuuming stairs, the appliance must be positi-
oned at the bottom of the stairs. If it does not reach
far enough, the appliance can also be carried using the
carr ying handle.
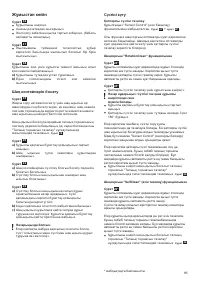
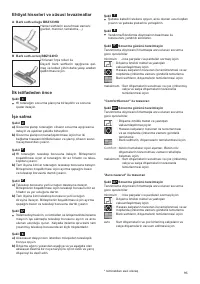
When your work is finished
Fig.
16
Switch off the appliance.
Pull out the mains plug.
Briefly pull the power cord and release. (The power
cord retracts automatically).
!
Caution
Please make sure that the contacts of the mains plug
do not protrude out beyond the appliance. This may
cause scratching /damage to furniture and doors,
etc.
Turn the plug to the side if necessar y.
Fig.
17
Unlock the telescopic tube by moving the sliding
switch in the direction of the arrow and slide one
tube into the other.
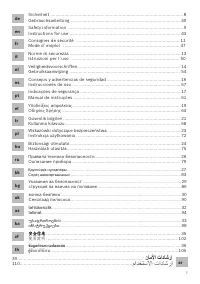
Fig.
18
To store the appliance, use the storage aid on the
underside.
a)
Stand the appliance up by the handle.
b)
Slide the hook on the floor tool into the storage aid.
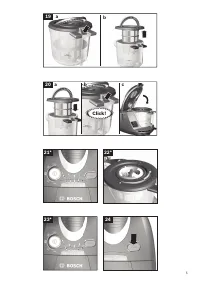
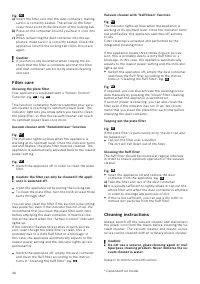
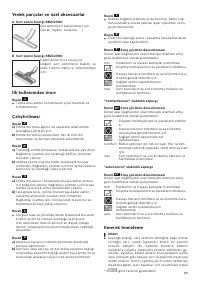
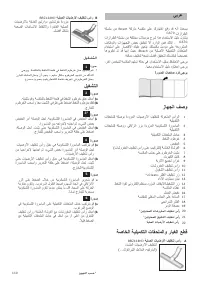
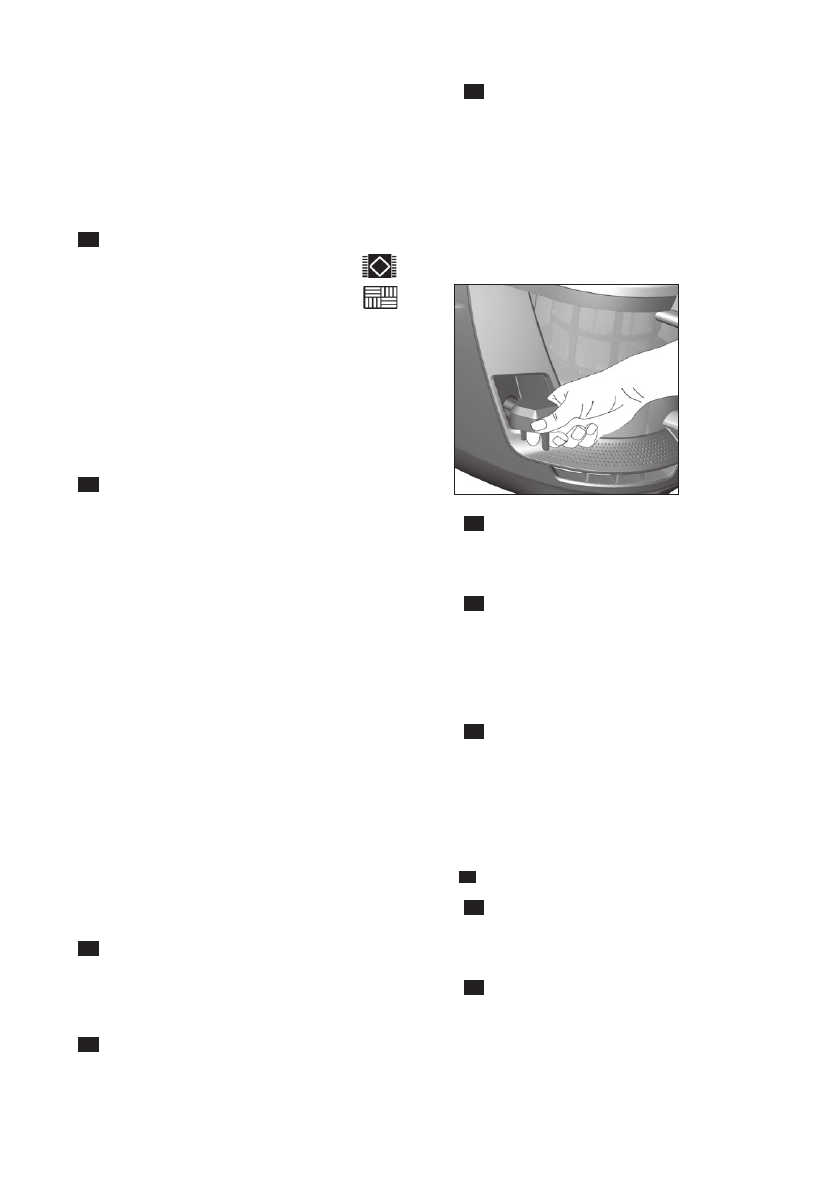
Emptying the dust container
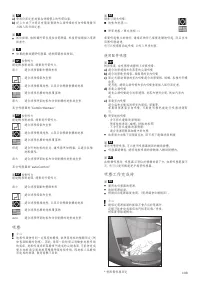
Fig.
19
In order to achieve good vacuuming results, the dust
container should be emptied after ever y use or, at the
latest, when dust or dir t has visibly collected on the
fluff filter or when dust at one point in the container
has reached the height of the marking.
When emptying the dust container, always check how
dir ty the fluff filter is and, if necessar y, clean it as
detailed in the "Cleaning the fluff filter" instructions.
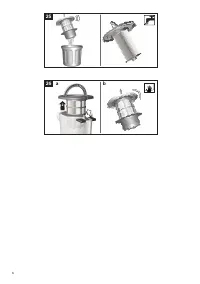
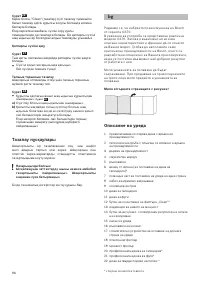
Fig.
28
Fig.
20
a)
Open the appliance lid by pulling the locking tab.
b)
Use the handle to remove the dust container from
the appliance.
Fig.
21
a)
Release the filter unit of the dust container by pres-
sing the release button.
b)
Take the filter unit out of the dust container and
empty the dust container.
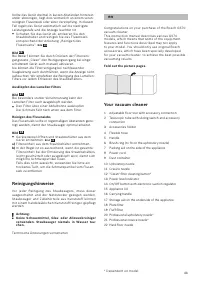
Характеристики

Остались вопросы?Не нашли свой ответ в руководстве или возникли другие проблемы? Задайте свой вопрос в форме ниже с подробным описанием вашей ситуации, чтобы другие люди и специалисты смогли дать на него ответ. Если вы знаете как решить проблему другого человека, пожалуйста, подскажите ему :)


