Пилы дисковые Bosch GAC 250 (0.601.2B6.020) - инструкция пользователя по применению, эксплуатации и установке на русском языке. Мы надеемся, она поможет вам решить возникшие у вас вопросы при эксплуатации техники.
Если остались вопросы, задайте их в комментариях после инструкции.
"Загружаем инструкцию", означает, что нужно подождать пока файл загрузится и можно будет его читать онлайн. Некоторые инструкции очень большие и время их появления зависит от вашей скорости интернета.


English |
21
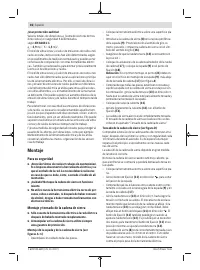
The service life of the saw chain relies heavily on it being ten-
sioned correctly.
Do not tension the saw chain if it is strongly heated because
it will tighten once it has cooled down and it will fit too tightly
on the chain bar.
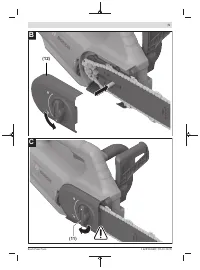
– Set down the power tool on a level surface.
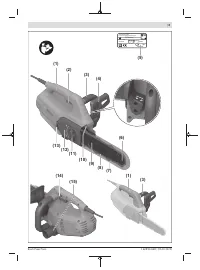
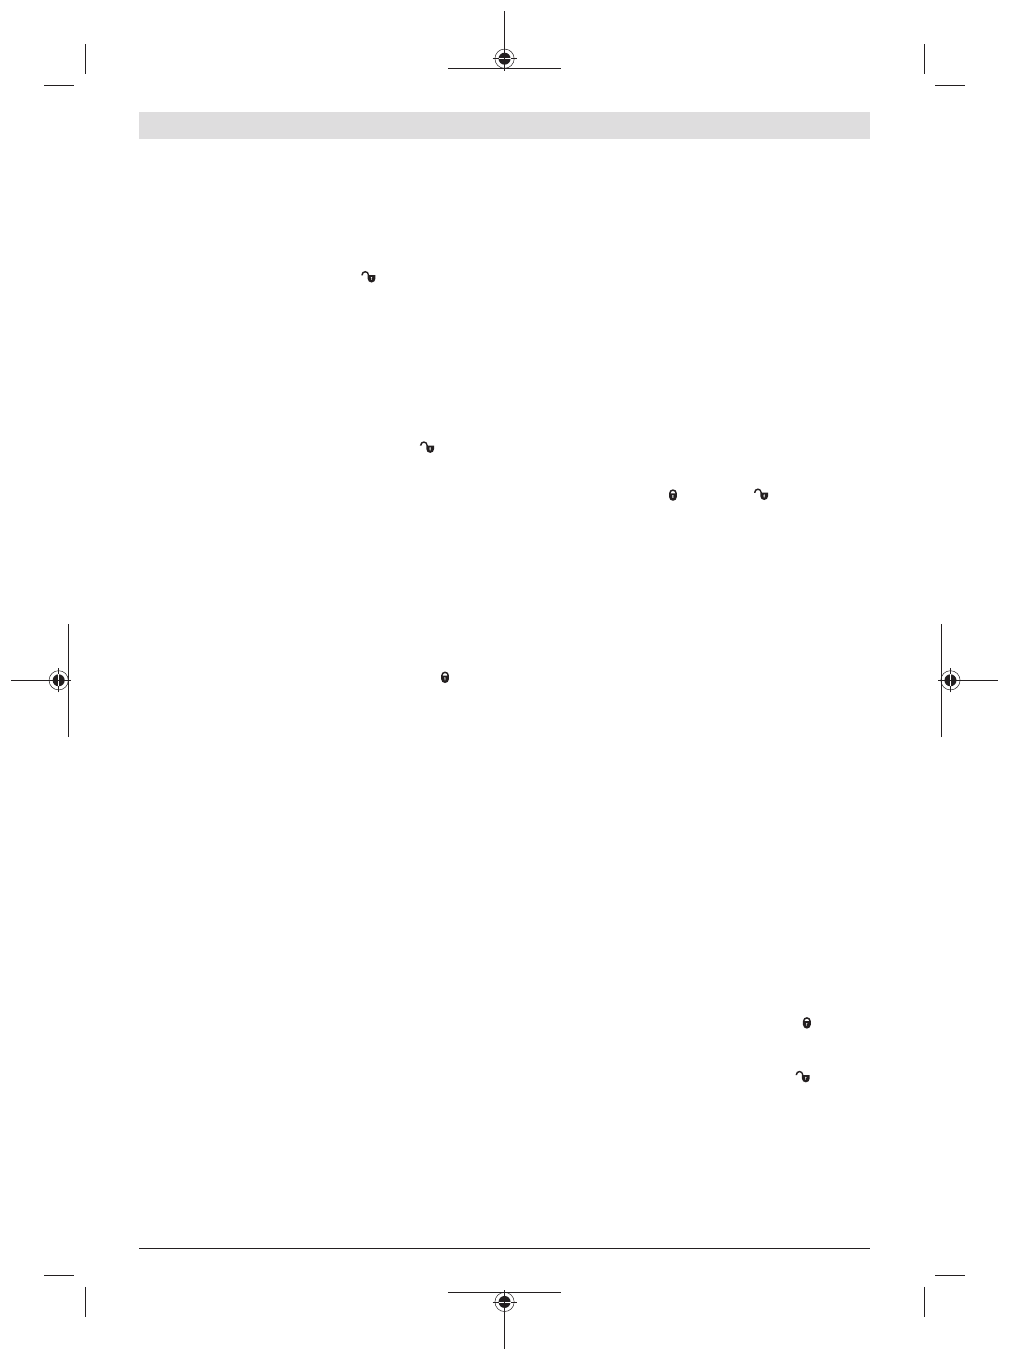
– Turn the lock-on button
(11)
in the
direction in order
to release the fixed chain bar.
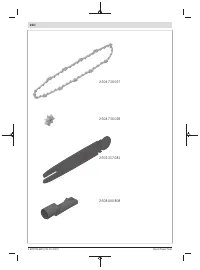
– Check whether the chain links are correctly positioned in
the guide slot of the chain bar
(9)
and on the sprocket
wheel
(17)
.
– Turn the tension wheel
(13)
in the
+
direction until the
correct chain tension has been reached. The latching
mechanism stops the chain tension from being released.
If the tension wheel
(13)
is hard to turn, you must con-
tinue to loosen the lock-on button
(11)
in the
direc-
tion. The lock-on button
(11)
can also rotate if the tension
wheel
(13)
is set. Two hands may be required to hold the
lock-on button
(11)
in position while setting the tension
wheel
(13)
.
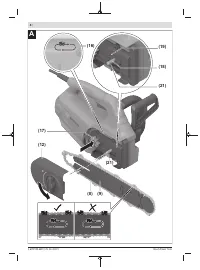
– The saw chain
(8)
is tensioned correctly if it can be lifted
in the middle by approx. 3–4 mm. This should be done
with one hand by pulling up the saw chain against the
power tool's own weight.
– If the saw chain
(8)
is tensioned excessively, turn the ten-
sion wheel
(13)
in the
–
direction.
– When the saw chain
(8)
is tensioned, secure the chain
bar
(9)
by turning the lock-on button
(11)
in the
direc-
tion. Do not use a tool to do this.
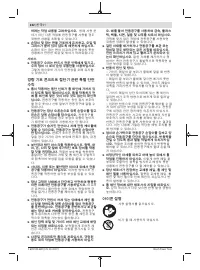
Dust/chip extraction
Dust from materials can be harmful to health. Touching or
breathing in this dust can trigger allergic reactions and/or
cause respiratory illnesses in the user or in people in the
near vicinity.
Certain dusts are classified as carcinogenic.
– Use a dust extraction system that is suitable for the ma-
terial wherever possible.
– Provide good ventilation at the workplace.
– It is advisable to wear a P2 filter class breathing mask.
u
Avoid dust accumulation at the workplace.
Dust can
easily ignite.
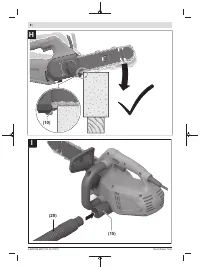
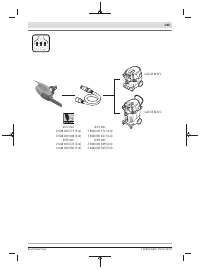
External Dust Extraction (see figure I)
Insert the extraction hose
(20)
with adapter into the extrac-
tion outlet
(15)
. Connect the dust extraction hose to a dust
extractor (accessory). You will find an overview of how to
connect to various dust extractors at the end of these oper-
ating instructions.
The power tool can be directly connected to the socket of a
Bosch all-purpose dust extractor with remote starter. This
dust extractor is started up automatically when the power
tool is switched on.
The dust extractor must be suitable for the material being
worked.
When extracting dry dust or dust that is especially detri-
mental to health or carcinogenic, use a special dust ex-
tractor.
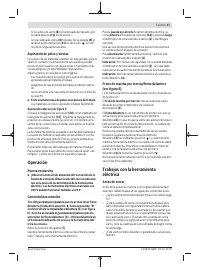
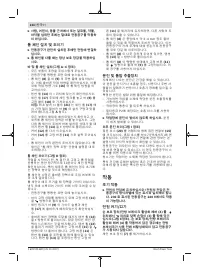
Operation
Starting Operation
u
Pay attention to the mains voltage! The voltage of the
power source must match the voltage specified on the
rating plate of the power tool.Power tools marked
with 230 V can also be operated with 220 V.
u
Products that are only sold in AUS and NZ:
Use a resid-
ual current device (RCD) with a nominal residual current
of 30 mA or less.
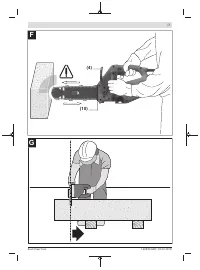
Switching On and Off
Pull the hand guard/lever for activating the front
brake
(4)
from position
to position
in the direction
of the front handle
(3)
(see figure
E). If you have not op-
erated the hand guard/lever for activating the front
brake
(4), the front brake has not been deactivated be-
fore use and the power tool will not start up.
Remove the chain guard
(7)
.
Hold the power tool as described in the "Working with the
Power Tool" section.
To
start
the power tool,
first
press the lock-off button
(14)
,
then
press and hold the on/off switch
(2)
.
If the power tool is running, you can release the lock-off func-
tion.
To
switch off
the power tool, release the on/off switch
(2)
.
Note:
For safety reasons, the on/off switch
(2)
cannot be
locked; it must remain pressed throughout operation.
Note:
Do not slow down the power tool by activating the
front brake
(4)
.
Run-Out Brake/Front Brake (see figure E)
The power tool is fitted with two protective devices:
The
run-out brake
slows down the saw chain after the on/off
switch
(2)
is released.
The
front brake
is a protective mechanism that is triggered
via the lever for activating the front brake
(4)
if the power
tool kicks back or the on/off switch fails. The saw chain stops
immediately.
Perform a function test from time to time. Push the lever for
activating the front brake
(4)
forwards (position
) and
briefly switch on the power tool. The saw chain must not
start up. To unlock the front brake again, pull the lever for ac-
tivating the front brake
(4)
back again (position
).
Do not carry the power tool by the lever for activating the
front brake.
Bosch Power Tools
1 609 92A 6BF | (25.10.2022)
Содержание
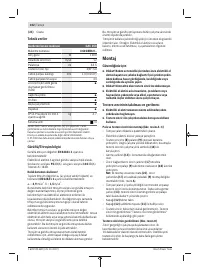
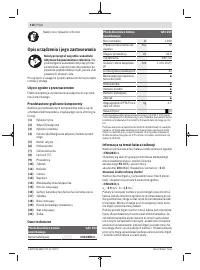
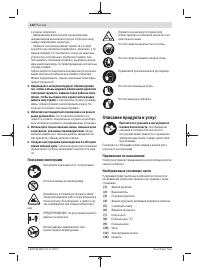
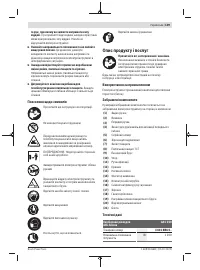
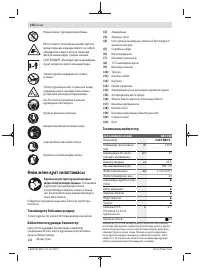
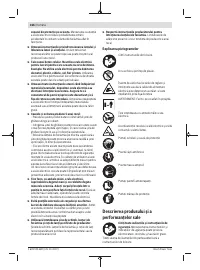
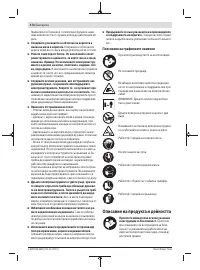
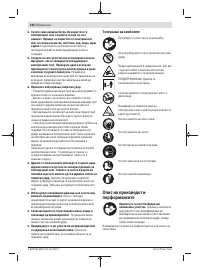
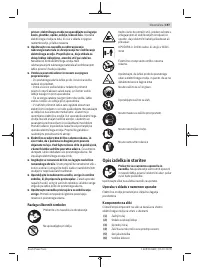
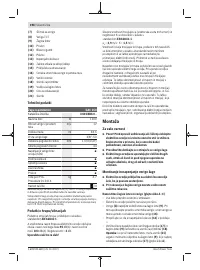
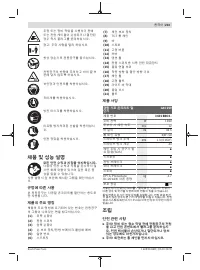
- 140 Пояснение пиктограмм; Описание продукта и услуг; Применение по назначению
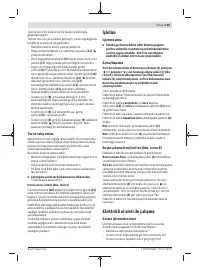
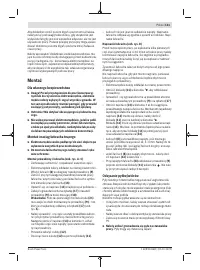
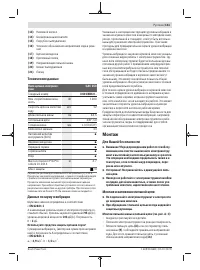
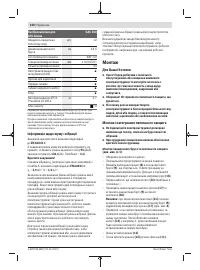
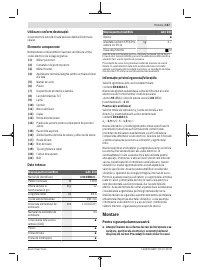
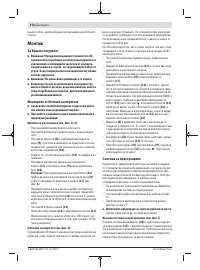
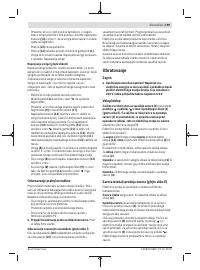
- 141 Монтаж; Для Вашей безопасности
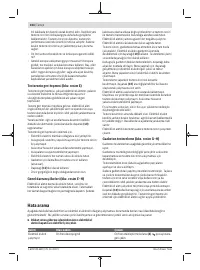
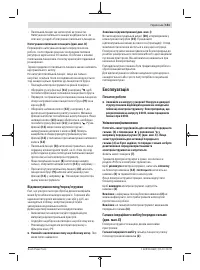
- 142 Удаление пыли и стружки; Работа с инструментом; Включение
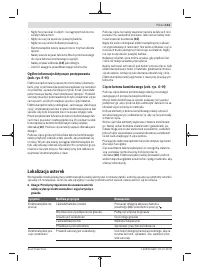
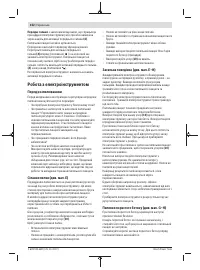
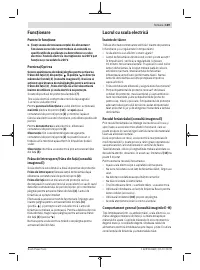
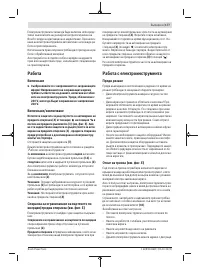
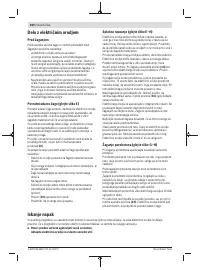
- 143 Работа с электроинструментом; Перед пилением
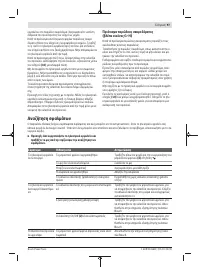
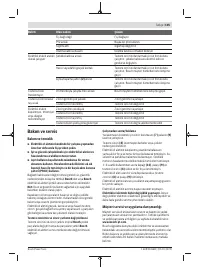
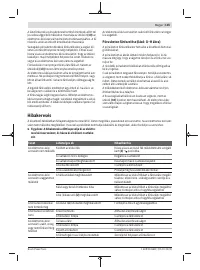
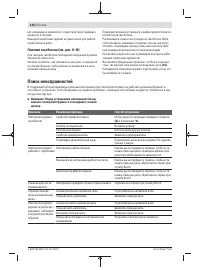
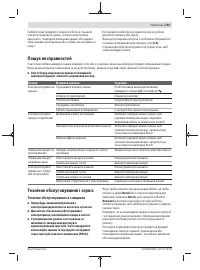
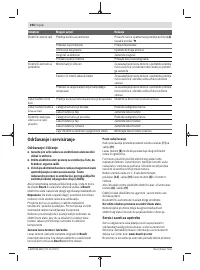
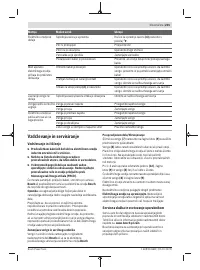
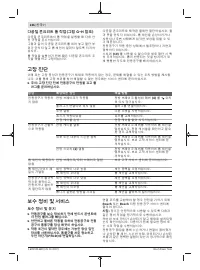
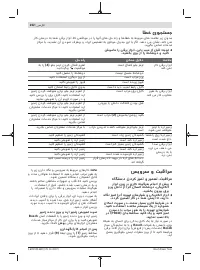
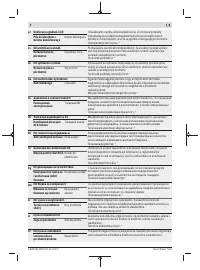
- 144 Поиск неисправностей
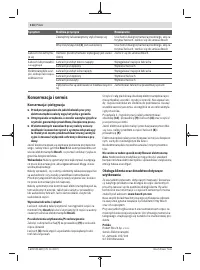
- 145 Техобслуживание и сервис; Техобслуживание и очистка
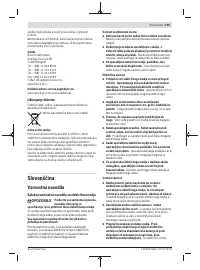
- 146 Утилизация; Українська; Вказівки з техніки безпеки; ДЖЕННЯ
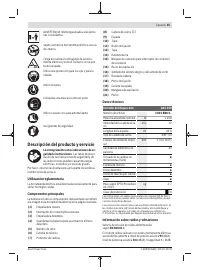
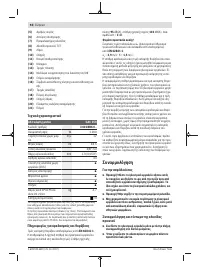
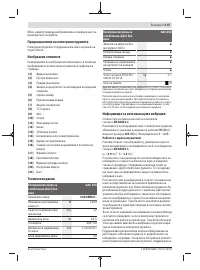
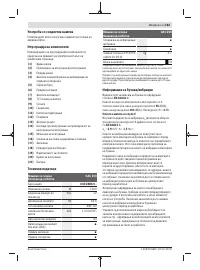
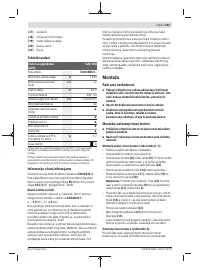
Характеристики

Остались вопросы?Не нашли свой ответ в руководстве или возникли другие проблемы? Задайте свой вопрос в форме ниже с подробным описанием вашей ситуации, чтобы другие люди и специалисты смогли дать на него ответ. Если вы знаете как решить проблему другого человека, пожалуйста, подскажите ему :)


