Пилы дисковые Bosch GAC 250 (0.601.2B6.020) - инструкция пользователя по применению, эксплуатации и установке на русском языке. Мы надеемся, она поможет вам решить возникшие у вас вопросы при эксплуатации техники.
Если остались вопросы, задайте их в комментариях после инструкции.
"Загружаем инструкцию", означает, что нужно подождать пока файл загрузится и можно будет его читать онлайн. Некоторые инструкции очень большие и время их появления зависит от вашей скорости интернета.


20
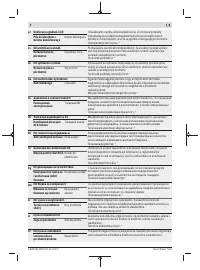
| English
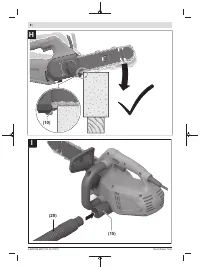
(20)
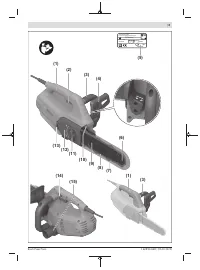
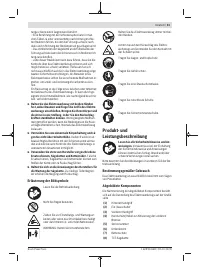
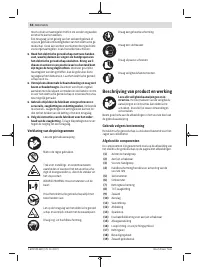
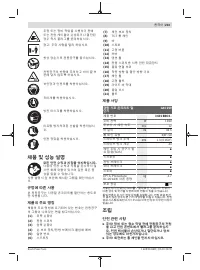
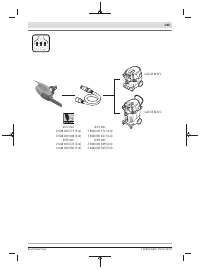
Extraction hose
(21)
Bolt
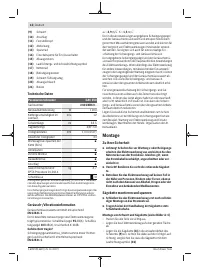
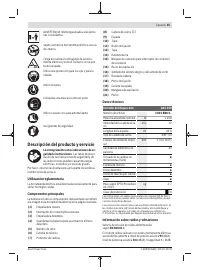
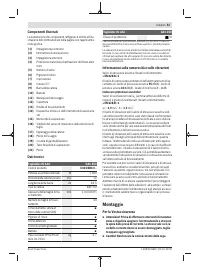
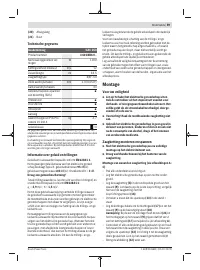
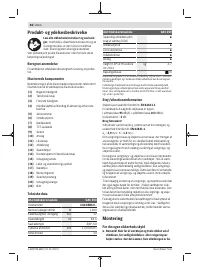
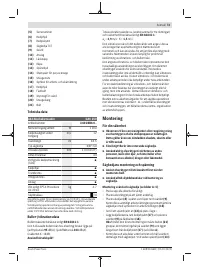
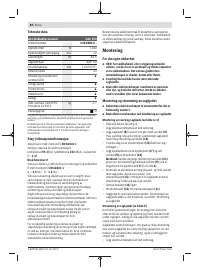
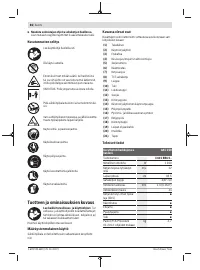
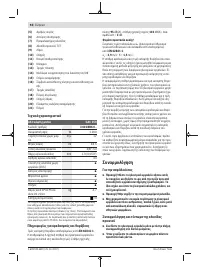
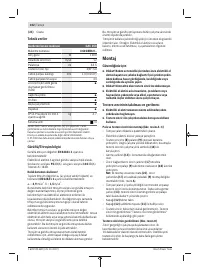
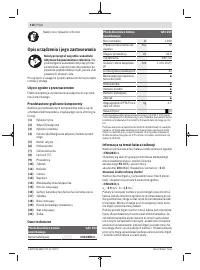
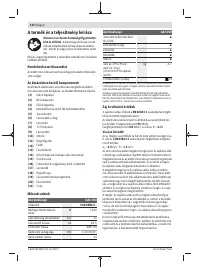
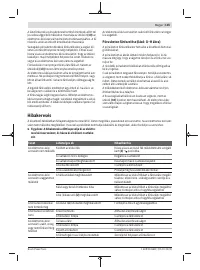
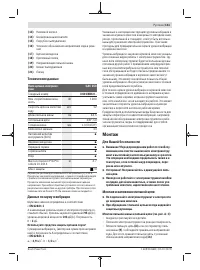
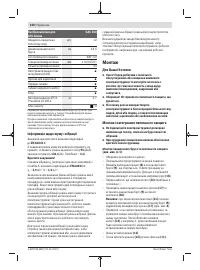
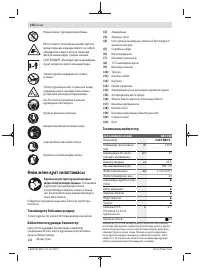
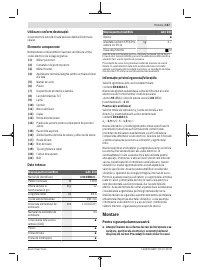
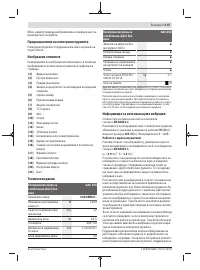
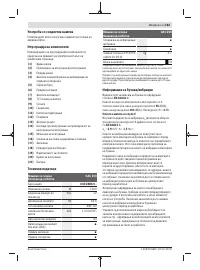
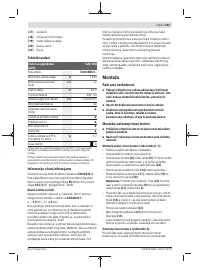
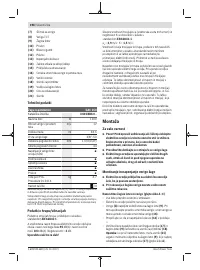
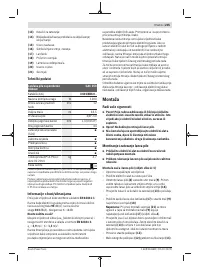
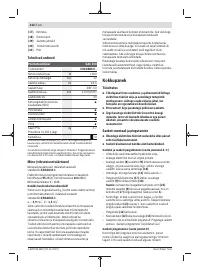
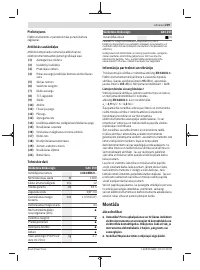
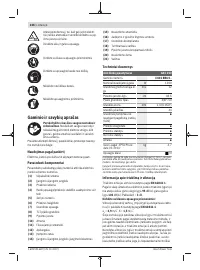
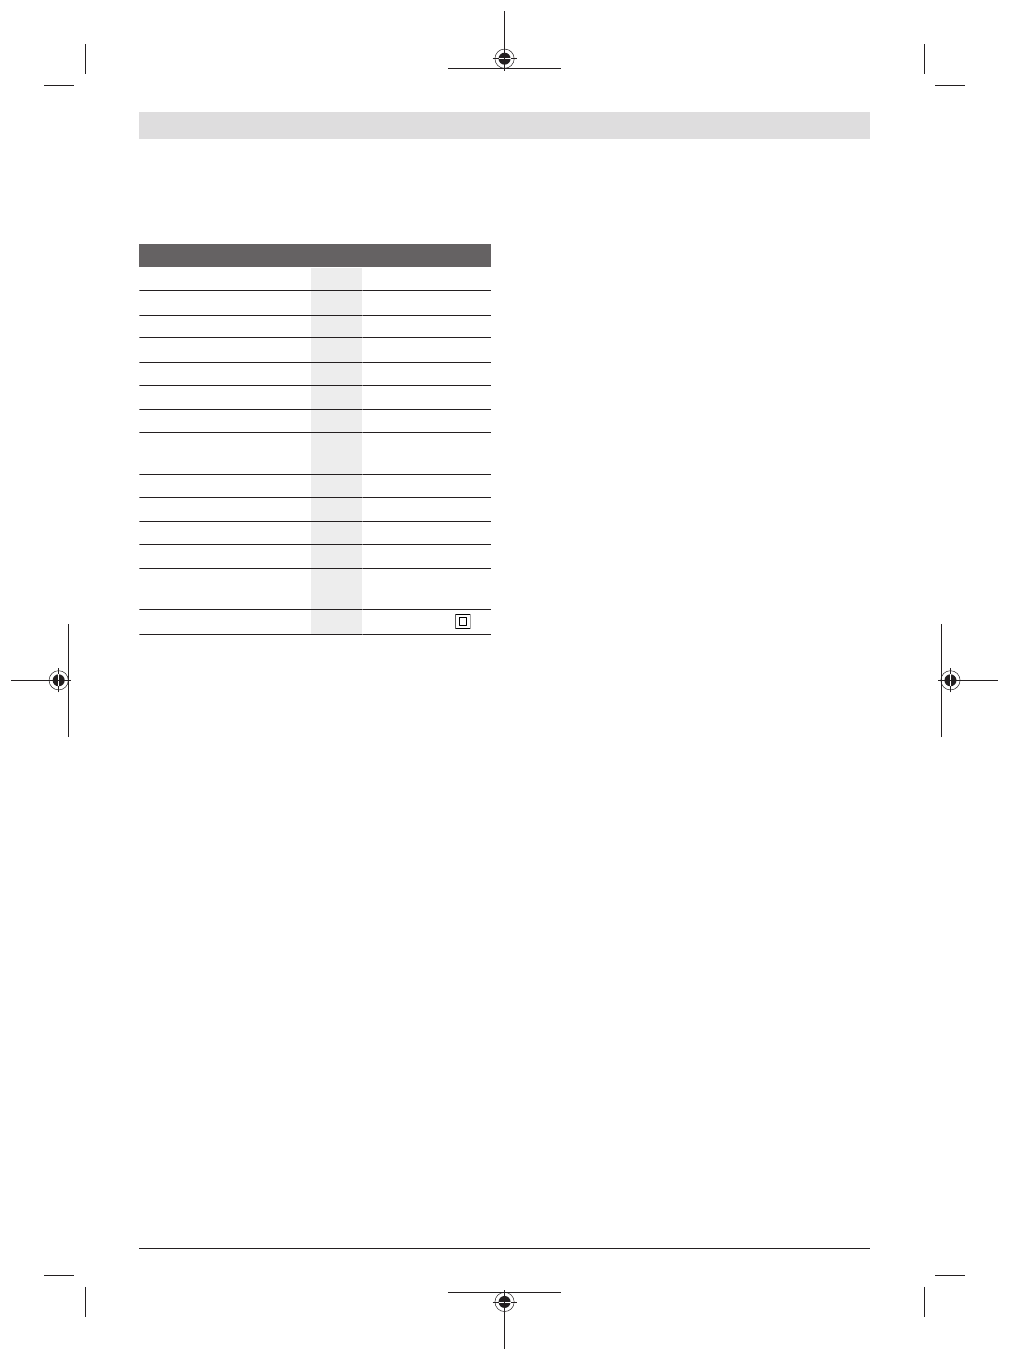
Technical Data
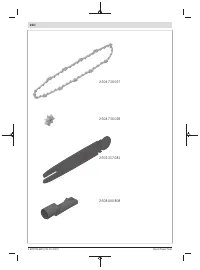
AAC Block cutter
GAC 250
Article number
3 601 BB6 0..
Rated power input
W
1200
Chain speed at no load
m/s
12
Chain bar length
cm
33.5
Saw chain type
3/8"–50
Drive link thickness
mm
1.3 (0.050")
Number of drive links
44
Tool-free chain tensioning
(SDS)
●
Nose sprocket
●
Front brake
●
Run-out brake
●
Stop
●
Weight according to EPTA-
Procedure 01:2014
kg
4.7
Protection class
/ II
The specifications apply to a rated voltage [U] of 230 V. These spe-
cifications may vary at different voltages and in country-specific mod-
els.
Starting cycles generate brief voltage drops. Interference with other
equipment/machines may occur in case of unfavourable mains sys-
tem conditions. Malfunctions are not to be expected for system im-
pedances below 0.25 ohm.
Noise/Vibration Information
Noise emission values determined according
to
EN 62841-1
.
Typically, the A-weighted noise level of the power tool is:
Sound pressure level
95
dB(A); sound power
level
103
dB(A). Uncertainty K =
3
dB.
Wear hearing protection!
Vibration total values a
h
(triax vector sum) and uncertainty K
determined according to
EN 62841-1
:
a
h
=
3.9
m/s
2
, K =
1.5
m/s
2
.
The vibration level and noise emission value given in these
instructions have been measured in accordance with a
standardised measuring procedure and may be used to com-
pare power tools. They may also be used for a preliminary
estimation of vibration and noise emissions.
The stated vibration level and noise emission value repres-
ent the main applications of the power tool. However, if the
power tool is used for other applications, with different ap-
plication tools or is poorly maintained, the vibration level
and noise emission value may differ. This may significantly
increase the vibration and noise emissions over the total
working period.
To estimate vibration and noise emissions accurately, the
times when the tool is switched off or when it is running but
not actually being used should also be taken into account.
This may significantly reduce vibration and noise emissions
over the total working period.
Implement additional safety measures to protect the oper-
ator from the effects of vibration, such as servicing the
power tool and application tools, keeping their hands warm,
and organising workflows correctly.
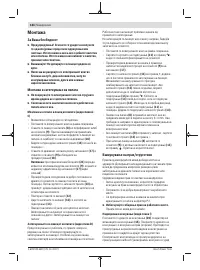
Assembly
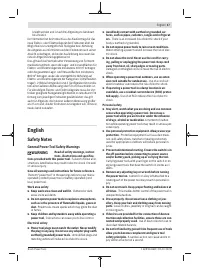
For Your Safety
u
Warning! Switch off, remove plug from mains before
adjusting or cleaning. The same applies when the
mains cable is damaged, cut or entangled.
u
Caution! Do not touch the rotating chain.
u
Never operate the power tool in the vicinity of per-
sons, children or animals or after consuming alcohol,
drugs or taking numbing medication.
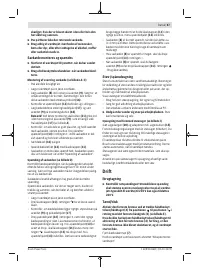
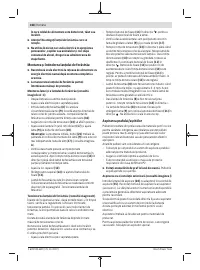
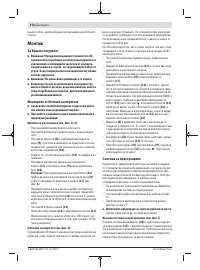
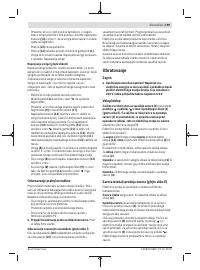
Mounting and Tensioning the Chain Saw
u
Only connect the power tool to the mains supply once
it has been fully assembled.
u
Always wear protective gloves when handling the
chain.
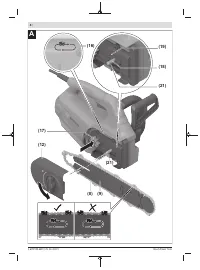
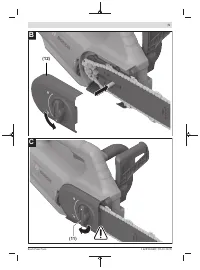
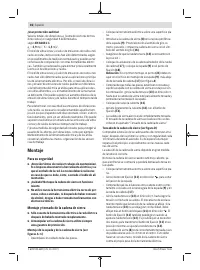
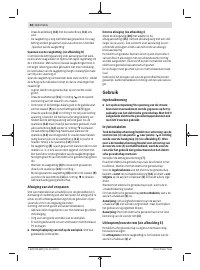
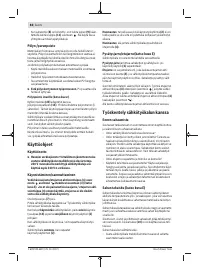
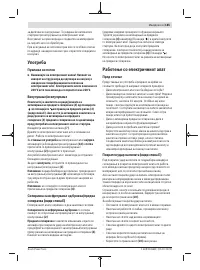
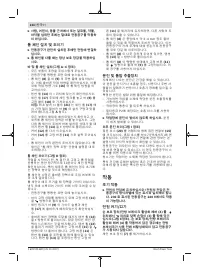
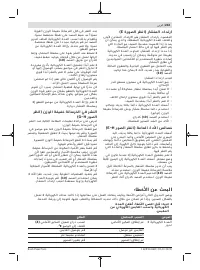
Assembling the Chain Bar and Saw Chain (see figures A–
C)
– Carefully unpack all of the parts.
– Set down the power tool on a level surface.
– Insert the saw chain
(8)
into the circumferential groove of
the chain bar
(9)
. Ensure that the running direction is cor-
rect. To do this, compare the saw chain against the run-
ning direction symbol
(16)
.
– Make sure that the tension wheel
(13)
is in the
–
position.
– Put the chain links around the sprocket wheel
(17)
and
position the chain bar
(9)
on the fastening bolt
(18)
.
Note:
During initial assembly, the bolt
(21)
must engage
in the mounting hole on the chain bar
(9)
that is furthest
away from the sprocket wheel
(17)
(see figure
A
).
– Check whether all of the parts are positioned correctly
and hold the chain bar with the saw chain in this position.
Then turn the tension wheel
(13)
in the
+
direction until
the saw chain is partially tensioned and remains mounted
on the chain bar.
– Replace the cover
(12)
.
– Tighten the cover
(12)
slightly with the lock-on
button
(11)
.
– The saw chain is not yet fully tensioned. The saw chain is
tensioned as described in the "Tensioning the Saw Chain"
section.
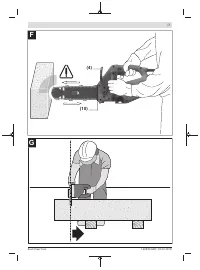
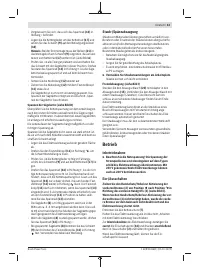
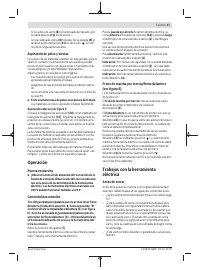
Tensioning the Saw Chain (see figure D)
Check the chain tension regularly every ten minutes, includ-
ing before starting work, after the initial steps and during
sawing. Particularly when using new saw chains, increased
extension should be expected initially.
1 609 92A 6BF | (25.10.2022)
Bosch Power Tools
Содержание
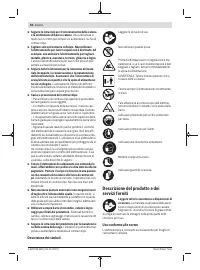
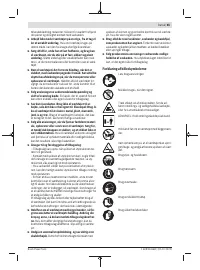
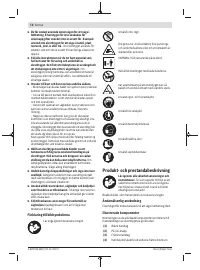
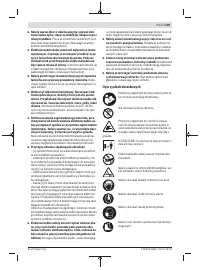
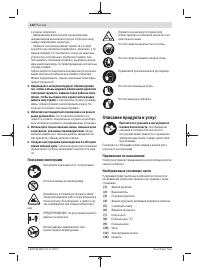
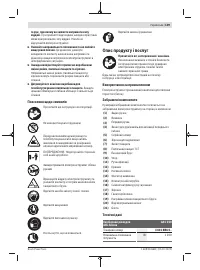
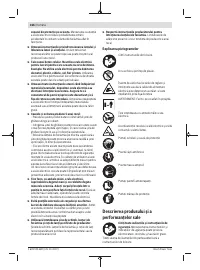
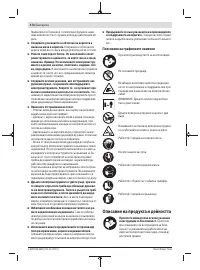
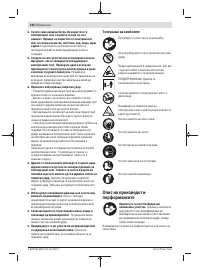
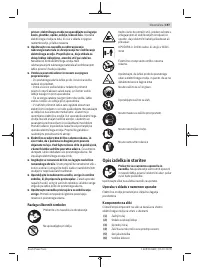
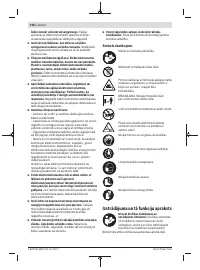
- 140 Пояснение пиктограмм; Описание продукта и услуг; Применение по назначению
- 141 Монтаж; Для Вашей безопасности
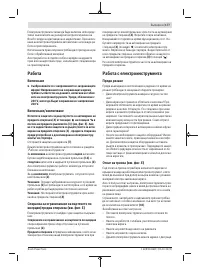
- 142 Удаление пыли и стружки; Работа с инструментом; Включение
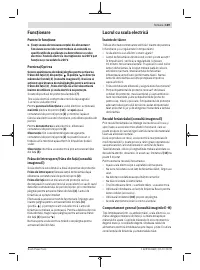
- 143 Работа с электроинструментом; Перед пилением
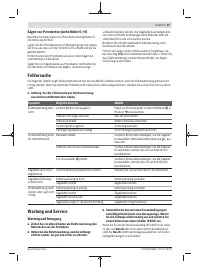
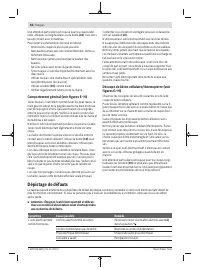
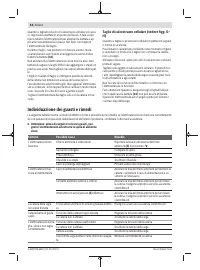
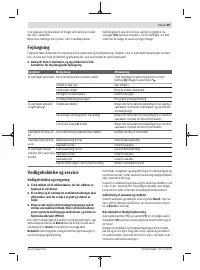
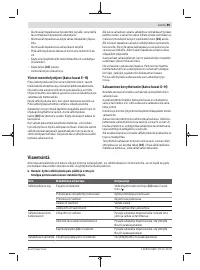
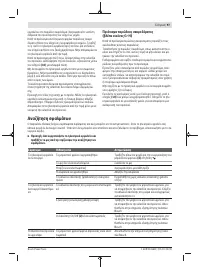
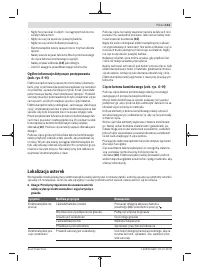
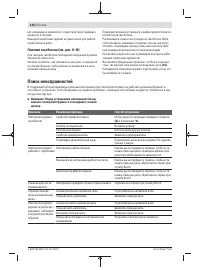
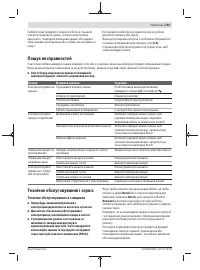
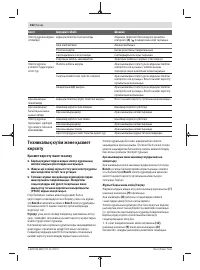
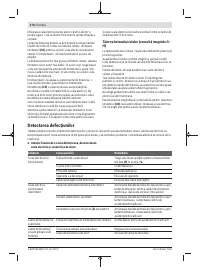
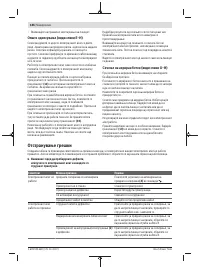
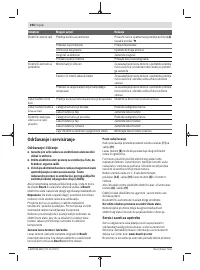
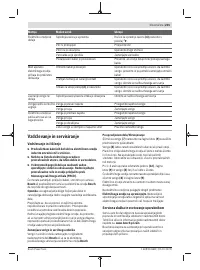
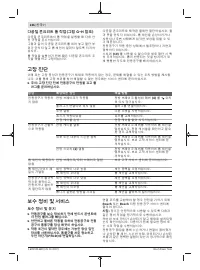
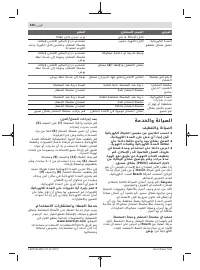
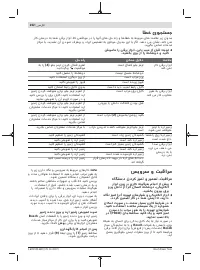
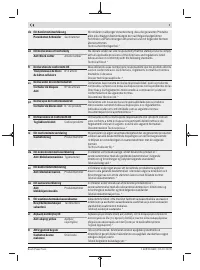
- 144 Поиск неисправностей
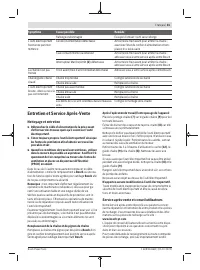
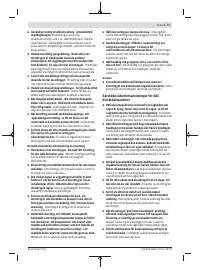
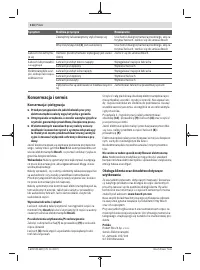
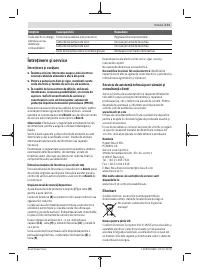
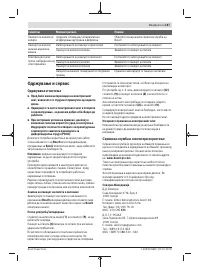
- 145 Техобслуживание и сервис; Техобслуживание и очистка
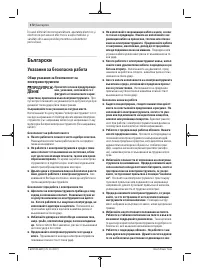
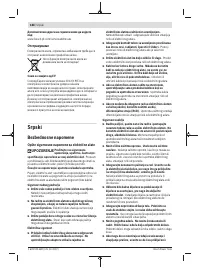
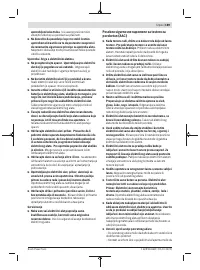
- 146 Утилизация; Українська; Вказівки з техніки безпеки; ДЖЕННЯ
Характеристики

Остались вопросы?Не нашли свой ответ в руководстве или возникли другие проблемы? Задайте свой вопрос в форме ниже с подробным описанием вашей ситуации, чтобы другие люди и специалисты смогли дать на него ответ. Если вы знаете как решить проблему другого человека, пожалуйста, подскажите ему :)


