
Пароочистители Karcher SC 2 Upright EasyFix - инструкция пользователя по применению, эксплуатации и установке на русском языке. Мы надеемся, она поможет вам решить возникшие у вас вопросы при эксплуатации техники.
Если остались вопросы, задайте их в комментариях после инструкции.
"Загружаем инструкцию", означает, что нужно подождать пока файл загрузится и можно будет его читать онлайн. Некоторые инструкции очень большие и время их появления зависит от вашей скорости интернета.


English
11
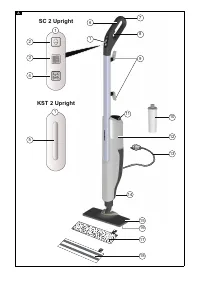
Description of the device
The maximum amount of equipment is described in
these operating instructions. Depending on the model
used, there are differences in the scope of delivery (see
packaging).
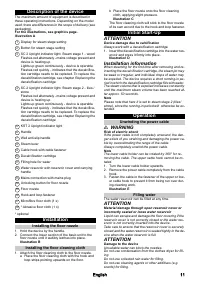
For the illustrations, see graphics page.
Illustration A
1
Display for steam stage setting
2
Button for steam stage setting
3
SC 2 Upright indicator light: Steam stage 1 - wood
Flashes red alternately - mains voltage present and
device is heating up
Lights up green continuously - device is operable
Flashes red quickly - indicates that the decalcifica-
tion cartridge needs to be replaced. To replace the
decalcification cartridge, see chapter
Replacing the
decalcification cartridge
.
4
SC 2 Upright indicator light: Steam stage 2 - tiles /
stone
Flashes red alternately - mains voltage present and
device is heating up
Lights up green continuously - device is operable
Flashes red quickly - indicates that the decalcifica-
tion cartridge needs to be replaced. To replace the
decalcification cartridge, see chapter
Replacing the
decalcification cartridge
.
5
KST 2 Upright indicator light
6
Handle
7
Wall anti-slip handle
8
Steam lever
9
Cable hook with cable fastener
10
Decalcification cartridge
11
Filling hole for water
12
Water reservoir with reservoir cover and carrying
handle
13
Mains connection with mains plug
14
Unlocking button for floor nozzle
15
Floor nozzle
16
Hook and loop fastener
17
Microfibre floor cloth (1 x)
18
* Abrasive floor cloth (1 x)
* optional
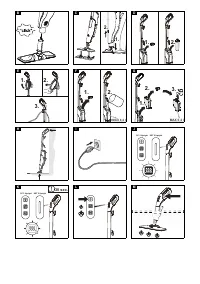
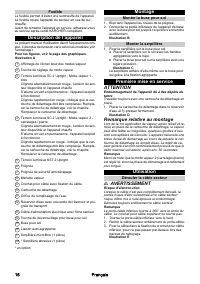
Installation
Installing the floor nozzle
1. Hold the device by the handle.
2. Connect the lower section of the basic unit to the
floor nozzle until it audibly latches into place.
Illustration B
Installing the floor cleaning cloth
1. Attach the floor cleaning cloth to the floor nozzle.
a Place the floor cleaning cloth with the hook and
loop strips pointing upwards on the floor.
b Place the floor nozzle onto the floor cleaning
cloth, applying slight pressure.
Illustration C
The floor cleaning cloth will stick to the floor nozzle
of its own accord due to the hook and loop fastener.
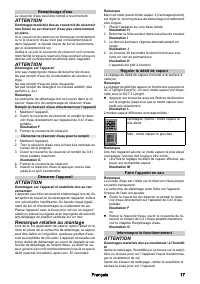
Initial Start-Up
ATTENTION
Device damage due to calcification
Always work with a decalcification cartridge.
1. Insert the decalcification cartridge into the water res-
ervoir and press it firmly into place.
Illustration D
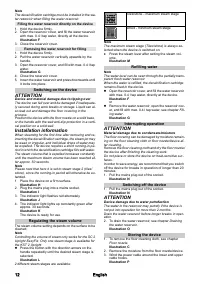
Installation information
When steaming for the first time after removing and re-
inserting the decalcification cartridge, the steam jet may
be weak or irregular, and individual drops of water may
be expelled. The device requires a short running-in pe-
riod in which the decalcification cartridge fills with water.
The steam volume that is expelled increases constantly
until the maximum steam volume has been reached af-
ter approx. 50 seconds.
Note
Please note that here it is set to steam stage 2 (tiles/
stone), since the running-in period will otherwise be ex-
tended.
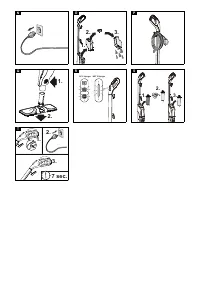
Operation
Unwinding the power cable
몇
WARNING
Risk of electric shock
If the power cable is not completely unwound, the dan-
ger exists of you straining and damaging the power ca-
ble by overestimating the range of the cable.
Always completely unwind the power cable.
Note
The lower cable holder can be rotated by 360° for re-
moving the cable. The upper cable hook cannot be ro-
tated.
1. Turn the lower cable holder upwards.
2. Remove the power cable completely from the cable
hook.
3. Fasten the cable in the fastener of the upper or low-
er cable hook to prevent it from being run over dur-
ing cleaning work.
Illustration E
Filling water
The water reservoir can be filled at any time.
ATTENTION
Material damage through open reservoir cover or
incorrectly seated or loose water reservoir
Liquid can escape and damage the floor covering if the
reservoir cover is not correctly closed or the water res-
ervoir is not correctly inserted into the device.
Take care to ensure that the reservoir cover is securely
closed and the water reservoir is seated tightly in the de-
vice when the water reservoir is full.
ATTENTION
Damage to the device
Unsuitable water can block the nozzles.
Do not use condensation from the clothes dryer for fill-
ing.
Do not use collected rain water for filling.
Do not use cleaning agents or other additives (e.g.
scents) for filling.
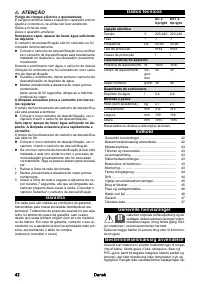
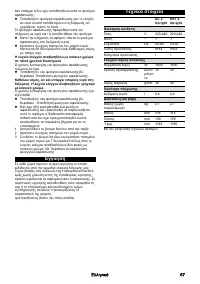
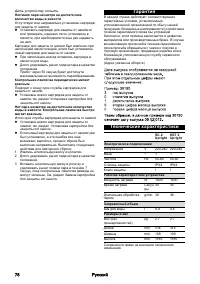
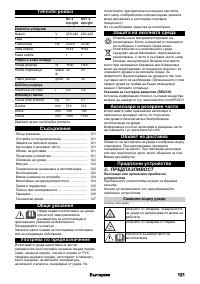
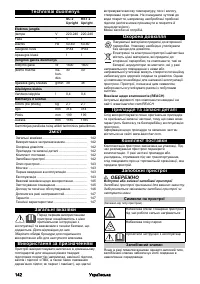
Характеристики

Остались вопросы?Не нашли свой ответ в руководстве или возникли другие проблемы? Задайте свой вопрос в форме ниже с подробным описанием вашей ситуации, чтобы другие люди и специалисты смогли дать на него ответ. Если вы знаете как решить проблему другого человека, пожалуйста, подскажите ему :)


