
Мультиметры BENNING MM 7-1 044085 - инструкция пользователя по применению, эксплуатации и установке на русском языке. Мы надеемся, она поможет вам решить возникшие у вас вопросы при эксплуатации техники.
Если остались вопросы, задайте их в комментариях после инструкции.
"Загружаем инструкцию", означает, что нужно подождать пока файл загрузится и можно будет его читать онлайн. Некоторые инструкции очень большие и время их появления зависит от вашей скорости интернета.


02/ 2020
BENNING MM 7-1
24
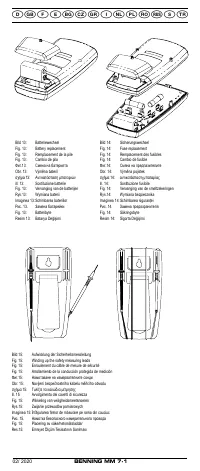
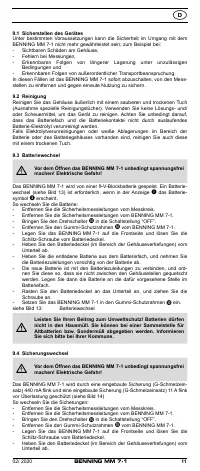
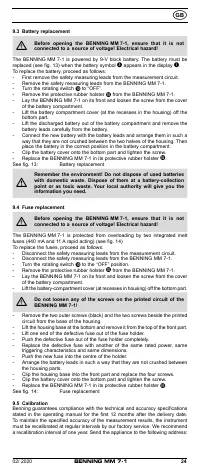
9.3 Battery replacement
Before opening the BENNING MM 7-1, ensure that it is not
connected to a source of voltage! Electrical hazard!
The BENNING MM 7-1 is powered by 9-V block battery. The battery must be
replaced (see fig. 13) when the battery symbol
appears in the display
.
To replace the battery, proceed as follows:
- First remove the safety measuring leads from the measurement circuit.
- Remove the safety measuring leads from the BENNING MM 7-1.
- Turn the rotating switch
to “OFF”.
- Remove the protective rubber holster
from the BENNING MM 7-1.
- Lay the BENNING MM 7-1 on its front and loosen the screw from the cover
of the battery compartment.
- Lift the battery compartment cover (at the recesses in the housing) off the
bottom part.
- Lift the discharged battery out of the battery compartment and remove the
battery leads carefully from the battery.
- Connect the new battery with the battery leads and arrange them in such a
way that they are not crushed between the two halves of the housing. Then
place the battery in the correct position in the battery compartment.
- Clip the battery cover onto the bottom part and tighten the screw.
- Replace the BENNING MM 7-1 in its protective rubber holster
.
See fig. 13:
Battery replacement
Remember the environment! Do not dispose of used batteries
with domestic waste. Dispose of them at a battery-collection
point or as toxic waste. Your local authority will give you the
information you need.
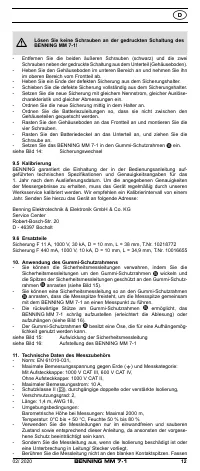
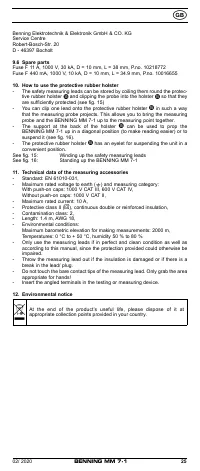
9.4 Fuse replacement
Before opening the BENNING MM 7-1, ensure that it is not
connected to a source of voltage! Electrical hazard!
The BENNING MM 7-1 is protected from overloading by two integrated melt
fuses (440 mA and 11 A rapid acting) (see fig. 14)
To replace the fuses, proceed as follows:
- Disconnect the safety measuring leads from the measurement circuit.
- Disconnect the safety measuring leads from the BENNING MM 7-1.
- Turn the rotating switch
to the “OFF” position.
- Remove the protective rubber holster
from the BENNING MM 7-1.
- Lay the BENNING MM 7-1 on its front and loosen the screw from the cover
of the battery compartment.
- Lift the battery-compartment cover (at recesses in housing) off the bottom part.
Do not loosen any of the screws on the printed circuit of the
BENNING MM 7-1!
- Remove the two outer screws (black) and the two screws beside the printed
circuit from the base of the housing.
- Lift the housing base at the bottom and remove it from the top of the front part.
- Lift one end of the defective fuse out of the fuse holder.
- Push the defective fuse out of the fuse holder completely.
- Replace the defective fuse with another of the same rated power, same
triggering characteristics and same dimensions.
- Push the new fuse into the centre of the holder.
- Arrange the battery leads in such a way that they are not crushed between
the housing parts.
- Clip the housing base into the front part and replace the four screws.
- Clip the battery cover onto the bottom part and tighten the screw.
- Replace the BENNING MM 7-1 in its protective rubber holster
.
See fig. 14:
Fuse replacement
9.5 Calibration
Benning guarantees compliance with the technical and accuracy specifications
stated in the operating manual for the first 12 months after the delivery date.
To maintain the specified accuracy of the measurement results, the instrument
must be recalibrated at regular intervals by our factory service. We recommend
a recalibration interval of one year. Send the appliance to the following address:


