
Мультиметры BENNING MM 7-1 044085 - инструкция пользователя по применению, эксплуатации и установке на русском языке. Мы надеемся, она поможет вам решить возникшие у вас вопросы при эксплуатации техники.
Если остались вопросы, задайте их в комментариях после инструкции.
"Загружаем инструкцию", означает, что нужно подождать пока файл загрузится и можно будет его читать онлайн. Некоторые инструкции очень большие и время их появления зависит от вашей скорости интернета.


02/ 2020
BENNING MM 7-1
21
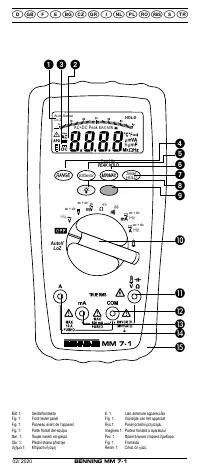
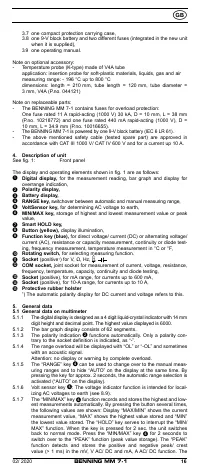
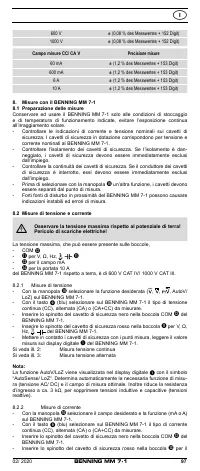
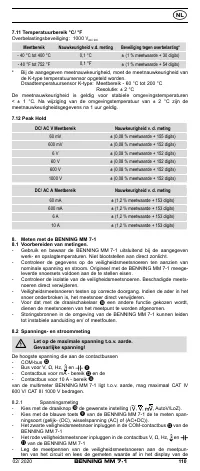
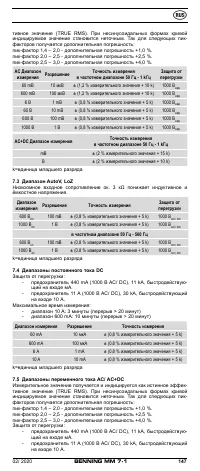
8. Measuring with the BENNING MM 7-1
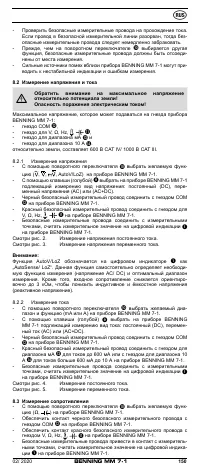
8.1 Preparation for measuring
Store and use the BENNING MM 7-1 only under the correct temperature condi-
tions stated. Always avoid longer exposure to sunlight.
- Check the rated voltage and rated current stated on the safety measuring
leads. The safety measuring leads supplied with the unit are suitable for the
rated voltage and current of the BENNING MM 7-1.
- Check the insulation of the safety measuring leads. If the insulation is dam-
aged in any way, do not use the leads.
- Check the continuity of the safety measuring leads. If the conductor in the
safety measuring lead is interrupted, do not use the leads.
- Before selecting another function with the rotating switch
, always discon-
nect the safety measuring leads from the measuring point.
- Sources of strong current in the vicinity of the BENNING MM 7-1 may
cause unstable or incorrect readings.
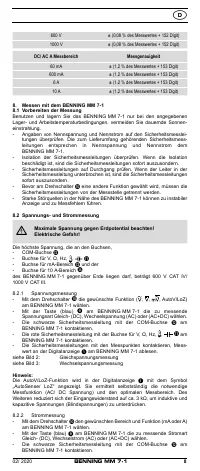
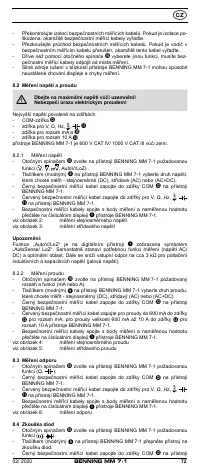
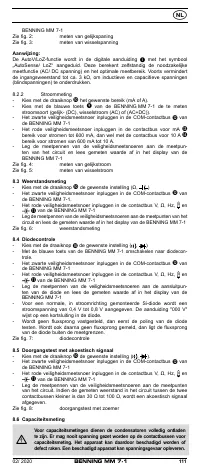
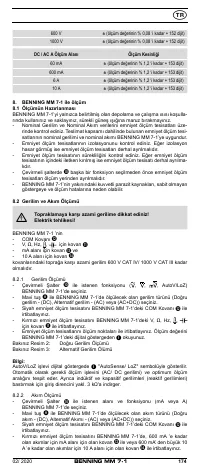
8.2 Voltage and current measurement
Always observe the maximum voltage to earth potential!
Electrical hazard!
The maximum voltage which may be applied to the sockets
- COM- socket
- socket for V, Ω, Hz,
,
- socket for mA range
and the
- socket for 10 A range
of the BENNING MM 7-1 to earth is 600 V CAT IV/ 1000 V CAT III.
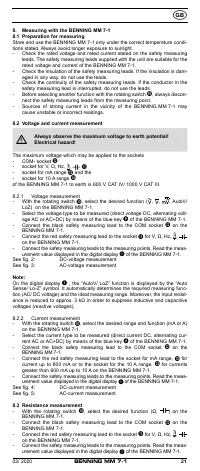
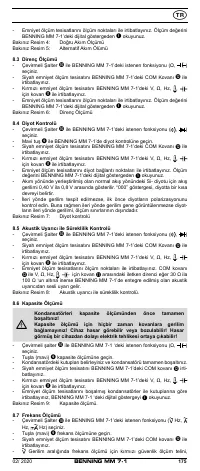
8.2.1 Voltage measurement
- With the rotating switch
, select the desired function ( , ,
, AutoV/
LoZ) on the BENNING MM 7-1.
- Select the voltage type to be measured (direct voltage DC, alternating volt-
age AC or AC+DC) by means of the blue key
of the BENNING MM 7-1.
- Connect the black safety measuring lead to the COM socket
on the
BENNING MM 7-1.
- Connect the red safety measuring lead to the socket
for V, Ω, Hz,
,
on the BENNING MM 7-1.
- Connect the safety measuring leads to the measuring points. Read the meas-
urement value displayed in the digital display
of the BENNING MM 7-1.
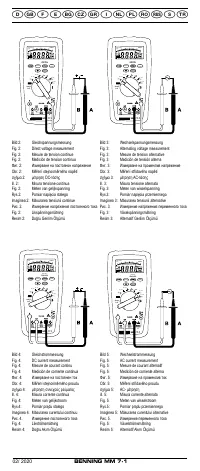
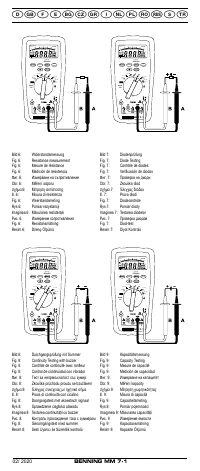
See fig. 2:
DC-voltage measurement
See fig. 3:
AC-voltage measurement
Note:
On the digital display
, the “AutoV/ LoZ” function is displayed by the “Auto
Sense/ Lo-Z” symbol. It automatically determines the required measuring func-
tion (AC/ DC voltage) and the ideal measuring range. Moreover, the input resist-
ance is reduced to approx. 3 kΩ in order to suppress inductive and capacitive
voltages (reactive voltages).
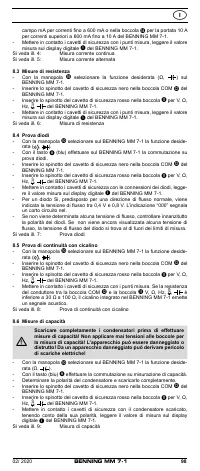
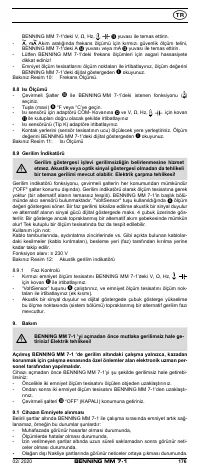
8.2.2 Current measurement
- With the rotating switch
, select the desired range and function (mA or A)
on the BENNING MM 7-1.
- Select the current type to be measured (direct current DC, alternating cur-
rent AC or AC+DC) by means of the blue key
of the BENNING MM 7-1.
- Connect the black safety measuring lead to the COM socket
on the
BENNING MM 7-1.
- Connect the red safety measuring lead to the socket for mA range,
for
current up to 600 mA or to the socket for the 10 A range,
for currents
greater than 600 mA up to 10 A on the BENNING MM 7-1.
- Connect the safety measuring leads to the measuring points. Read the meas-
urement value displayed in the digital display
of the BENNING MM 7-1.
See fig. 4:
DC-current measurement
See fig. 5:
AC-current measurement
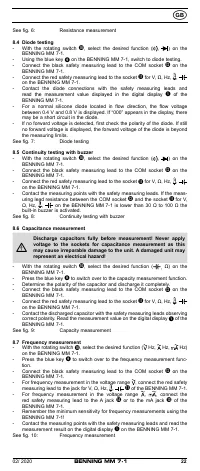
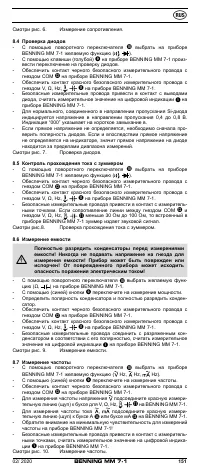
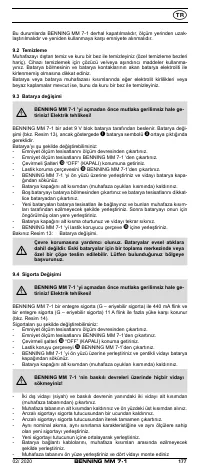
8.3 Resistance measurement
- With the rotating switch
, select the desired function (Ω,
) on the
BENNING MM 7-1.
- Connect the black safety measuring lead to the COM socket
on the
BENNING MM 7-1.
- Connect the red safety measuring lead to the socket
for V, Ω, Hz,
,
on the BENNING MM 7-1.
- Connect the safety measuring leads to the measuring points. Read the meas-
urement value displayed in the digital display
of the BENNING MM 7-1.


