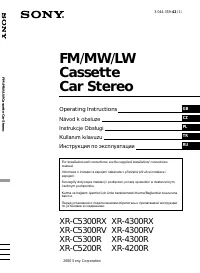
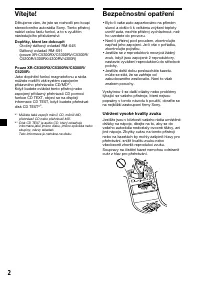
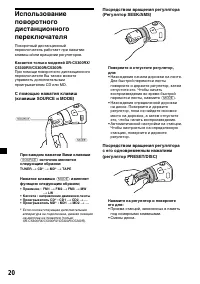
Магнитолы Sony XR-4200R - инструкция пользователя по применению, эксплуатации и установке на русском языке. Мы надеемся, она поможет вам решить возникшие у вас вопросы при эксплуатации техники.
Если остались вопросы, задайте их в комментариях после инструкции.
"Загружаем инструкцию", означает, что нужно подождать пока файл загрузится и можно будет его читать онлайн. Некоторые инструкции очень большие и время их появления зависит от вашей скорости интернета.


7
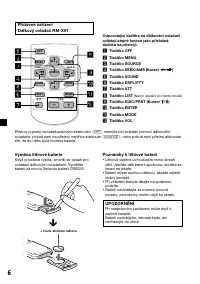
A
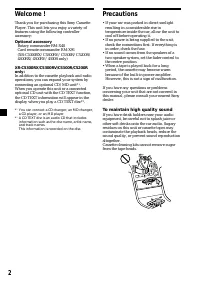
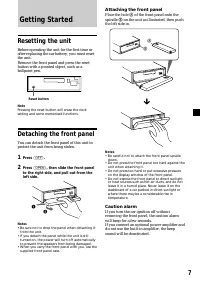
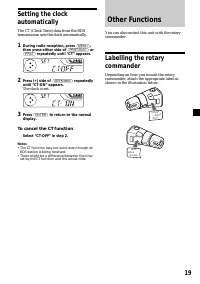
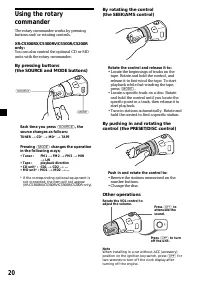
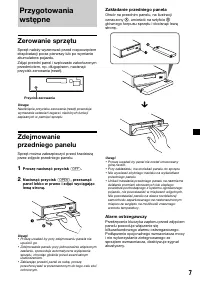
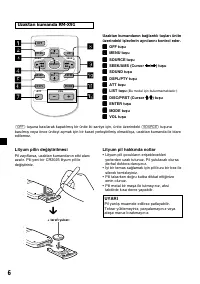
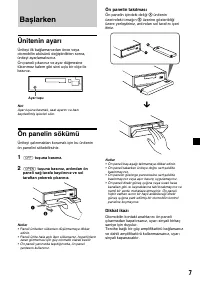
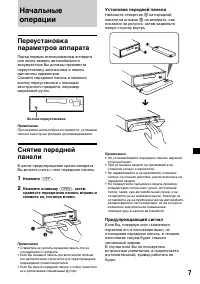
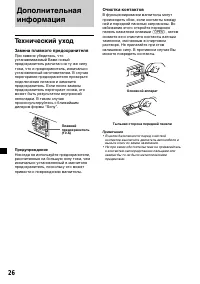
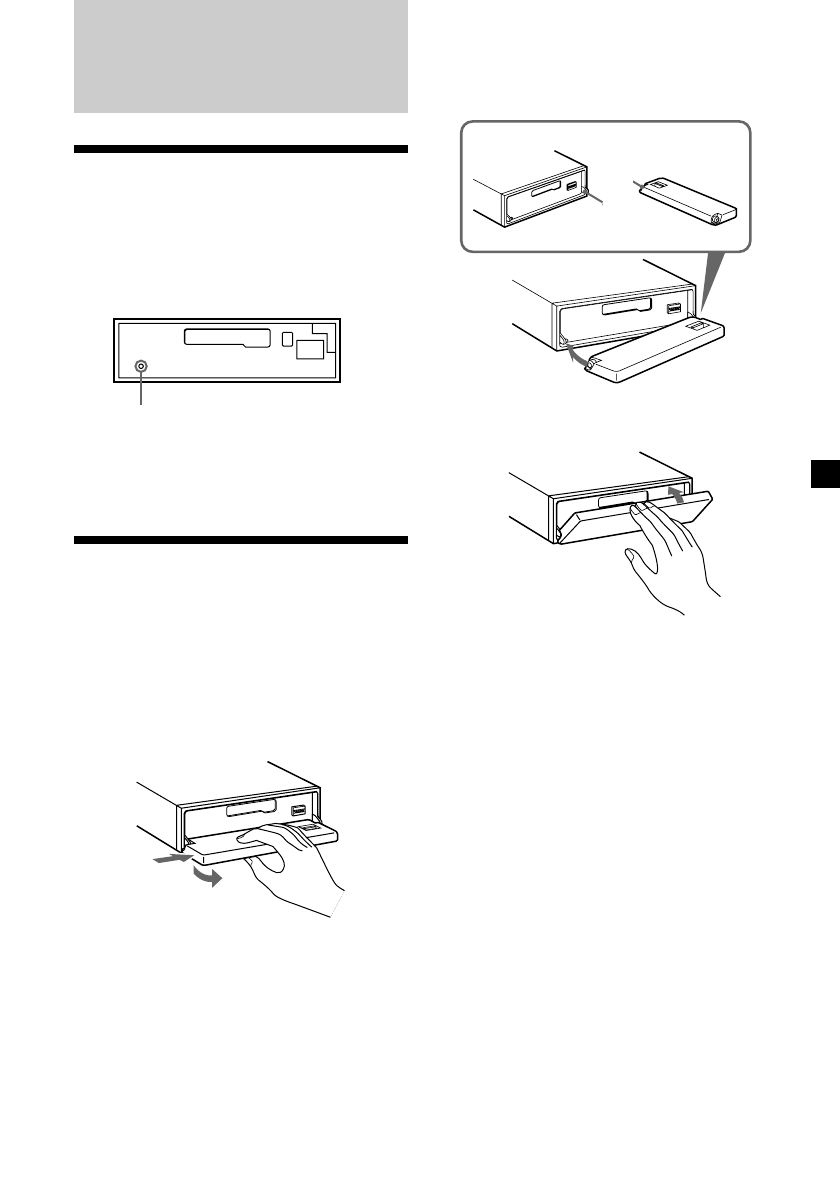
Attaching the front panel
Place the hole
A
of the front panel onto the
spindle
B
on the unit as illustrated, then push
the left side in.
Notes
• Be careful not to attach the front panel upside
down.
•
Do not press the front panel too hard against the
unit when attaching it.
•
Do not press too hard or put excessive pressure
on the display window of the front panel.
•
Do not expose the front panel to direct sunlight
or heat sources such as hot air ducts, and do not
leave it in a humid place. Never leave it on the
dashboard of a car parked in direct sunlight or
where there may be a considerable rise in
temperature.
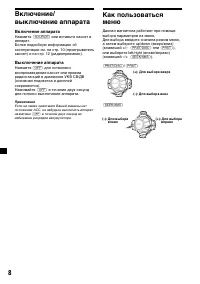
Caution alarm
If you turn the car ignition off without
removing the front panel, the caution alarm
will beep for a few seconds.
If you connect an optional power amplifier and
do not use the built-in amplifier, the beep
sound will be deactivated.
Getting Started
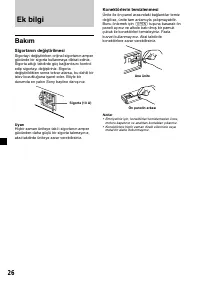
Resetting the unit
Before operating the unit for the first time or
after replacing the car battery, you must reset
the unit.
Remove the front panel and press the reset
button with a pointed object, such as a
ballpoint pen.
Note
Pressing the reset button will erase the clock
setting and some memorised functions.
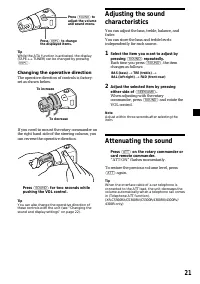
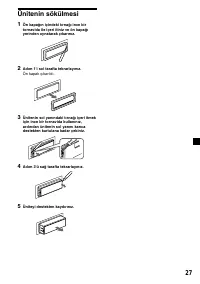
Detaching the front panel
You can detach the front panel of this unit to
protect the unit from being stolen.
1
Press
(OFF)
.
2
Press
(OPEN)
, then slide the front panel
to the right side, and pull out from the
left side.
Notes
• Be sure not to drop the panel when detaching it
from the unit.
•
If you detach the panel while the unit is still
turned on, the power will turn off automatically
to prevent the speakers from being damaged.
•
When you carry the front panel with you, use the
supplied front panel case.
Reset button
1
2
x
B
Содержание
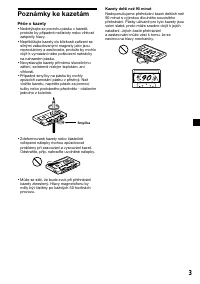
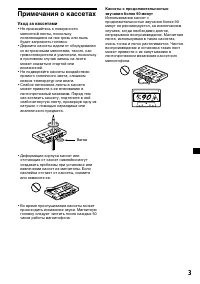
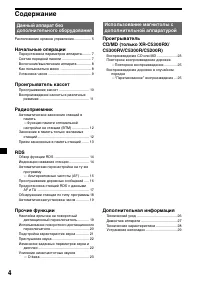
- 122 Дополнительная принадлежность; Меры предосторожности; Cдeлaно в Taилaндe
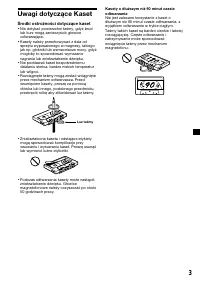
- 123 Примечания о кассетах; Уход за кассетами
- 124 Содержание
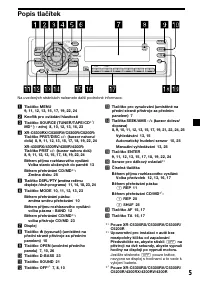
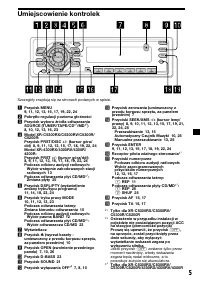
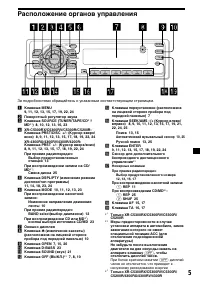
- 125 Расположение органов управления
- 127 Нажмите; Установка передней панели; Предупреждающий сигнал
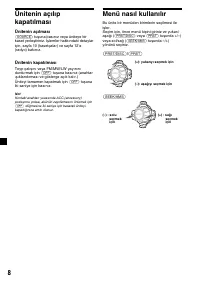
- 128 Включение аппарата
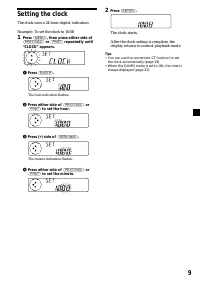
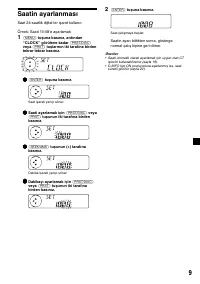
- 129 Установка часов
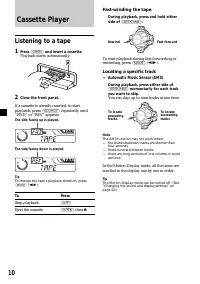
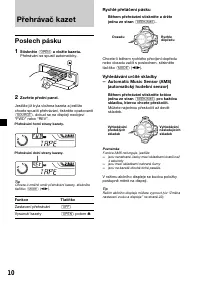
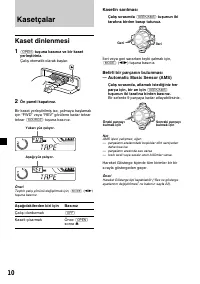
- 130 Прослушивание кассет; Для того чтобы; Быстрая перемотка ленты
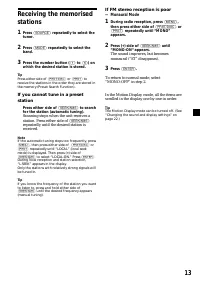
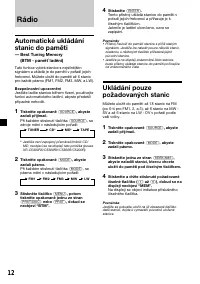
- 132 Радиоприемник
- 133 Монофонический режим
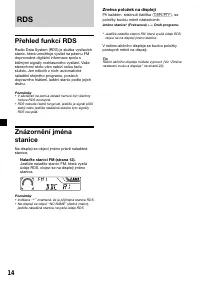
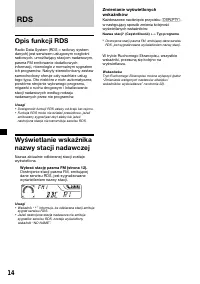
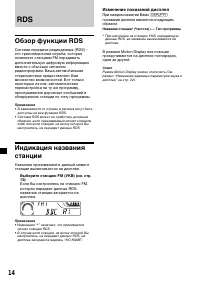
- 134 Обзор функции RDS; Изменение показаний дисплея
- 136 Прием аварийных сообщений
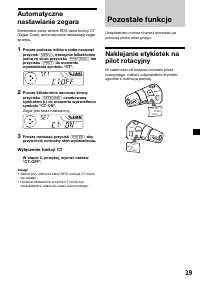
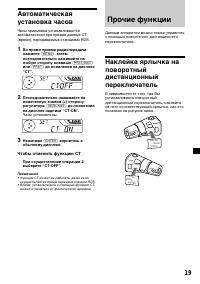
- 139 Прочие функции; или; Чтобы отменить функцию СT
- 140 При каждом нажатии Вами клавиши
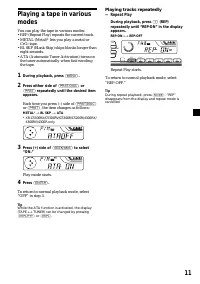
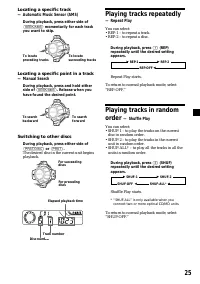
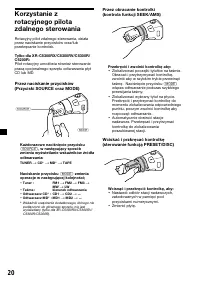
- 141 Прочие операции; Изменение рабочего направления; Нажмите клавишу; Многократным нажатием клавиши
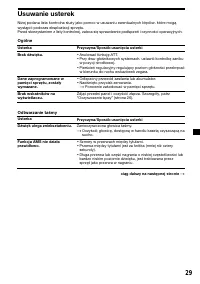
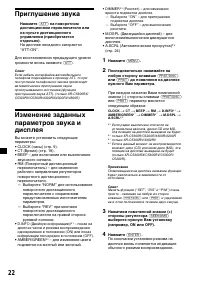
- 142 Приглушение звука
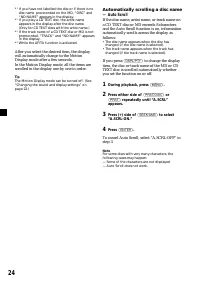
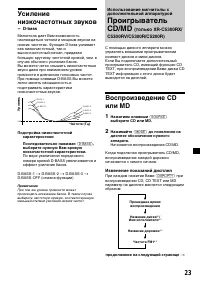
- 144 Автоматическая прокрутка; Во время воспроизведения нажмите
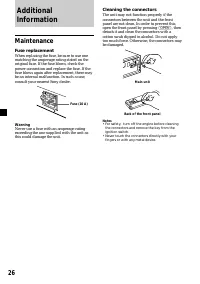
- 146 Очистка контактов; Технический уход; Замена плавкого предохранителя; Предупреждение
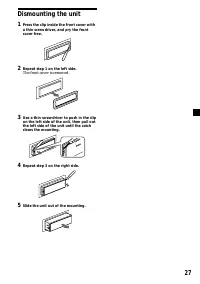
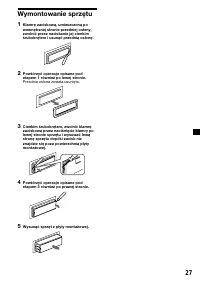
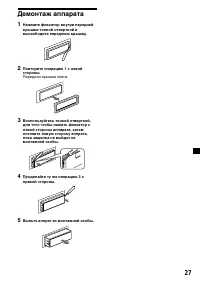
- 147 Демонтаж аппарата; Выньте аппрат из монтажной скобы.
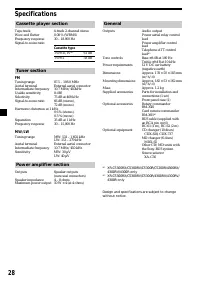
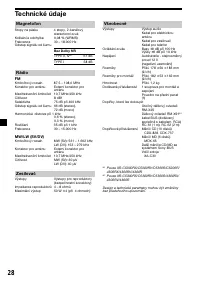
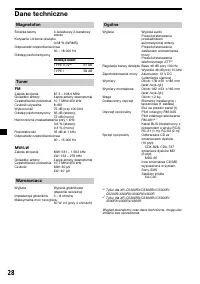
- 148 Технические характеристики; Магнитофонная секция; Секция радиоприемника; УКВ; Секция усилителя
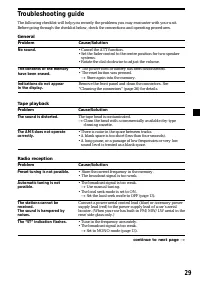
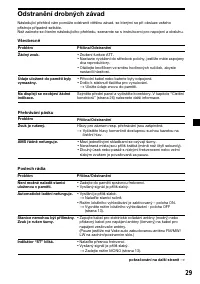
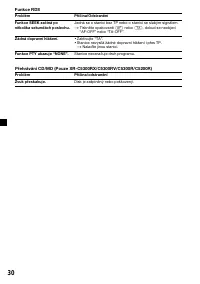
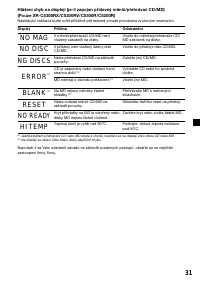
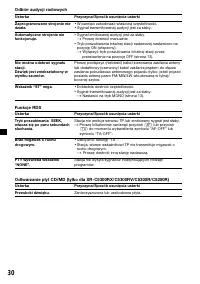
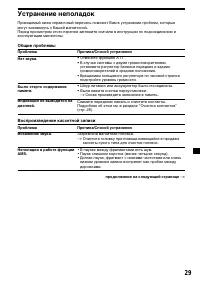
- 149 Устранение неполадок; Общие проблемы; Проблема; продолжение на следующей странице


