Магнитолы Pioneer DEH-6300SD - инструкция пользователя по применению, эксплуатации и установке на русском языке. Мы надеемся, она поможет вам решить возникшие у вас вопросы при эксплуатации техники.
Если остались вопросы, задайте их в комментариях после инструкции.
"Загружаем инструкцию", означает, что нужно подождать пока файл загрузится и можно будет его читать онлайн. Некоторые инструкции очень большие и время их появления зависит от вашей скорости интернета.

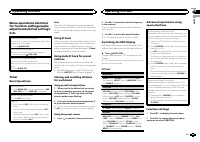


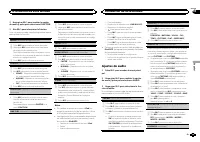

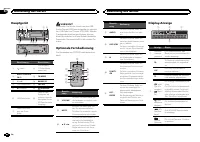


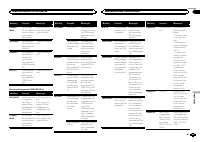
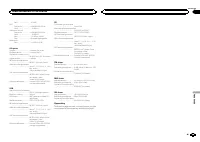


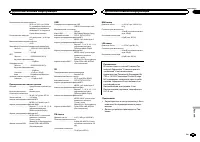


Audio Adjustments
1
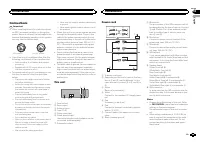
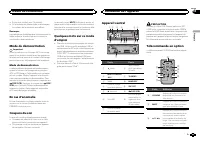
Press M.C. to display the main menu.
2
Turn M.C. to change the menu option
and press to select AUDIO.
3
Turn M.C. to select the audio function.
After selecting, perform the following proce-
dures to set the audio function.
FAD/BAL
(fader/balance adjustment)
1
Press
M.C.
to display the setting mode.
2
Press
M.C.
to cycle between fader (front/rear)
and balance (left/right).
3
Turn
M.C.
to adjust the speaker balance.
!
When the rear output setting is
SW
, you
cannot adjust front/rear speaker balance.
Refer to
PRESET EQ
(equalizer recall)
1
Press
M.C.
to display the setting mode.
2
Turn
M.C.
to select an equalizer curve.
POWERFUL
—
NATURAL
—
VOCAL
—
CUS-
TOM1
—
CUSTOM2
—
FLAT
—
SUPER BASS
3
Press
M.C.
to confirm the selection.
GRAPHIC EQ
(equalizer adjustment)
You can adjust the currently selected equalizer
curve setting as desired. Adjusted equalizer curve
settings are stored in
CUSTOM1
or
CUSTOM2
.
!
A separate
CUSTOM1
curve can be created
for each source. If you make adjustments
when a curve other than
CUSTOM2
is se-
lected, the equalizer curve settings will be
stored in
CUSTOM1
.
!
A
CUSTOM2
curve that is common for all
sources can be created. If you make adjust-
ments when the
CUSTOM2
curve is selected,
the
CUSTOM2
curve will be updated.
1
Press
M.C.
to display the setting mode.
2
Press
M.C.
to cycle between equalizer band
and level.
3
Press
M.C.
to switch to equalizer band and
then turn
M.C.
to select.
100HZ
—
315HZ
—
1.25KHZ
—
3.15KHZ
—
8KHZ
4
Press
M.C.
to switch to level and then turn
M.
C.
to adjust.
Adjustment range:
+6
to
–
6
LEVEL METER
(level meter display setting)
1
Press
M.C.
to display the setting mode.
2
Turn
M.C.
to select the desired setting.
OFF
(off)
—
MODE1
—
MODE2
—
MODE3
—
MODE4
3
Press
M.C.
to confirm the selection.
LOUDNESS
(loudness)
Loudness compensates for deficiencies in the low-
and high-frequency ranges at low volume.
1
Press
M.C.
to display the setting mode.
2
Turn
M.C.
to select the desired setting.
OFF
(off)
—
LOW
(low)
—
MID
(mid)
—
HIGH
(high)
3
Press
M.C.
to confirm the selection.
SW SETTING 1
(subwoofer on/off setting)
This unit is equipped with a subwoofer output
which can be turned on or off.
1
Press
M.C.
to display the setting mode.
2
Turn
M.C.
to select the desired setting.
NORMAL
(normal phase)
—
REVERSE
(reverse
phase)
—
OFF
(subwoofer off)
3
Press
M.C.
to confirm the selection.
SW SETTING 2
(subwoofer adjustment)
The cut-off frequency and output level can be ad-
justed when the subwoofer output is on.
Only frequencies lower than those in the selected
range are outputted from the subwoofer.
1
Press
M.C.
to display the setting mode.
2
Press
M.C.
to cycle between the cut-off fre-
quency and output level of the subwoofer.
3
Press
M.C.
to switch to cut-off frequency and
then turn
M.C.
to select the cut-off frequency.
50HZ
—
63HZ
—
80HZ
—
100HZ
—
125HZ
4
Press
M.C.
to switch to output level and then
turn
M.C.
to adjust the output level.
Adjustment range:
+6
to
-24
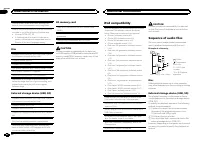
HPF SETTING
(high pass filter adjustment)
When you do not want low sounds from the sub-
woofer output frequency range to play from the
front or rear speakers, turn on the HPF (high pass
filter). Only frequencies higher than those in the
selected range are output from the front or rear
speakers.
1
Press
M.C.
to display the setting mode.
2
Turn
M.C.
to select the cut-off frequency.
OFF
(off)
—
50HZ
—
63HZ
—
80HZ
—
100HZ
—
125HZ
3
Press
M.C.
to confirm the selection.
BASS BOOSTER
(bass boost)
1
Press
M.C.
to display the setting mode.
2
Turn
M.C.
to adjust the level.
Adjustment range:
0
to
+6
3
Press
M.C.
to confirm the selection.
SLA
(source level adjustment)
SLA
(Source Level Adjustment) lets you adjust the
volume level of each source to prevent radical
changes in volume when switching between sour-
ces.
!
When selecting FM as the source, you cannot
switch to
SLA
.
!
Settings are based on the FM volume level,
which remains unchanged.
!
The MW/LW volume level can also be adjusted
with this function.
1
Press
M.C.
to display the setting mode.
2
Turn
M.C.
to adjust the source volume.
Adjustment range:
+4
to
–
4
3
Press
M.C.
to confirm the selection.
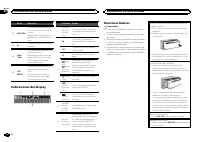
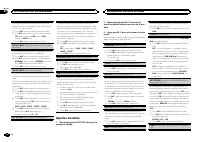
Initial Settings
1
Press and hold SRC/OFF until the unit
turns off.
2
Press M.C. and hold until the initial set-
ting menu appears in the display.
3
Turn M.C. to select the initial setting.
After selecting, perform the following proce-
dures to set the initial setting.
CLOCK SET
(setting the clock)
1
Press
M.C.
to display the setting mode.
2
Press
M.C.
to select the segment of the clock
display you wish to set.
Hour
—
Minute
3
Turn
M.C.
to adjust the clock.
CLOCK
(clock on/off setting)
1
Press
M.C.
to turn the clock display on or off.
FM STEP
(FM tuning step)
English
Operating this unit
02
9
Section
Operating this unit
En
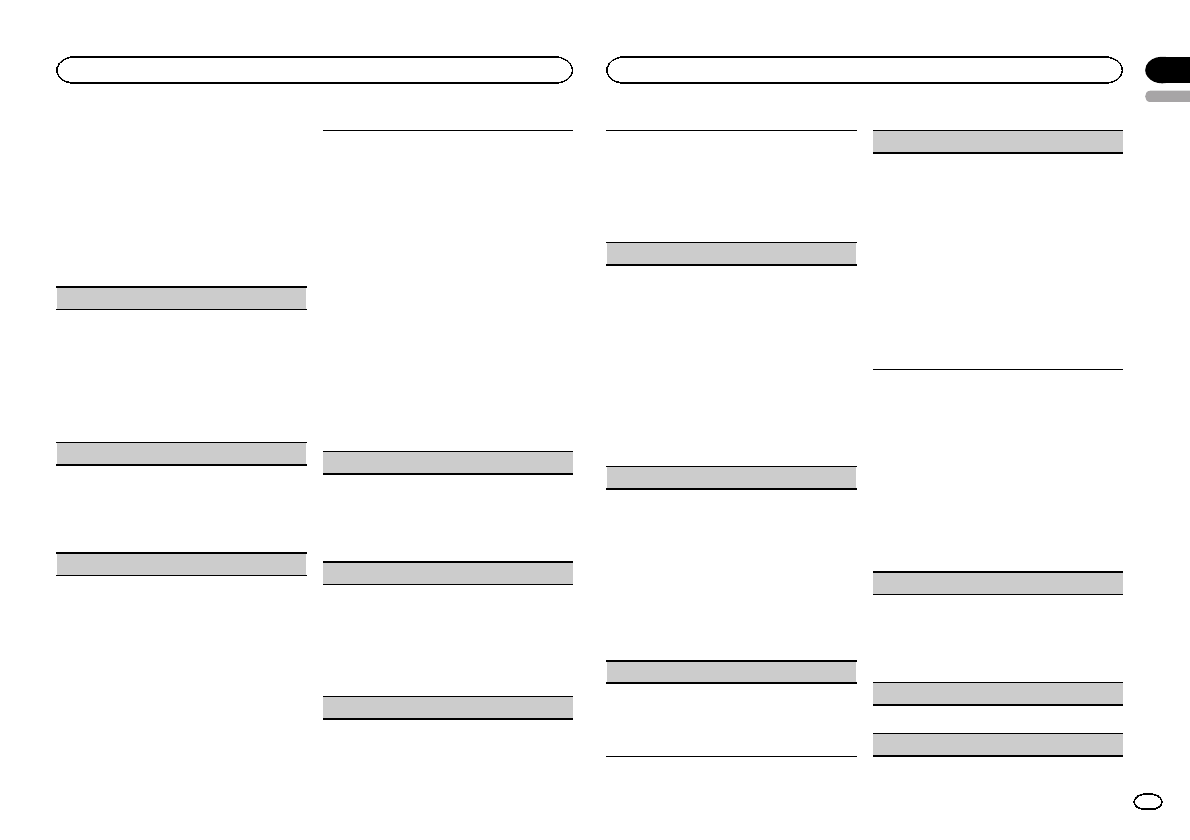
Содержание
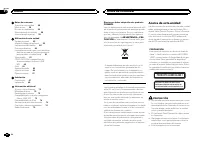
- 114 Благодарим Вас; Сведения об этом устройстве; RDS; ЛАЗЕРНЫЙ ПРОДУКТ КЛАСС 1; Содержание; Перед началом эксплуатации
- 115 Примечание; Демонстрационный режим
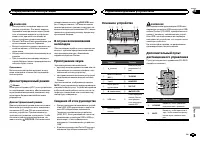
- 116 Важно; Управление данным устройством
- 117 PI; PI seek; AUTO PI
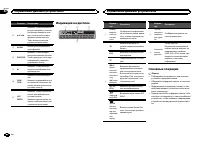
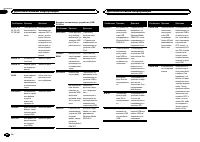
- 118 Список; Настройка функций; FUNCTION
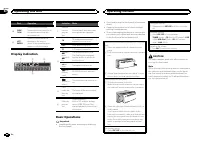
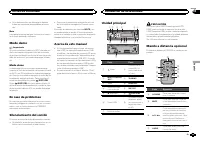
- 119 Основные операции; Примечания
- 120 дорожек из списка
- 121 Поиск композиции
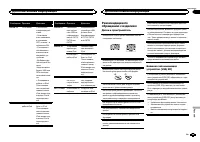
- 122 Регулировки параметров звука
- 123 Начальные настройки; SRC
- 124 Другие функции; AUX
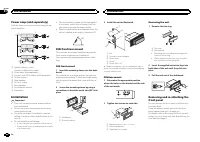
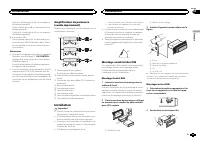
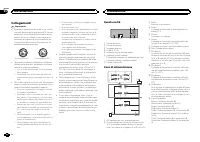
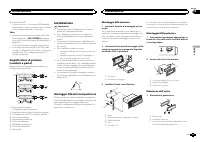
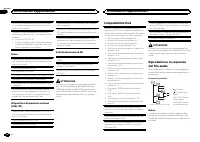
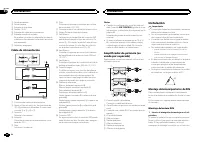
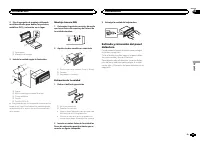
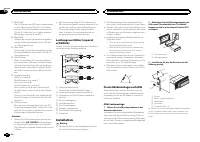
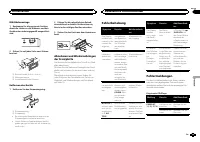
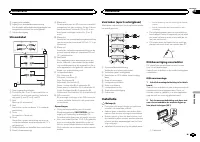
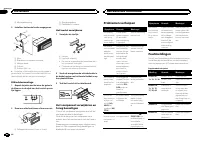
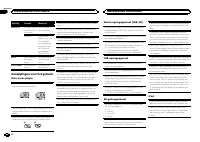
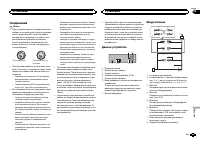
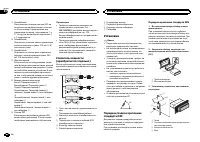
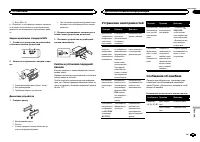
- 125 Соединения; Данное устройство; Установка
- 126 SW CONTROL; Усилительмощности; RCA; Переднее; Переднее крепление стандарта
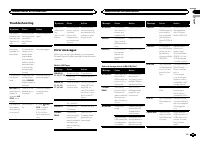
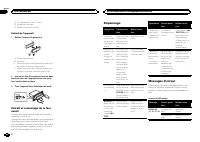
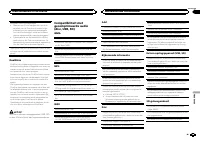
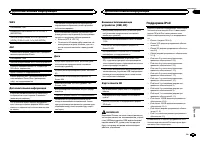
- 127 Устранение неисправностей; Сообщения об ошибках; Дополнительная информация
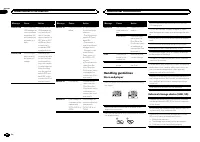
- 129 Диски и проигрыватель
- 130 компакт
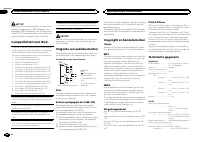
- 131 Диск; Pioneer; Поддержка
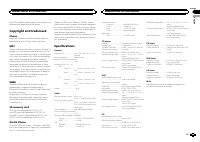
- 132 Технические характеристики; Общие; Аудио


