Магнитолы Pioneer DEH-1500UB (UBA) (UBB) (UBG) - инструкция пользователя по применению, эксплуатации и установке на русском языке. Мы надеемся, она поможет вам решить возникшие у вас вопросы при эксплуатации техники.
Если остались вопросы, задайте их в комментариях после инструкции.
"Загружаем инструкцию", означает, что нужно подождать пока файл загрузится и можно будет его читать онлайн. Некоторые инструкции очень большие и время их появления зависит от вашей скорости интернета.

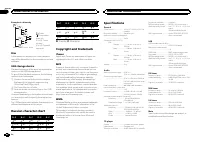


Notes
!
You can set up the menu options from the
system menu. For details about the settings,
refer to
!
You can cancel set up menu by pressing
SRC
/
OFF
.
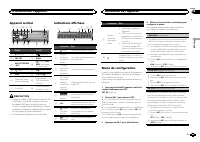
Basic operations
Important
!
Handle gently when removing or attaching
the front panel.
!
Avoid subjecting the front panel to excessive
shock.
!
Keep the front panel out of direct sunlight
and high temperatures.
!
To avoid damaging the device or vehicle inte-
rior, remove any cables and devices attached
to the front panel before detaching it.
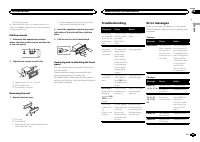
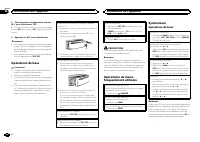
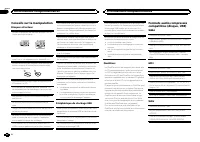
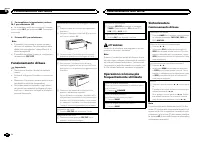
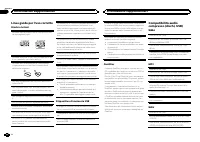
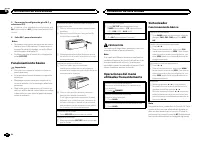
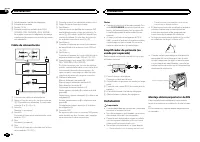
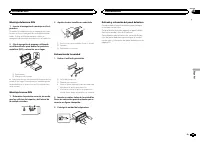
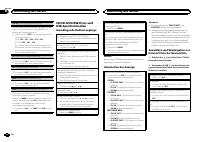
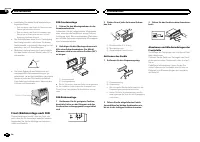
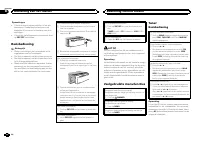
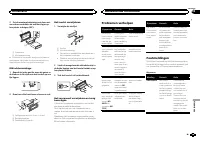
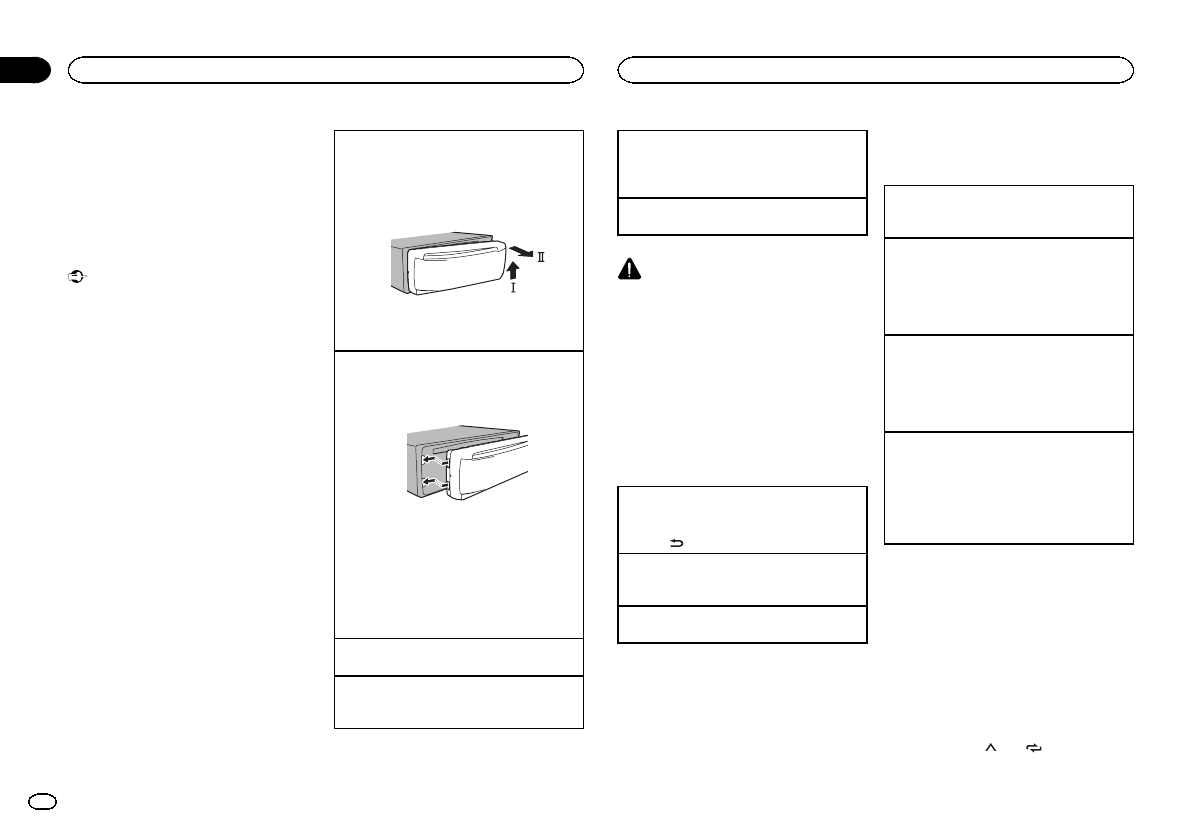
Removing the front panel to protect your unit from
theft
1
Press the detach button to release the front
panel.
2
Push the front panel upward (
M
) and then pull
it toward (
N
) you.
3
Always keep the detached front panel in a pro-
tection device such as a protection case.
Re-attaching the front panel
1
Slide the front panel to the left.
Make sure to insert the tabs on the left side of
the head unit into the slots on the front panel.
2
Press the right side of the front panel until it is
firmly seated.
If you cannot attach the front panel to the
head unit successfully, make sure that you are
placing the front panel onto the head unit cor-
rectly. Forcing the front panel into place may
result in damage to the front panel or head
unit.
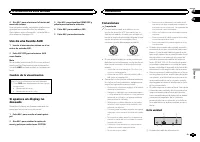
Turning the unit on
1
Press
SRC
/
OFF
to turn the unit on.
Turning the unit off
1
Press and hold
SRC
/
OFF
until the unit turns
off.
Selecting a source
1
Press
SRC
/
OFF
to cycle between:
TUNER
(tuner)
—
CD
(CD player)
—
USB
(USB)
—
AUX
(AUX)
Adjusting the volume
1
Turn
M.C.
to adjust the volume.
CAUTION
For safety reasons, park your vehicle when re-
moving the front panel.
Note
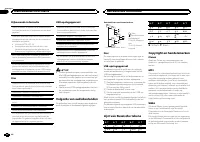
When this unit
’
s blue/white lead is connected to
the vehicle
’
s auto-antenna relay control termi-
nal, the vehicle
’
s antenna extends when this
unit
’
s source is turned on. To retract the anten-
na, turn the source off.
Frequently used menu
operations
Returning to the previous display
Returning to the previous list (the folder one level
higher)
1
Press
/
DIMMER
.
Returning to the ordinary display
Canceling the main menu
1
Press
BAND
.
Returning to the ordinary display from the list
1
Press
BAND
.
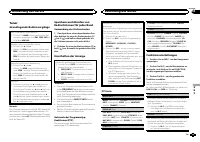
Tuner
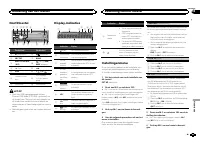
Basic operations
Selecting a band
1
Press
BAND
until the desired band (
FM1
,
FM2
,
FM3
for FM or
MW/LW
) is displayed.
Switching preset stations
1
Press
c
or
d
.
!
Select
PCH
(preset channel) under
SEEK
to
use this function. For details about the set-
tings, refer to
Manual tuning (step by step)
1
Press
c
or
d
.
!
Select
MAN
(manual tuning) under
SEEK
to
use this function. For details about the set-
tings, refer to
Seeking
1
Press and hold
c
or
d
, and then release.
You can cancel seek tuning by briefly pressing
c
or
d
.
While pressing and holding
c
or
d
, you can
skip stations. Seek tuning starts as soon as
you release
c
or
d
.
Note
This unit
’
s AF (alternative frequencies search)
function can be turned on and off. AF should be
off for normal tuning operation (refer to
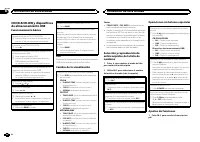
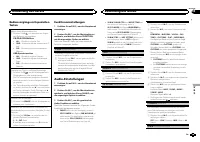
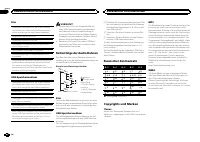
Storing and recalling stations
for each band
Using preset tuning buttons
1
When you find a station that you want
to store in memory, press one of the preset
tuning buttons (1/
to 6/
) and hold until
the preset number stops flashing.
Operating this unit
4
Section
Operating this unit
En
02
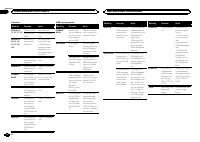
Содержание
- 92 Сведения об этом устройстве; RDS; ЛАЗЕРНЫЙ ПРОДУКТ КЛАСС 1; ВНИМАНИЕ; Pioneer CarStereo-Pass; Сведения об этом руководстве; USB; Перед началом эксплуатации
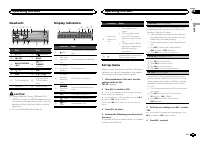
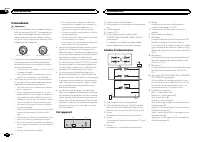
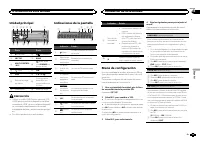
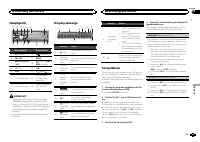
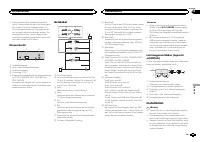
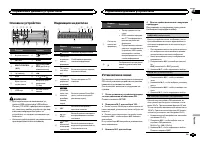
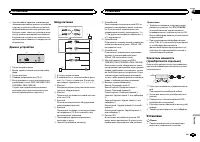
- 93 Основное устройство; Индикация на дисплее; Управление данным устройством
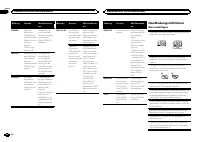
- 94 YES; Меню системы; SRC; Тюнер; Основные операции; SEEK; AF
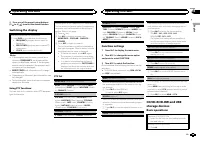
- 95 Переключение дисплея; FREQUENCY; Использование функций; Список; Настройка функций; FUNCTION
- 96 TRACK INFO; дорожек из списка
- 97 Регулировки параметров звука; AUDIO
- 99 Стартовое меню; Меню систе
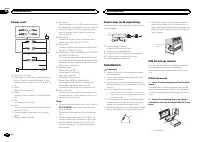
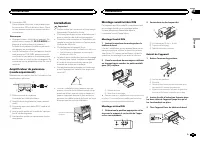
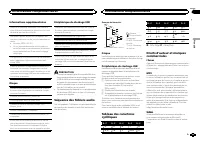
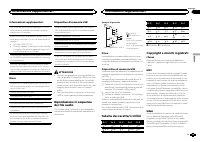
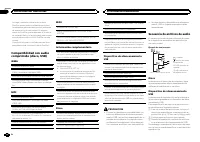
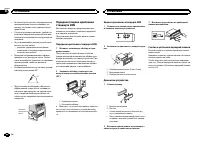
- 100 Соединения; Установка
- 101 ISO; настройка выхода заднего канала и; Усилительмощности; RCA; Важно
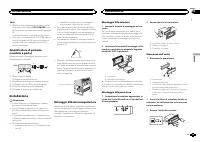
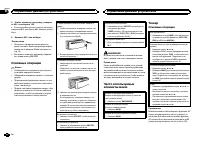
- 102 Переднее; Переднее крепление стандарта
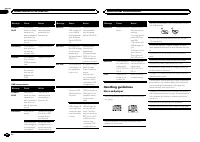
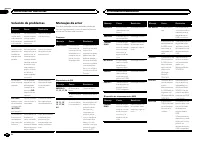
- 103 Прежде чем обратиться к торговому пред; Дополнительная информация
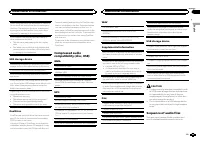
- 104 Диски и проигрыватель
- 105 компакт
- 106 Диск
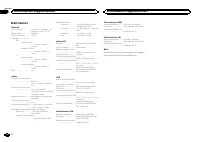
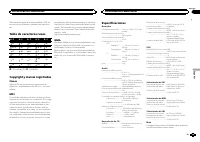
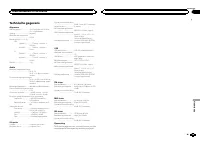
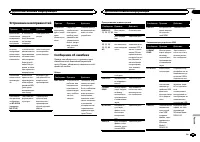
- 107 Технические характеристики
Характеристики

Остались вопросы?Не нашли свой ответ в руководстве или возникли другие проблемы? Задайте свой вопрос в форме ниже с подробным описанием вашей ситуации, чтобы другие люди и специалисты смогли дать на него ответ. Если вы знаете как решить проблему другого человека, пожалуйста, подскажите ему :)


