Корпуса к ПК 2E (TMQ0108) - инструкция пользователя по применению, эксплуатации и установке на русском языке. Мы надеемся, она поможет вам решить возникшие у вас вопросы при эксплуатации техники.
Если остались вопросы, задайте их в комментариях после инструкции.
"Загружаем инструкцию", означает, что нужно подождать пока файл загрузится и можно будет его читать онлайн. Некоторые инструкции очень большие и время их появления зависит от вашей скорости интернета.


21
EN
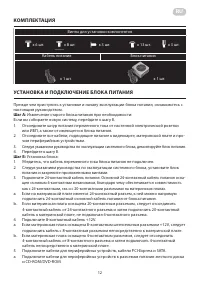
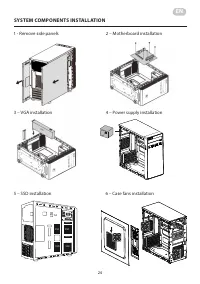
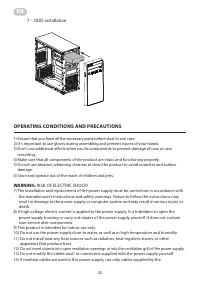
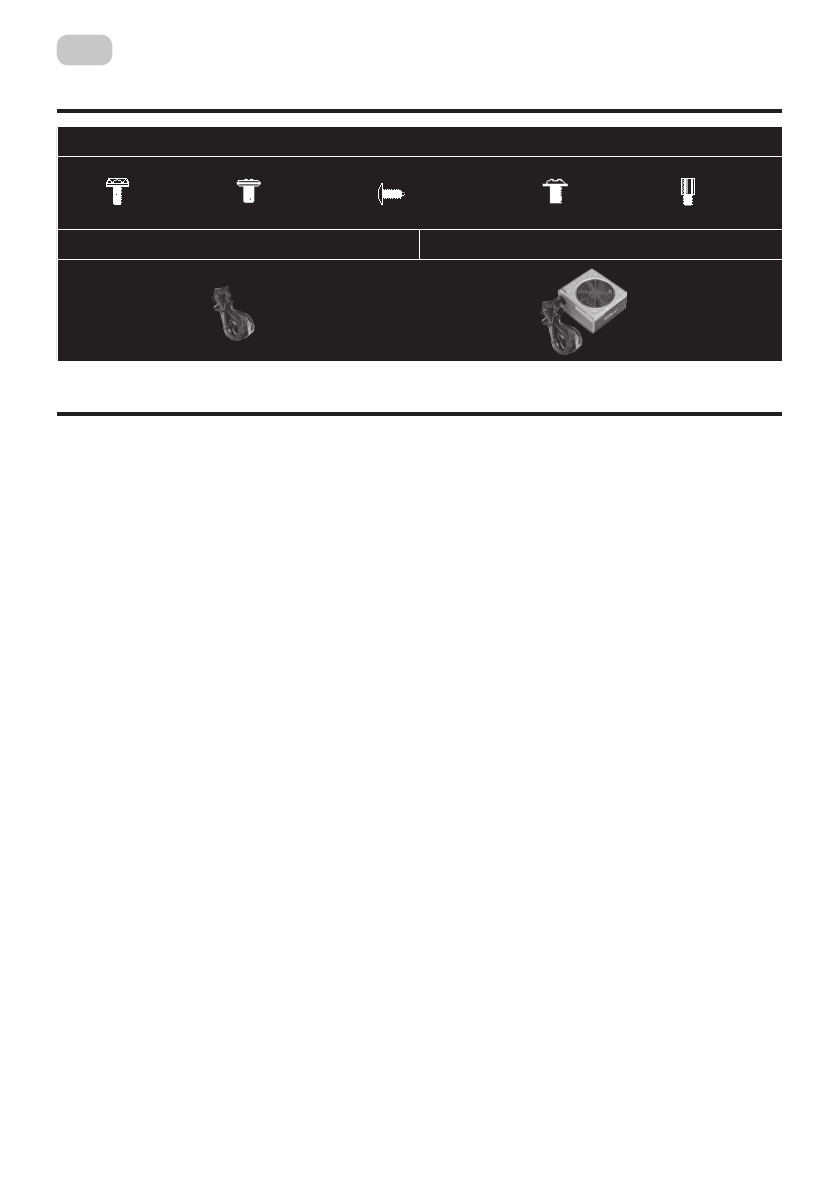
COMPLETE SET
Component Installation Screws
Power cable
Power supply
х 6 pcs
х 1 pcs
х 3 pcs
х 8 pcs
х 13 pcs
х 3 pcs
х 1 pcs
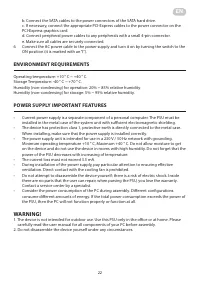
POWER SUPPLY INSTALLATION AND CONNECTION
Before you begin installation and start using the power supply, we propose to study current
manual.
Step A:
Removing the power supply which was installed if necessary:
If you are building a new system, go to step B.
1. Disconnect the AC power cord from the wall outlet or UPS, as well as from the existing
power supply.
2. Disconnect all cables that connect power to the graphics card, motherboard, and other
peripherals.
3. Following the instructions for the system unit, remove the power supply.
4. Go to step B.
Step B:
Power supply installation:
1. Make sure that the AC cable of the power supply is not connected.
2. Following the instructions of the computer case operation guide, install the power supply
unit and fix it with screws from assembling kit.
3. Connect the 24-pin power cable. The general 24-pin power cable is equipped with a
removable 4-pin connector, which ensures compatibility with both 24-pin and 20-pin
connectors on the motherboard.
a. If the motherboard has a 24-pin connector, you can directly connect the 24-pin power
cable from the power supply to it.
b. If the motherboard has a 20-pin connector, divide 4-pin cable from the 24-pin connector
and then connect the 20-pin cable to the motherboard without connecting the 4-pin
connector.
4. Connect 8-pin + 12V cable.
a. If the motherboard is equipped with an 8-pin + 12V connector, connect the cable with the
8-pin connector directly to the motherboard.
b. If the motherboard has a 4-pin connector, divide 4-pin cable from the 8-pin connector
and then connect the 4-pin cable directly to the motherboard.
5. Connect the peripheral cables, PCI-Express and SATA cables.
a. Connect the peripheral cables to the power connectors of the hard drive and CD-ROM /
DVD-ROM.
Содержание
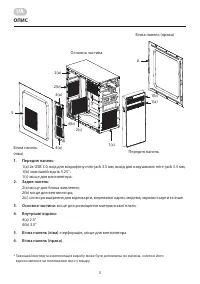
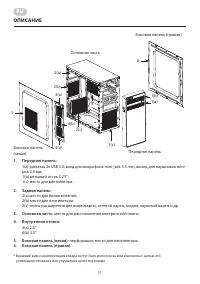
- 11 ОПИСАНИЕ
- 12 КОМПЛЕКТАЦИЯ
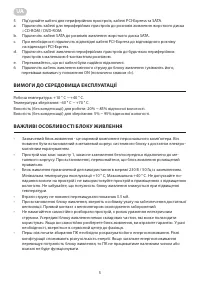
- 13 ТРЕБОВАНИЯ К СРЕДЕ ЭКСПЛУАТАЦИИ
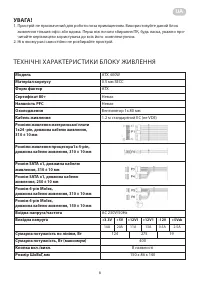
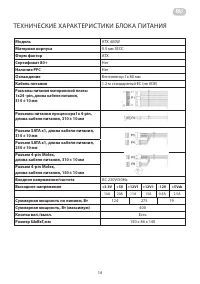
- 14 ТЕХНИЧЕСКИЕ ХАРАКТЕРИСТИКИ БЛОКА ПИТАНИЯ
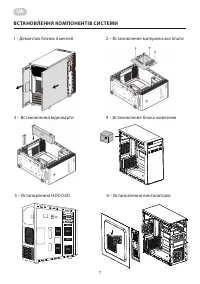
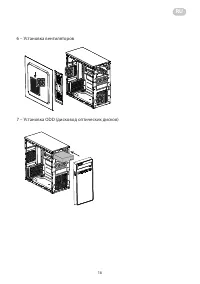
- 15 УСТАНОВКА КОМПОНЕНТОВ СИСТЕМЫ; – Установка HDD/SSD
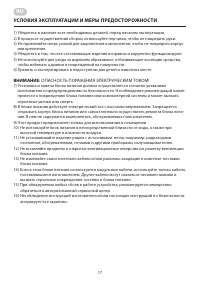
- 17 УСЛОВИЯ ЭКСПЛУАТАЦИИ И МЕРЫ ПРЕДОСТОРОЖНОСТИ; ОПАСНОСТЬ ПОРАЖЕНИЯ ЭЛЕКТРИЧЕСКИМ ТОКОМ!
- 18 ХРАНЕНИЕ, ТРАНСПОРТИРОВКА И УТИЛИЗАЦИЯ
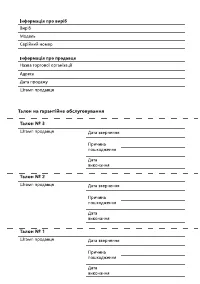
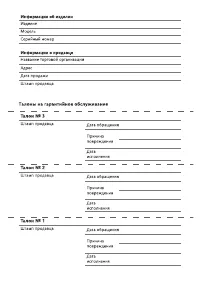
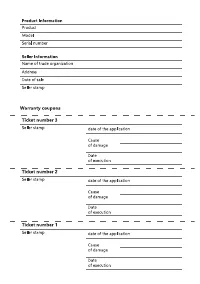
- 29 ГАРАНТИЙНЫЙ ТА ЛОН; Уважаемый покупатель! Поздравляем Вас с приобретением ком
Характеристики

Остались вопросы?Не нашли свой ответ в руководстве или возникли другие проблемы? Задайте свой вопрос в форме ниже с подробным описанием вашей ситуации, чтобы другие люди и специалисты смогли дать на него ответ. Если вы знаете как решить проблему другого человека, пожалуйста, подскажите ему :)
