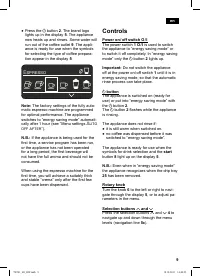
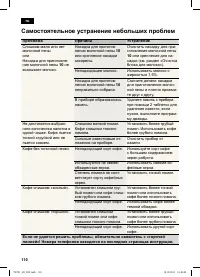
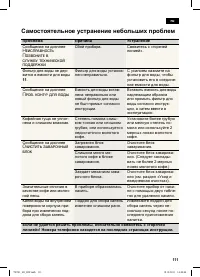
Кофемашина Siemens TE701209RW - инструкция пользователя по применению, эксплуатации и установке на русском языке. Мы надеемся, она поможет вам решить возникшие у вас вопросы при эксплуатации техники.
Если остались вопросы, задайте их в комментариях после инструкции.
"Загружаем инструкцию", означает, что нужно подождать пока файл загрузится и можно будет его читать онлайн. Некоторые инструкции очень большие и время их появления зависит от вашей скорости интернета.


18
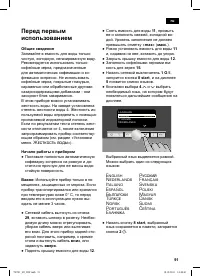
de
en
.
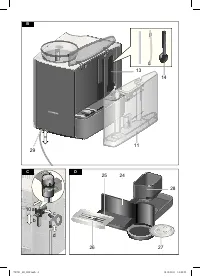
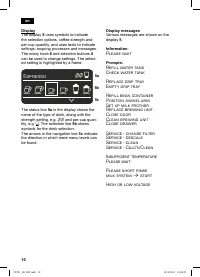
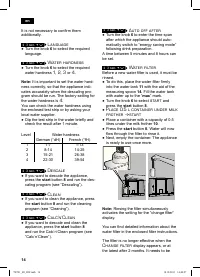
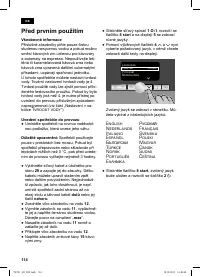
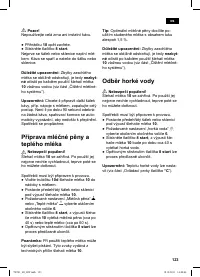
● Clean.the.measuring.spoon.
14
.and.
the.aroma.cover.
16
.by.hand.or.in.the.
dishwasher.
.
● Wipe.out.or.vacuum.the.inside.of.the.ap-
pliance.(tray.holders).
Important:
Drip.tray.for.coffee.outlet.
25
.
and.coffee.grounds.container.
28
.should.be.
emptied.and.cleaned.daily.to.prevent.mould.
from.developing.
N.B.:
.If.the.appliance.is.cold.when.switched.
on.with.the.
a
.button.
2
,.or.if.it.is.set.to.
a
.
mode.after.brewing.coffee,.it.rinses.auto-
matically,.in.other.words.the.system.cleans.
itself.
Important:
.If.the.appliance.has.not.been.
used.for.a.prolonged.period.of.time.(e.g..
after.a.vacation),.clean.the.entire.appliance.
thoroughly,.including.the.milk.system.
10
.
and.brewing.unit.
21
.
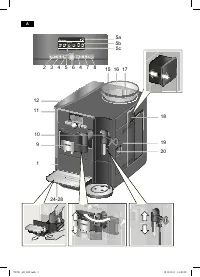
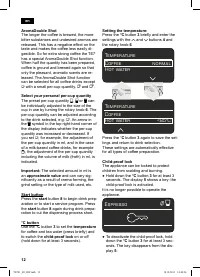
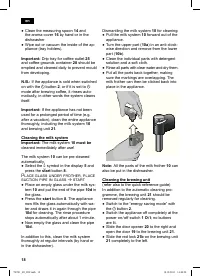
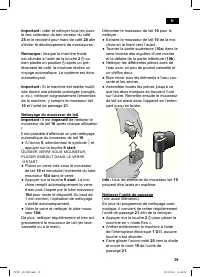
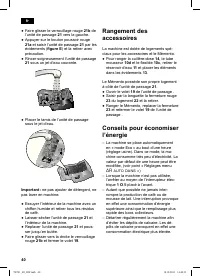
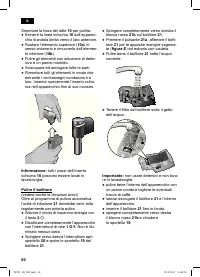
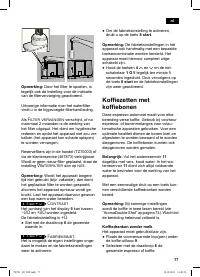
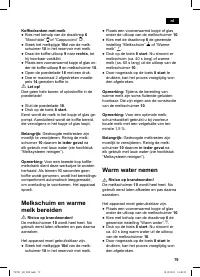
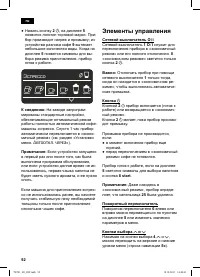
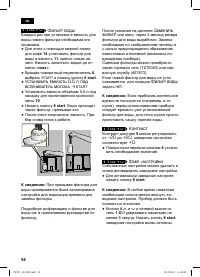
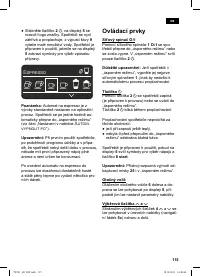
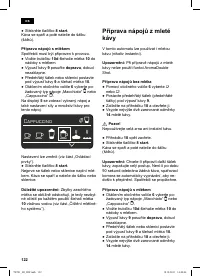
Cleaning the milk system
Important:
The.milk.system.
10 must be
.
cleaned..immediately.after.use!
The.milk.system.
10
.can.be.pre-cleaned.
automatically.
.
● Select.the.
Ì
.symbol.in.the.display.
5
.and.
press.the.
start
.button.
8
.
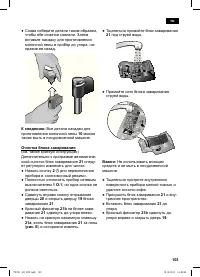
Pl ace gl ass under frother, pl ace
suction pipe in gl ass
.
.
start
.
● Place.an.empty.glass.under.the.milk.sys-
tem.
10
.and.put.the.end.of.the.pipe.
10d
.in.
the.glass.
.
● Press.the.
start
.button.
8
..The.appliance.
now.i.lls.the.glass.automatically.with.wa-
ter.and.draws.it.in.again.through.the.pipe.
10d
.for.cleaning..The.rinse.procedure.
stops.automatically.after.about.1.minute.
.
● Now.empty.the.glass.and.clean.the.pipe.
10d
.
In.addition.to.this,.clean.the.milk.system.
thoroughly.at.regular.intervals.(by.hand.or.
in.the.dishwasher).
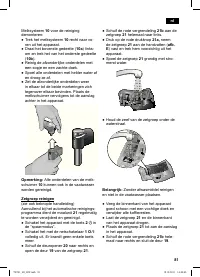
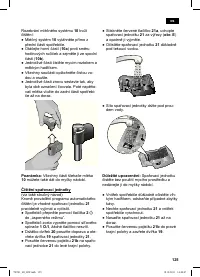
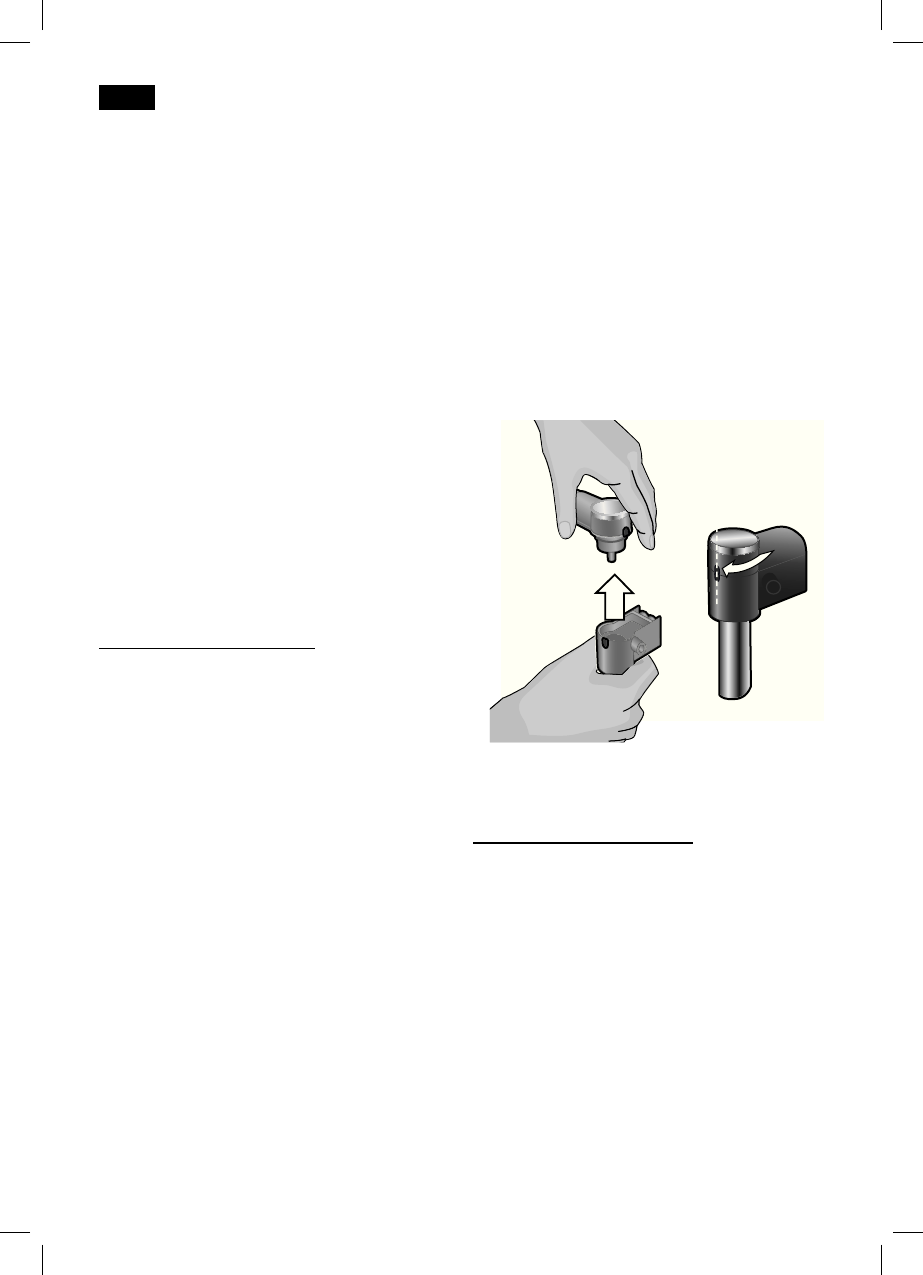
Dismantling.the.milk.system.
10
.for.cleaning:
.
● Pull.the.milk.system.
10
.forward.out.of.the.
appliance.
.
● Turn.the.upper.part.(
10a
).in.an.anti-clock-
wise.direction.and.remove.from.the.lower.
part.(
10b
).
.
● Clean.the.individual.parts.with.detergent.
solution.and.a.soft.cloth.
.
● Rinse.all.parts.with.clear.water.and.dry.them.
.
● Put.all.the.parts.back.together,.making.
sure.the.markings.are.overlapping..The.
milk.frother.can.then.be.clicked.back.into.
place.in.the.appliance.
Note:
All.the.parts.of.the.milk.frother.
10
.can.
also.be.put.in.the.dishwasher.
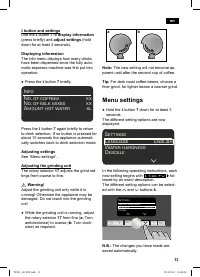
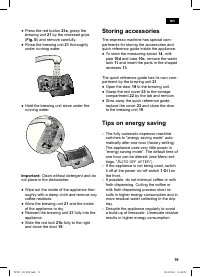
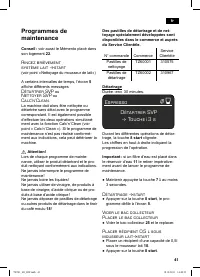
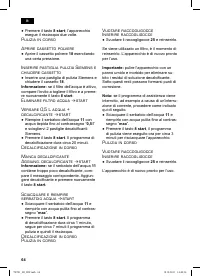
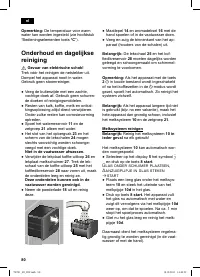
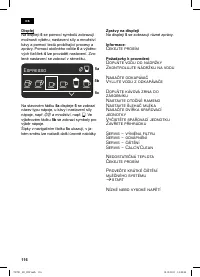
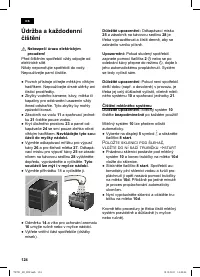
Cleaning the brewing unit
(refer.also.to.the.quick.reference.guide)
In.addition.to.the.automatic.cleaning.pro-
gramme,.the.brewing.unit.
21
.should.be.
removed.regularly.for.cleaning.
.
● Switch.to.the.“energy.saving.mode”.with.
the.
a
.button.
2
.
.
● Switch.the.appliance.off.completely.at.the.
power.on./.off.switch.
1 O / I
;.no.buttons.
are.lit.
.
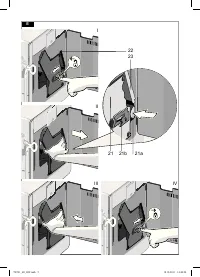
● Slide.the.door.opener.
20
.to.the.right.and.
open.the.door.
19
.to.the.brewing.unit.
21
.
.
● Slide.the.red.lock.
21b
.on.the.brewing.unit.
21
.completely.to.the.left.
TE701_H1_RW.indb 18
18.10.2011 14:40:28


