Измерительные приборы Bosch Atino Basic - инструкция пользователя по применению, эксплуатации и установке на русском языке. Мы надеемся, она поможет вам решить возникшие у вас вопросы при эксплуатации техники.
Если остались вопросы, задайте их в комментариях после инструкции.
"Загружаем инструкцию", означает, что нужно подождать пока файл загрузится и можно будет его читать онлайн. Некоторые инструкции очень большие и время их появления зависит от вашей скорости интернета.


English |
23
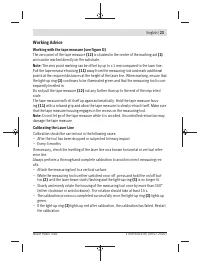
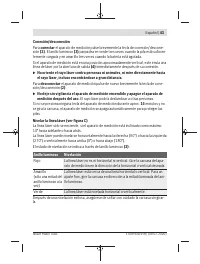
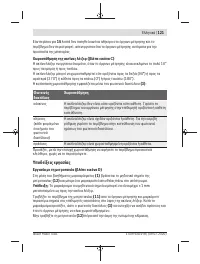
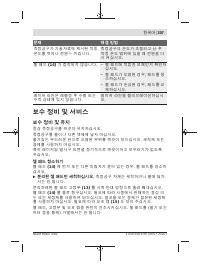
Working Advice
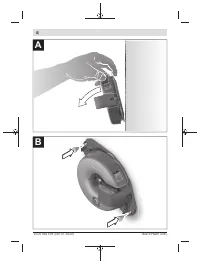
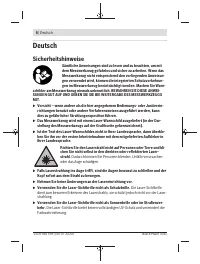
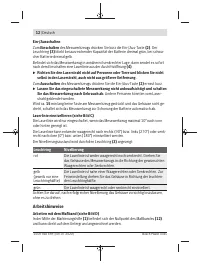
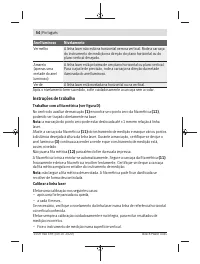
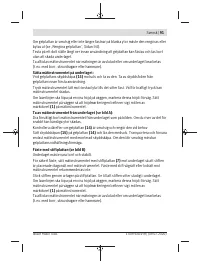
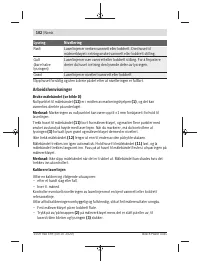
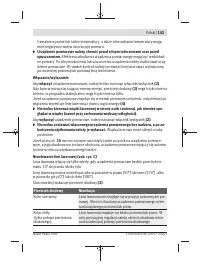
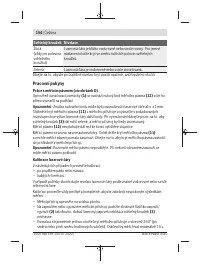
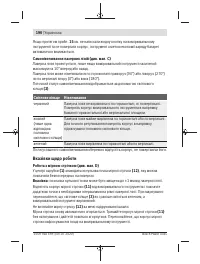
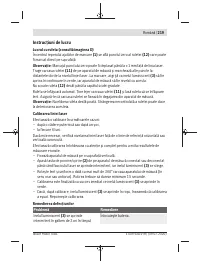
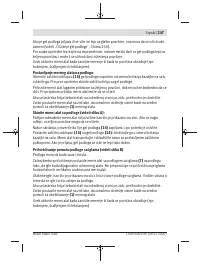
Working with the tape measure (see figure D)
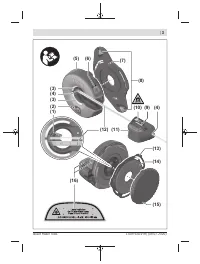
The zero point of the tape measure
(12)
is situated in the centre of the marking aid
(1)
and can be marked directly on the substrate.
Note:
The zero point marking can be offset by up to ±1 mm compared to the laser line.
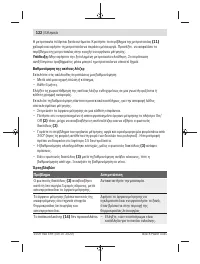
Pull the tape measure housing
(11)
away from the measuring tool and mark additional
points at the required distances at the height of the laser line. When marking, ensure that
the light-up ring
(3)
continues to be illuminated green and that the measuring tool is con-
sequently levelled in.
Do not pull the tape measure
(12)
out any further than up to the end of the imprinted
scale.
The tape measure will roll itself up again automatically. Hold the tape measure hous-
ing
(11)
with a relaxed grip and allow the tape measure to slowly retract itself. Make sure
that the tape measure housing engages in the recess on the measuring tool.
Note:
Do not let go of the tape measure while it is unrolled. Uncontrolled retraction may
damage the tape measure.
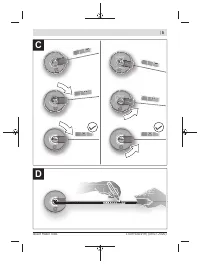
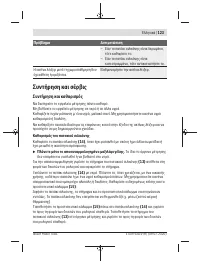
Calibrating the Laser Line
Calibration should be carried out in the following cases:
– After the tool has been dropped or subjected to heavy impact
– Every 6 months
If necessary, check the levelling of the laser line on a known horizontal or vertical refer-
ence line.
Always perform a thorough and complete calibration to avoid incorrect measuring res-
ults.
– Attach the measuring tool to a vertical surface.
– While the measuring tool is either switched on or off, press and hold the on/off but-
ton
(2)
until the laser beam starts flashing and the light-up ring
(3)
is no longer lit.
– Slowly and evenly rotate the housing of the measuring tool once by more than 360°
(either clockwise or anticlockwise). The rotation should take at least 15 s.
– The calibration process is completed successfully once the light-up ring
(3)
lights up
green.
– If the light-up ring
(3)
lights up red after calibration, the calibration has failed. Restart
the calibration.
Bosch Power Tools
1 609 92A 5YH | (09.07.2020)
Содержание
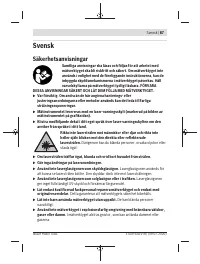
- 178 Транспортировка; Указания по технике безопасности; Не меняйте ничего в лазерном устройстве.
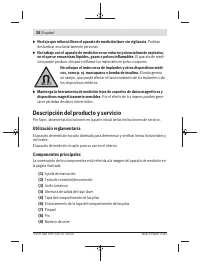
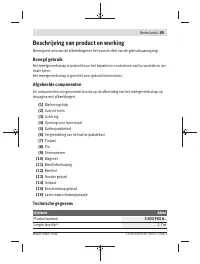
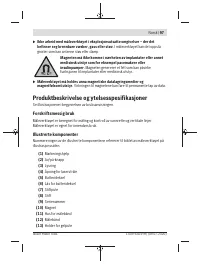
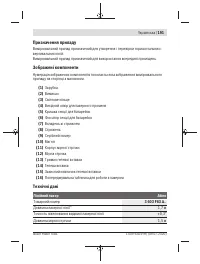
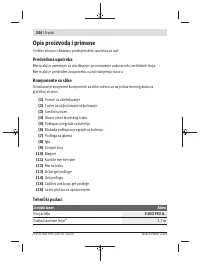
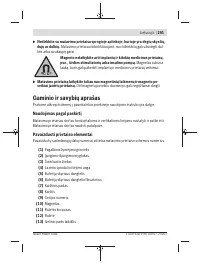
- 179 Описание продукта и услуг; Применение по назначению
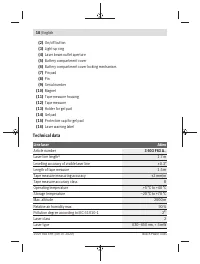
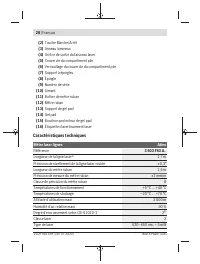
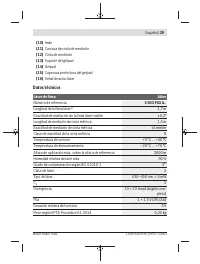
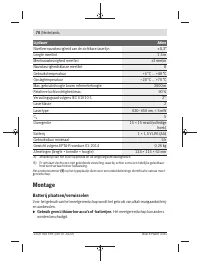
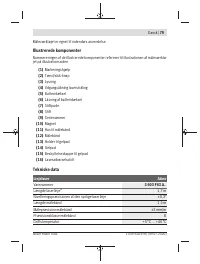
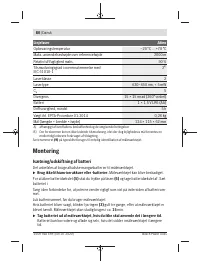
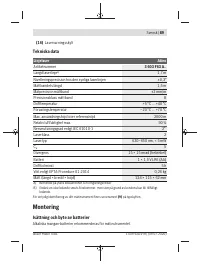
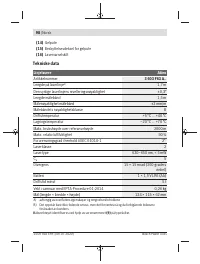
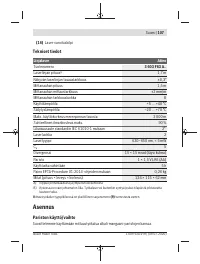
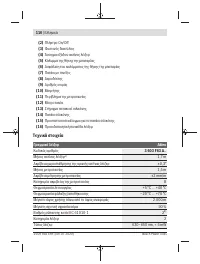
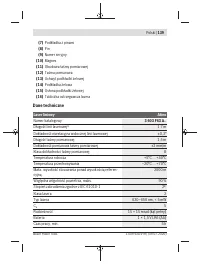
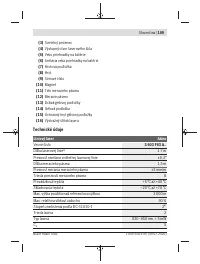
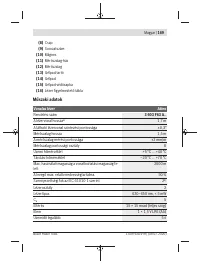
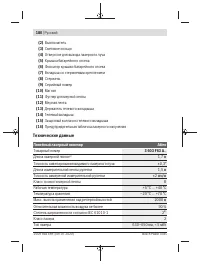
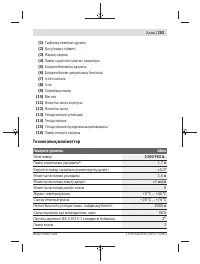
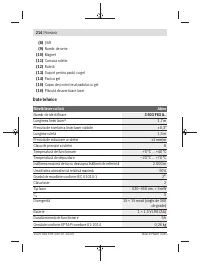
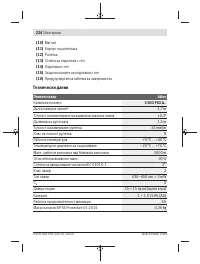
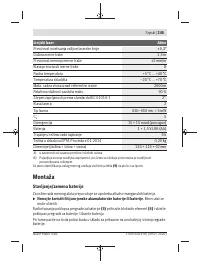
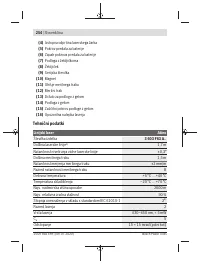
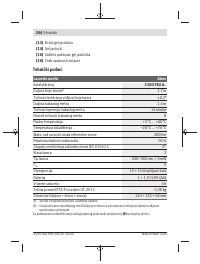
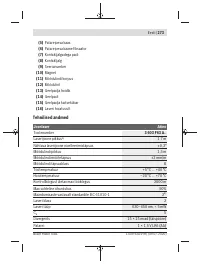
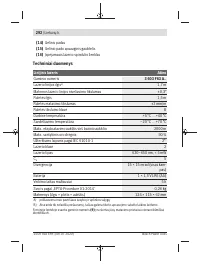
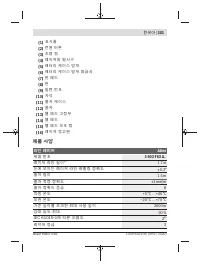
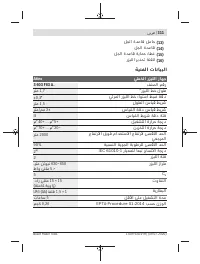
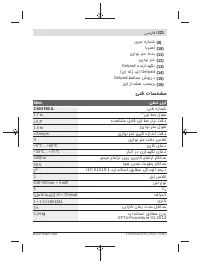
- 180 Технические данные; Линейный лазерный нивелир
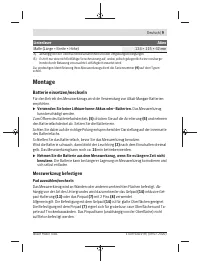
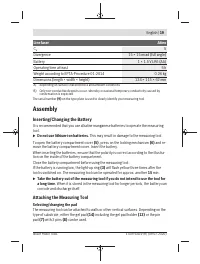
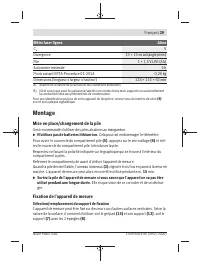
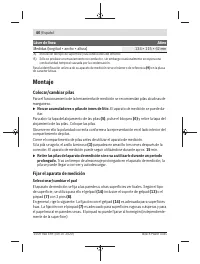
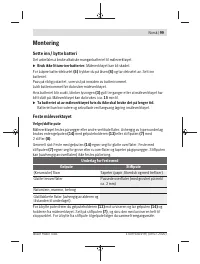
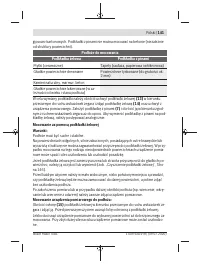
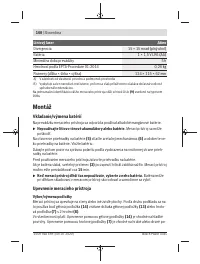
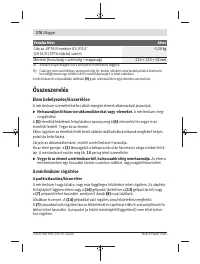
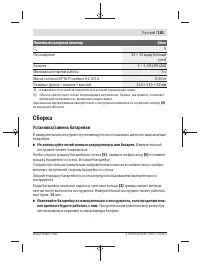
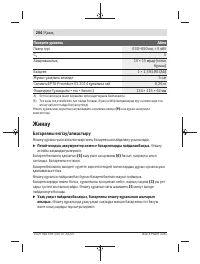
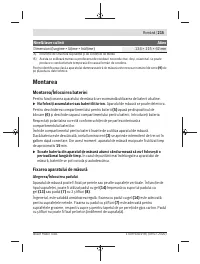
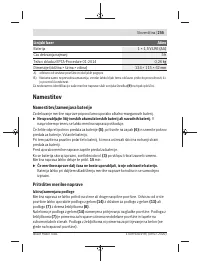
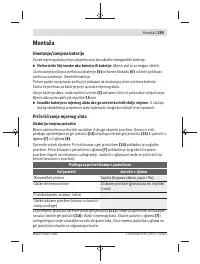
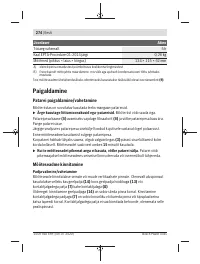
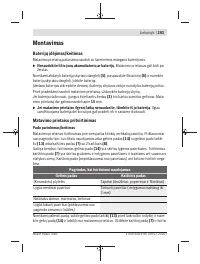
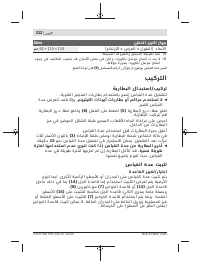
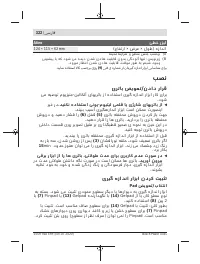
- 181 Сборка; Установка/замена батарейки; Не используйте литий-ионные аккумуляторы или батареи.
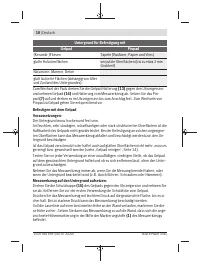
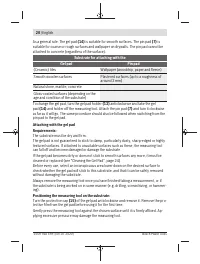
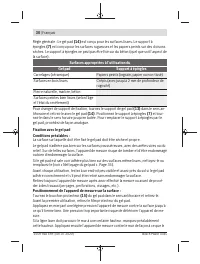
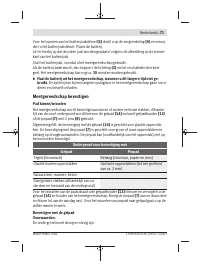
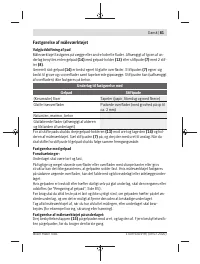
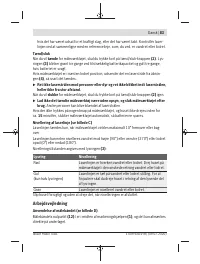
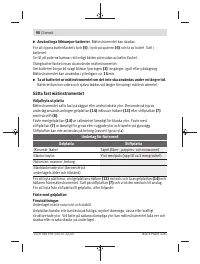
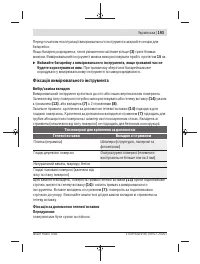
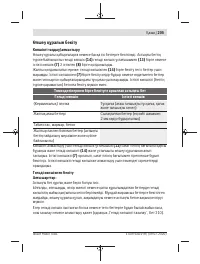
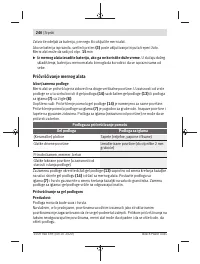
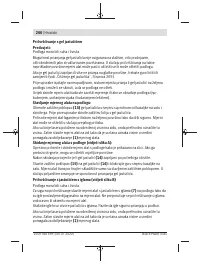
- 182 Фиксация измерительного инструмента; Выбор/замена вкладыша
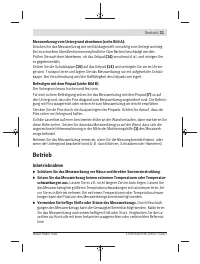
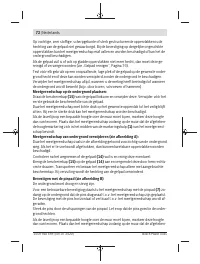
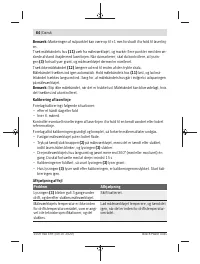
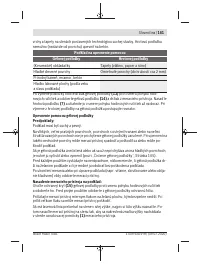
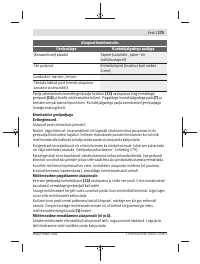
- 183 Поместите измерительный инструмент на поверхность:
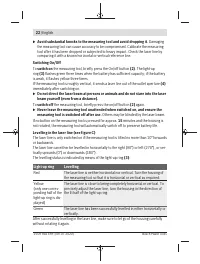
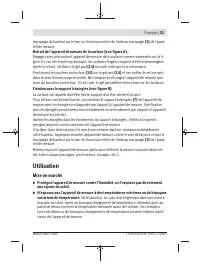
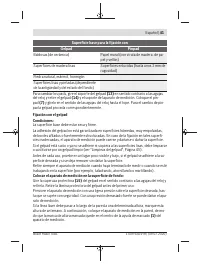
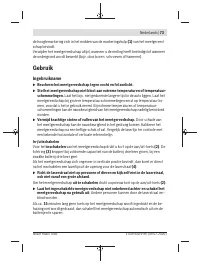
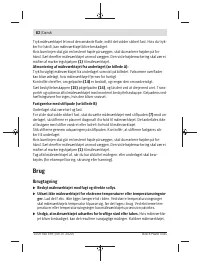
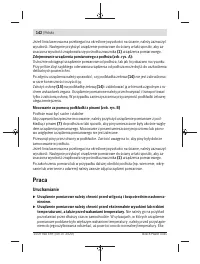
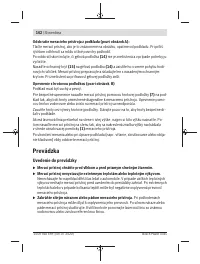
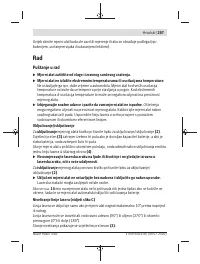
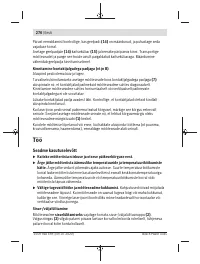
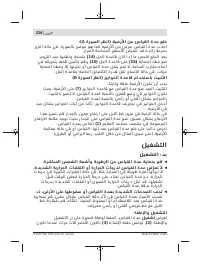
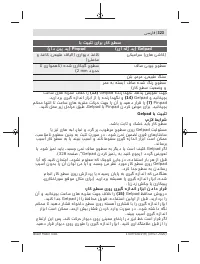
- 184 Работа с инструментом; Включение инструмента; включить
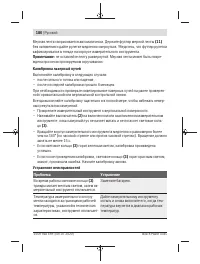
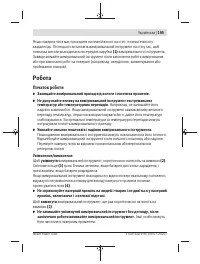
- 185 Световое кольцо Нивелирование; Указания по применению
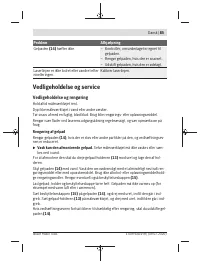
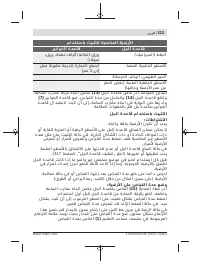
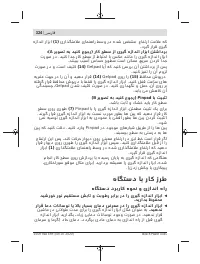
- 187 Техобслуживание и сервис; Техобслуживание и очистка; Очистка гелевого вкладыша
- 188 Сервис и консультирование по вопросам применения; Россия; Утилизация
- 189 Українська; Вказівки з техніки безпеки
Характеристики

Остались вопросы?Не нашли свой ответ в руководстве или возникли другие проблемы? Задайте свой вопрос в форме ниже с подробным описанием вашей ситуации, чтобы другие люди и специалисты смогли дать на него ответ. Если вы знаете как решить проблему другого человека, пожалуйста, подскажите ему :)


