
Холодильник Liebherr CNesf 4003 Comfort NoFrost - инструкция пользователя по применению, эксплуатации и установке на русском языке. Мы надеемся, она поможет вам решить возникшие у вас вопросы при эксплуатации техники.
Если остались вопросы, задайте их в комментариях после инструкции.
"Загружаем инструкцию", означает, что нужно подождать пока файл загрузится и можно будет его читать онлайн. Некоторые инструкции очень большие и время их появления зависит от вашей скорости интернета.

Note
u
The water reservoir has to be slid all the way into the bracket
provided for the purpose in the refrigerator compartment!
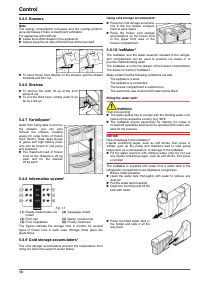
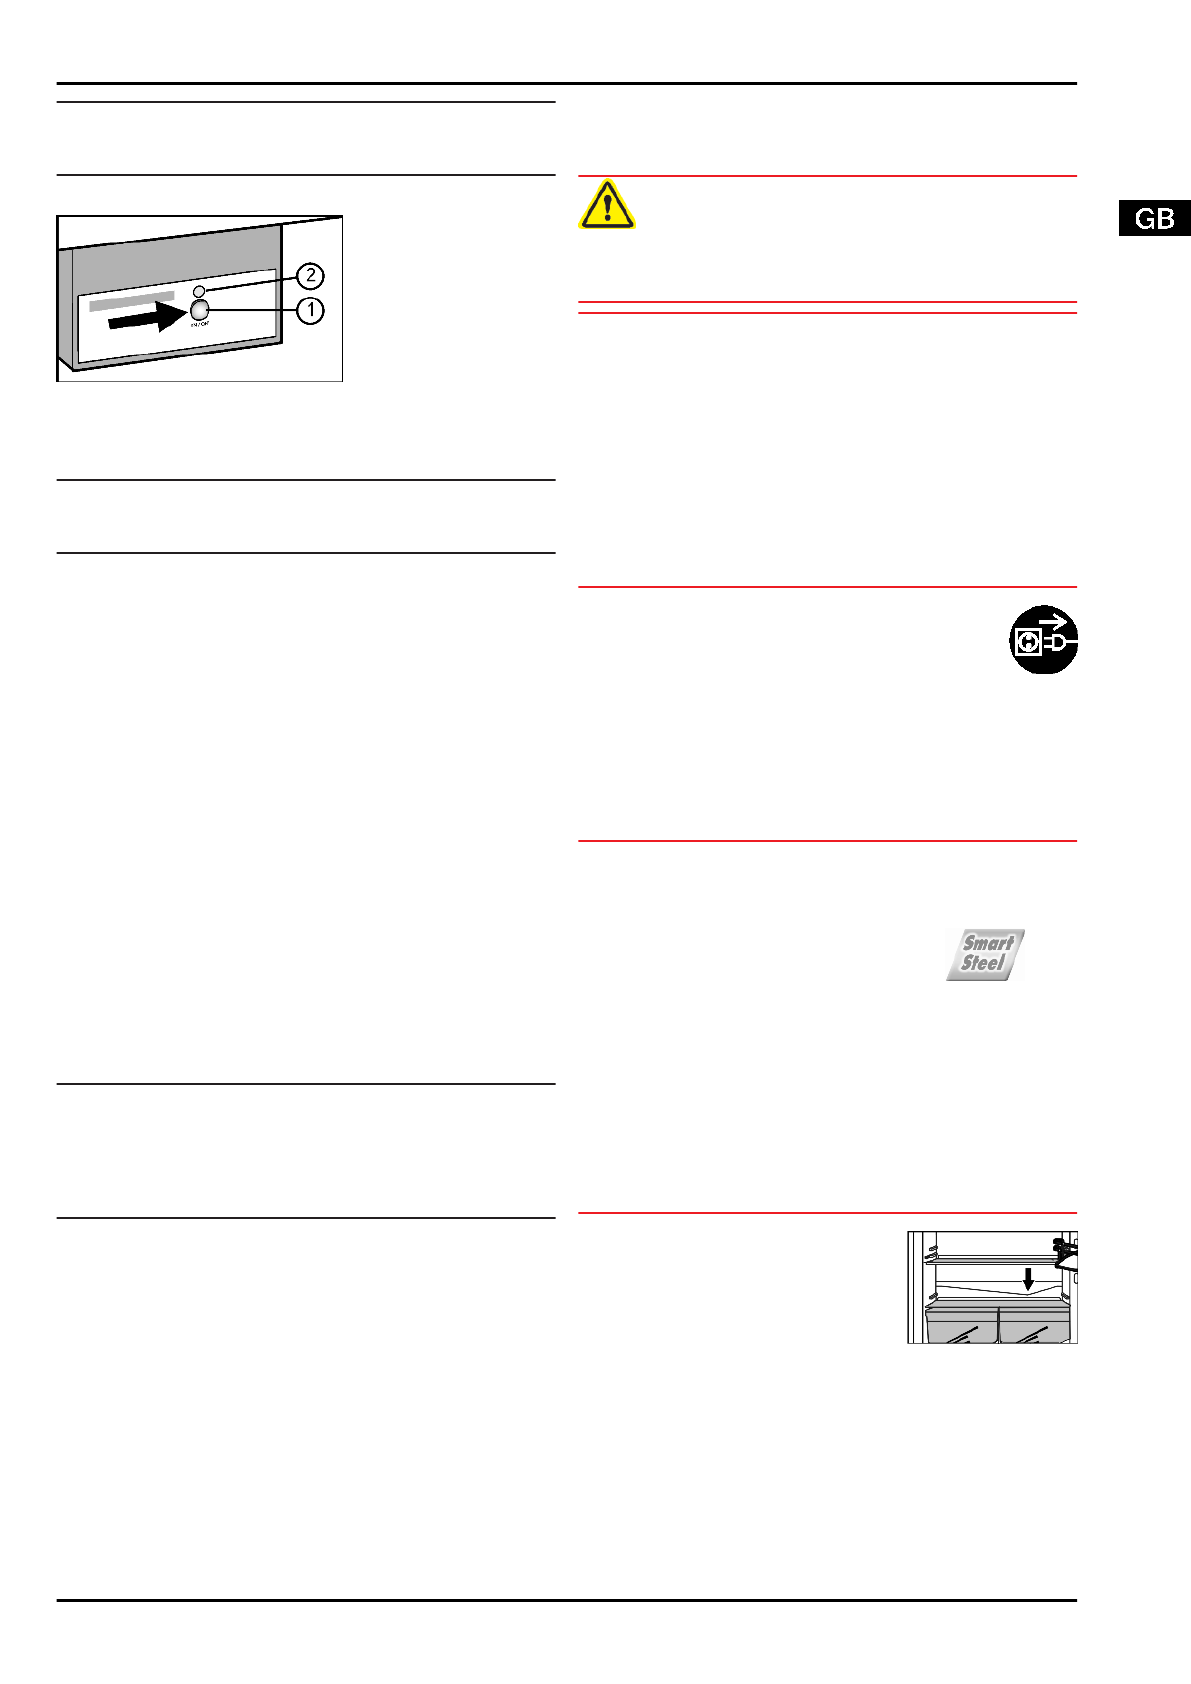
Switching on the IceMaker*
Fig. 12
u
Pull out the drawer.
u
Press the On/Off button
Fig. 12 (1) so that the LED
Fig. 12 (2) shines.
u
Push in the drawer.
Note
u
The IceMaker produces ice cubes only if the drawer is fully
closed.
Switching off the IceMaker*
If no ice cubes are needed, the IceMaker can be switched off
independently of the freezer compartment.
When the IceMaker is switched off, the IceMaker drawer can
also be used for freezing and storing food.
u
Press the On/Off button for about 1 second until the LED
goes out.
u
Clean the IceMaker.
w
This ensures that no water or ice remains in the IceMaker.
Producing ice cubes*
The production capacity depends on the freezer temperature.
The lower the temperature, the more ice cubes can be
produced in a specific period.
The ice cubes drop from the IceMaker into the drawer. When a
certain filling level has been reached, no further ice cubes are
produced. The IceMaker does not fill the drawer right up to the
brim.
If large quantities of ice cubes are needed, the complete
IceMaker drawer can be exchanged for the adjacent drawer.
When the drawer is closed, the IceMaker automatically re-
commences production.
Once the IceMaker has been switched on for the first time, it
may take up to 24 hours until the first ice cubes are produced.
Note
When the appliance is used for the first time and if it has been
out of use for a long time, particles may collect in the IceMaker
and/or water conduit.
u
Therefore do not use or consume the ice cubes made in the
first 24 hours.
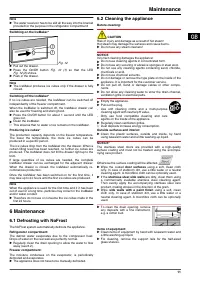
6 Maintenance
6.1 Defrosting with NoFrost
The NoFrost system automatically defrosts the appliance.
Refrigerator compartment:
The defrost water evaporates due to the compressor heat.
Drops of water on the rear wall are perfectly normal.
u
Regularly clean the drain opening to allow the water to flow
away (see 6.2) .
Freezer compartment:
The moisture condenses on the evaporator, is periodically
defrosted and evaporates.
u
The appliance does not have to be manually defrosted.
6.2 Cleaning the appliance
Before cleaning:
CAUTION
Risk of injury and damage as a result of hot steam!
Hot steam may damage the surfaces and cause burns.
u
Do not use any steam cleaners!
NOTICE
Incorrect cleaning damages the appliance!
u
Do not use cleaning agents in concentrated form.
u
Do not use any scouring or abrasive sponges or steel wool.
u
Do not use any cleaning agents containing sand, chloride,
chemicals or acid.
u
Do not use chemical solvents.
u
Do not damage or remove the type plate on the inside of the
appliance. It is important for the customer service.
u
Do not pull off, bend or damage cables or other compo-
nents.
u
Do not allow any cleaning water to enter the drain channel,
ventilation grille or electrical parts.
u
Empty the appliance.
u
Pull out the plug.
- Use soft cleaning cloths and a multi-purpose
cleaning agent with neutral pH value.
- Only use food compatible cleaning and care
agents on the inside of the appliance.
u
Regularly clean ventilation grilles.
w
Dust deposits increase energy consumption.
Outside surfaces and interior:
u
Clean the plastic surfaces, outside and inside, by hand
using lukewarm water and a little washing-up liquid.
NOTICE*
The stainless steel doors are provided with a high-quality
surface coating and must not be treated using the accompa-
nying care product.
Otherwise the surface coating will be affected.
u
Wipe the coated door surfaces using a soft, clean cloth
only. In case of stubborn dirt, use a little water or a neutral
cleaning agent. A microfibre cloth can be optionally used.
u
If the stainless steel side walls are dirty, clean them using
a commercially available stainless steel cleaning agent.
Then evenly apply the accompanying stainless steel care
product, making strokes in the direction of the grain.
u
Wipe side walls with a paint finish using a soft, clean
cloth only. In case of stubborn dirt, use a little water or a
neutral cleaning agent. A microfibre cloth can be optionally
used.
u
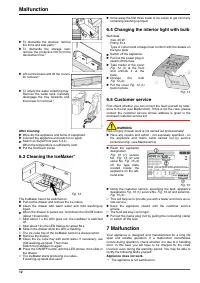
To clean the drain opening: remove
any deposits with a fine instrument,
e.g. a cotton bud.
Items of equipment:
u
Clean items of equipment by hand with lukewarm water and
a little washing-up liquid.
u
For cleaning, remove the support rails for the half-sized
glass shelves.
Maintenance
11
Характеристики

Остались вопросы?Не нашли свой ответ в руководстве или возникли другие проблемы? Задайте свой вопрос в форме ниже с подробным описанием вашей ситуации, чтобы другие люди и специалисты смогли дать на него ответ. Если вы знаете как решить проблему другого человека, пожалуйста, подскажите ему :)


