
Газонокосилки WORX 40 В, АКБ 4 А*ч х2, ЗУ 2А х2 WG749E - инструкция пользователя по применению, эксплуатации и установке на русском языке. Мы надеемся, она поможет вам решить возникшие у вас вопросы при эксплуатации техники.
Если остались вопросы, задайте их в комментариях после инструкции.
"Загружаем инструкцию", означает, что нужно подождать пока файл загрузится и можно будет его читать онлайн. Некоторые инструкции очень большие и время их появления зависит от вашей скорости интернета.


12
Cordless Lawn mower
EN
5) Change your cutting pattern from week to week. This
will help prevent matting and graining of the lawn.
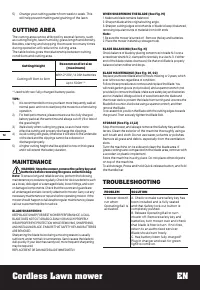
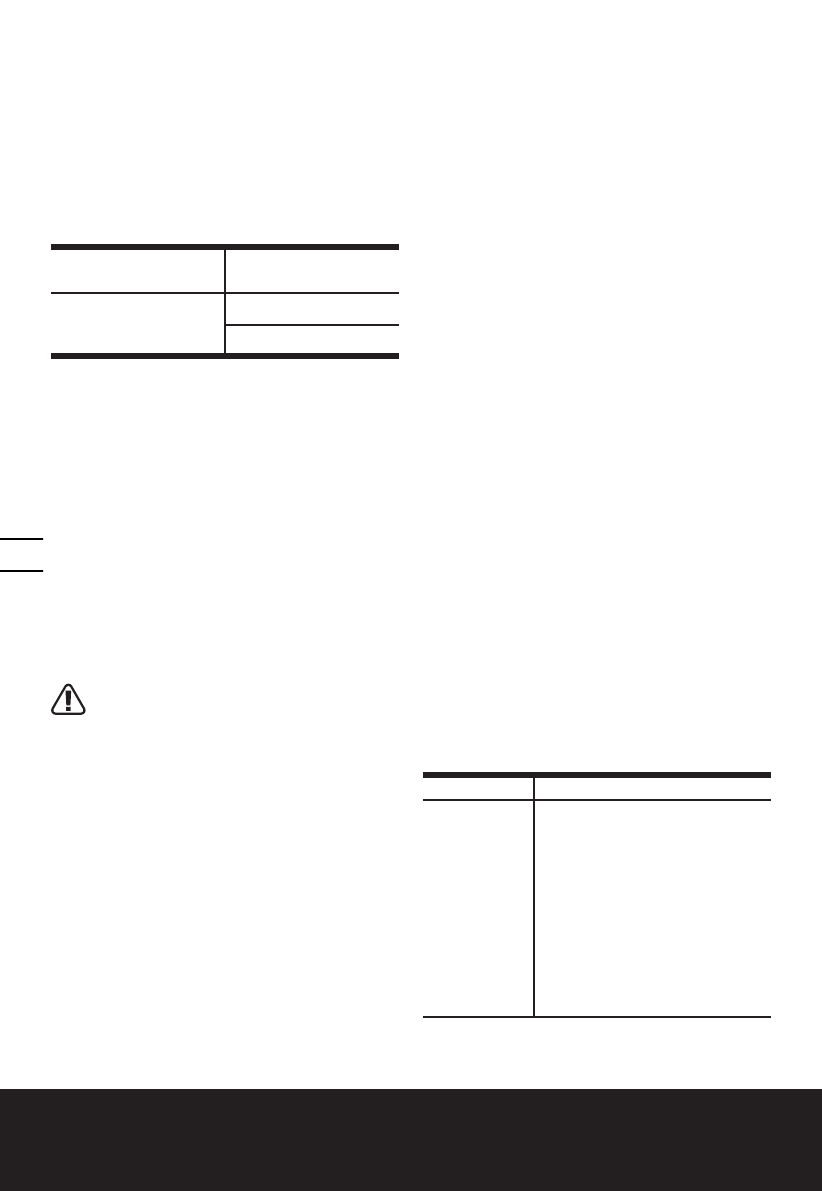
CUTTING AREA
The cutting area can be affected by several factors, such
as cutting height, lawn humidity, grass length and density.
Besides, starting and stopping the mower too many times
during operation will reduce the cutting area.
The table below gives the relationship between cutting
conditions and cutting area.
Cutting Height
Recommend lot size
(maximum)
Cutting off 8cm to 6cm
With 2*20V / 4.0Ah batteries
up to 500m
2
*
* Used with two fully charged battery packs.
TIPS:
1) It is recommended to mow your lawn more frequently, walk at
normal pace, and not to start/stop the mower too often during
operation.
2) For best performance, please ensure use two fully charged
battery packs at the same time and always cut off 1/3 or less of
the grass height.
3) Walk slowly when cutting long grass, so as to have more
effective cutting and properly discharge the clippings.
4) Avoid cutting wet grass, otherwise it will stick to the underside
of the deck and the clippings cannot be collected or
discharged properly.
5) A higher cutting height shall be applied to new or thick grass
and it will extend the battery duration.
MAINTENANCE
WARNING:
Stop the mower, remove the safety key and
batteries before removing the grass collection bag.
Note:
To ensure long and reliable service, perform the following
maintenance procedures regularly. Check for obvious defects such
as a loose, dislodged or a damaged blade, loose fittings, and worn
or damaged components. Check that the covers and guards are
all undamaged and are correctly attached to mower. Carry out any
necessary maintenance or repairs before operating mower. If the
mower should happen to fail despite regular maintenance, please
call our customer helpline for advice.
BLADE SHARPENING
KEEP BLADE SHARP FOR BEST MOWER PERFORMANCE. A DULL
BLADE DOES NOT CUT GRASS CLEANLY OR MULCH PROPERLY.
WEAR PROPER EYE PROTECTION WHILE REMOVING, SHARPENING,
AND INSTALLING BLADE. ENSURE THAT SAFETY KEY AND BATTERIES
ARE REMOVED.
Sharpening the blade twice during a mowing season is usually
sufficient under normal circumstances. Sand causes the blade to
dull quickly. If your lawn has sandy soil, more frequent sharpening
may be required.
REPLACE BENT OR DAMAGED BLADE IMMEDIATELY.
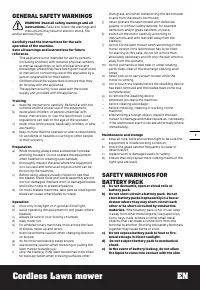
WHEN SHARPENING THE BLADE (See Fig. M)
1. Make sure blade remains balanced.
2. Sharpen blade at the original cutting angle.
3. Sharpen cutting edges on both ends of blade to keep it balanced,
removing equal amounts of material from both ends.
Note:
1. Be sure the mower is turned off . Remove the key and batteries.
2. Place the mower in stand up storage mode.
BLADE BALANCING (See Fig. N)
Check balance of blade by placing center hole in blade N-1 over a
screwdriver shank N-2, clamped horizontally in a vise N-3. If either
end of the blade rotates downward, file that end. Blade is properly
balanced when neither end drops.
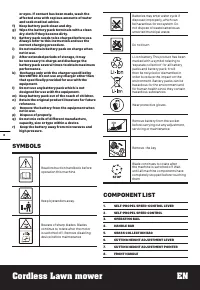
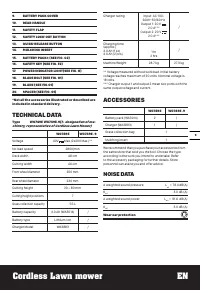
BLADE MAINTENANCE (See Fig. O1, O2)
Replace yourMower Blade after 50 hours mowing or 2 years, which
ever is the sooner-regardless of condition.
Follow these procedures to remove and replace the Blade. You
will need garden gloves (not provided) and a spanner wrench (not
provided) to remove the Blade. Make sure safety key and batteries
are not installed. Wedge a block of wood between the blade and
the mower deck to prevent the blade from turning and unscrew the
Blade Bolt counter-clockwise using a spanner wrench, and then
remove the Blade.
To re-assemble, position the Blade with the cutting edges towards
the ground. Then securely tighten the Blade Bolt.
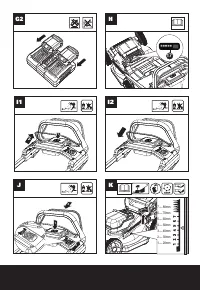
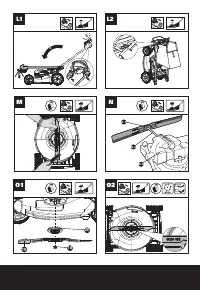
STORAGE (See Fig. L1,L2)
Stop the mower, and always remove the Safety Key and bat-
teries. Clean the exterior of the machine thoroughly using a
soft brush and cloth. Do not use water, solvents or polishes.
Remove all grass and debris, especially from the ventilation
slots.
Turn the machine on its side and clean the blade area. If
grass cuttings are compacted in the blade area, remove with
a wooden or plastic implement.
Store the machine in a dry place. Do not place other objects
on top of the machine.
To aid storage, Press and hold Quick-release button, and fold
the Handle bar.
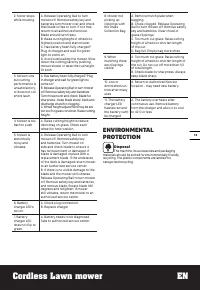
TROUBLESHOOTING
PROBLEM
SOLUTION
1. Mower doesn’t
run when
Operating Bail is
activated.
A. Check to make sure safety key has
been installed and is fully seated
and that Safety lock-out button is
completely pushed.
B. Release Operating Bail to turn
mower off. Remove safety key and
batteries, turn mower over and check
that blade is free to turn. If not free,
return to an authorized servicer.
Blade should turn freely.
C. Has battery been fully charged?
Plug in charger and wait for green
light to come on.


