
Газонокосилки Husqvarna LC 551SP 9673432-02 - инструкция пользователя по применению, эксплуатации и установке на русском языке. Мы надеемся, она поможет вам решить возникшие у вас вопросы при эксплуатации техники.
Если остались вопросы, задайте их в комментариях после инструкции.
"Загружаем инструкцию", означает, что нужно подождать пока файл загрузится и можно будет его читать онлайн. Некоторые инструкции очень большие и время их появления зависит от вашей скорости интернета.


injury or death. Do not change the product. Always
use accessories that are approved by the
manufacturer.
• If the maintenance is not done correctly and
regularly, the risk of injury and damage to the
product increases.
• Only do the maintenance as given in this owner's
manual. All other servicing must be done by an
approved Husqvarna service agent.
• Let an approved Husqvarna service agent do
servicing on the product regularly.
• Replace damaged, worn or broken parts.
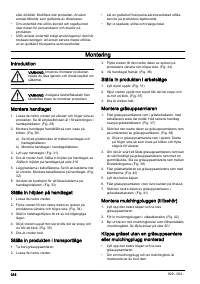
Assembly
Introduction
WARNING: Before you assemble the
product, you must read and understand the
safety chapter.
WARNING: Remove the spark plug cable
from the spark plug before you assemble the
product.
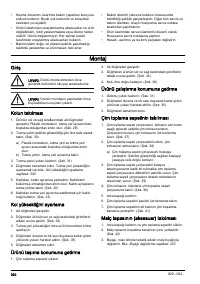
To assemble the handle
1. Loosen the lower knobs on the left and the right side
of the product. Make sure that the plastic washer is
in the recess in the handle bracket. (Fig. 29)
2. Install the handle folded forward as shown in the
illustration. (Fig. 30)
a) Make sure that the plastic washer is between the
handle and the handle bracket.
b) Attach the handle to the handle bracket.
3. Lift the handle up. (Fig. 31)
4. Tighten the knobs fully. To adjust the handle height,
To adjust the handle height on page 11.
5. Put the wires in the cable brackets. Make sure that
the wires are not twisted. Attach the cable brackets
to the handle. (Fig. 32)
6. Use a cable tie to attach the cables to the handle
bracket. (Fig. 33)
To adjust the handle height
1. Loosen the lower knobs.
2. Move the knobs to the lower end of the grooves on
the left and the right side of the product. (Fig. 34)
3. Set the handle height in 1 of the 2 available
positions.
4. Move the knobs up in the direction of the handlebar
until they stop and you hear a click. (Fig. 35)
5. Tighten the knobs fully.
To set the product in transport position
1. Remove the grass catcher.
2. Loosen the lower knobs.
3. Move the knobs to the lower end of the grooves on
the left and the right side of the product. (Fig. 34)
4. Fold the handle forward. (Fig. 36)
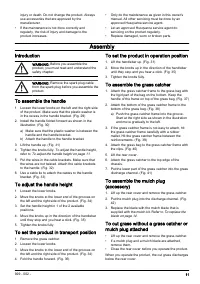
To set the product in operation position
1. Lift the handlebar up. (Fig. 31)
2. Move the knobs up in the direction of the handlebar
until they stop and you hear a click. (Fig. 35)
3. Tighten the knobs fully.
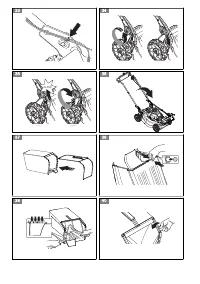
To assemble the grass catcher
1. Attach the grass catcher frame to the grass bag with
the rigid part of the bag on the bottom. Keep the
handle of the frame on top of the grass bag. (Fig. 37)
2. Attach the bottom of the grass catcher frame to the
bottom of the grass bag. (Fig. 38)
a) Push the grass catcher frame into the groove.
Start at the right side as shown in the illustration
and move gradually to the left.
3. If the grass catcher frame is not easy to attach, hit
the grass catcher frame carefully with a rubber
mallet. Hit the grass catcher frame between the
reinforcements. (Fig. 39)
4. Attach the grass bag to the grass catcher frame with
the clips. (Fig. 40)
5. Lift the rear cover.
6. Attach the grass catcher to the top edge of the
chassis.
7. Put the lower part of the grass catcher into the grass
discharge channel. (Fig. 41)
To assemble the mulch plug
(accessory)
1. Lift up the rear cover and remove the grass catcher.
2. Put the mulch plug into the discharge channel. (Fig.
42)
3. Replace the blade with the mulch blade that is
supplied with the mulch kit. Refer to
blade on page 14.
To cut grass without a grass catcher or
mulch plug attached
• Lift up the rear cover and remove the grass catcher.
• If a mulch plug and a mulch blade are attached,
remove them.
• Close the rear cover before you operate the product.
When you operate the product, the cut grass discharges
below the rear cover.
929 - 002 -
11


