Гайковерты Makita TD110DZ - инструкция пользователя по применению, эксплуатации и установке на русском языке. Мы надеемся, она поможет вам решить возникшие у вас вопросы при эксплуатации техники.
Если остались вопросы, задайте их в комментариях после инструкции.
"Загружаем инструкцию", означает, что нужно подождать пока файл загрузится и можно будет его читать онлайн. Некоторые инструкции очень большие и время их появления зависит от вашей скорости интернета.


6
ENGLISH
CAUTION:
ůХаКвsăТЧstКХХătСОăЛКttОrвăМКrtrТНРОă
ПuХХвăuЧtТХătСОărОНăТЧНТМКtШrăМКЧЧШtăЛОăsООЧ.
If not,
ТtăЦКвăКММТНОЧtКХХвăПКХХăШutăШПătСОătШШХ,ăМКusТЧРăТЧУurвătШă
you or someone around you.
CAUTION:
DШăЧШtăТЧstКХХătСОăЛКttОrвăМКrtrТНРОă
ПШrМТЛХв.
If the cartridge does not slide in easily, it is
not being inserted correctly.
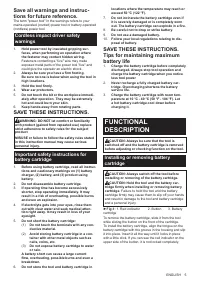
ŰКttОrвăprШtОМtТШЧăsвstОЦ
The tool is equipped with a battery protection system.
This system automatically cuts off power to the motor to
extend battery life.
The tool will automatically stop during operation if the
tool and/or battery are placed under one of the following
conditions:
Overloaded:
The tool is operated in a manner that causes it to draw
an abnormally high current.
In this situation, release the switch trigger on the tool
and stop the application that caused the tool to become
overloaded. Then pull the switch trigger again to restart.
If the tool does not start, the battery is overheated.
In this situation, let the battery cool before pulling the
switch trigger again.
Low battery voltage:
The remaining battery capacity is too low and the tool
will not operate. If you pull the switch trigger, the motor
runs again but stops soon. In this situation, remove and
recharge the battery.
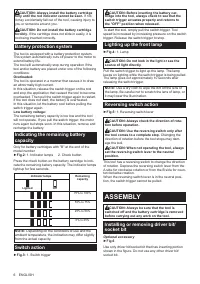
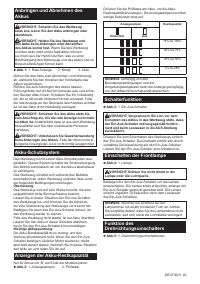
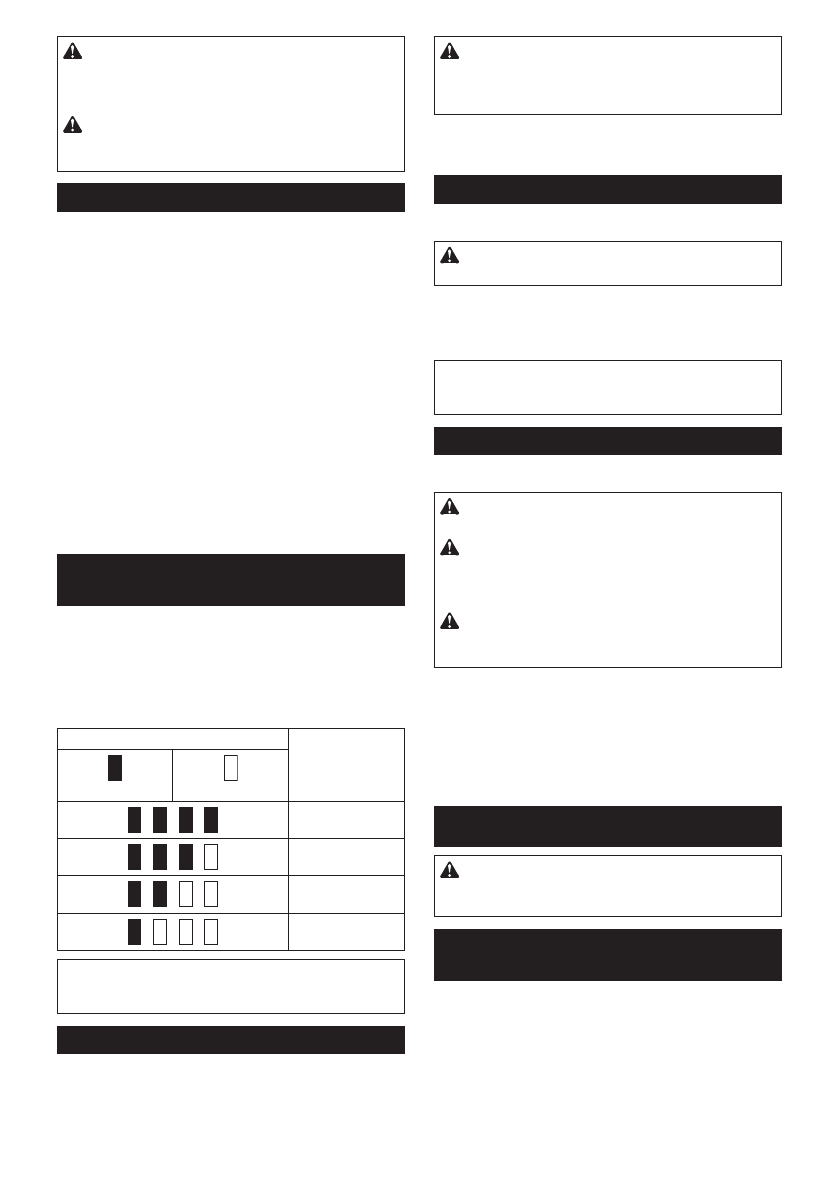
IЧНТМКtТЧРătСОărОЦКТЧТЧРăЛКttОrвă
capacity
Only for battery cartridges with "B" at the end of the
model number
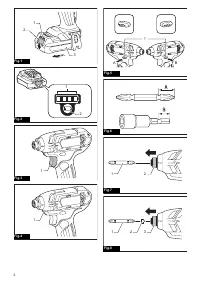
►
Fig.2:
1. Indicator lamps
2. Check button
Press the check button on the battery cartridge to indi-
cate the remaining battery capacity. The indicator lamps
light up for few seconds.
IЧНТМКtШrăХКЦps
RОЦКТЧТЧР
capacity
Lighted
ЇПП
75% to 100%
50% to 75%
25% to 50%
0% to 25%
NOTE:
Depending on the conditions of use and the
ambient temperature, the indication may differ slightly
from the actual capacity.
SаТtМСăКМtТШЧ
►
Fig.3:
1. Switch trigger
CAUTION:
ŰОПШrОăТЧsОrtТЧРătСОăЛКttОrвăМКr
-
trТНРОăТЧtШătСОătШШХĽăКХаКвsăМСОМkătШăsООătСКtătСОă
sаТtМСătrТРРОrăКМtuКtОsăprШpОrХвăКЧНărОturЧsătШă
tСОă"ЇŻŻ"ăpШsТtТШЧăаСОЧărОХОКsОН.
To start the tool, simply pull the switch trigger. Tool
speed is increased by increasing pressure on the switch
trigger. Release the switch trigger to stop.
LТРСtТЧРăupătСОăПrШЧtăХКЦp
►
Fig.4:
1. Lamp
CAUTION:
DШăЧШtăХШШkăТЧătСОăХТРСtăШrăsООătСОă
sШurМОăШПăХТРСtăНТrОМtХв.
Pull the switch trigger to light up the lamp. The lamp
keeps on lighting while the switch trigger is being pulled.
The lamp goes out approximately 10 seconds after
releasing the switch trigger.
NOTE:
Use a dry cloth to wipe the dirt off the lens of
the lamp. Be careful not to scratch the lens of lamp, or
it may lower the illumination.
RОЯОrsТЧРăsаТtМСăКМtТШЧ
►
Fig.5:
1. Reversing switch lever
CAUTION:
ůХаКвsăМСОМkătСОăНТrОМtТШЧăШПărШtК
-
tТШЧăЛОПШrОăШpОrКtТШЧ.
CAUTION:
UsОătСОărОЯОrsТЧРăsаТtМСăШЧХвăКПtОră
the tool comes to a complete stop.
Changing the
direction of rotation before the tool stops may dam-
age the tool.
CAUTION:
АСОЧăЧШtăШpОrКtТЧРătСОătШШХĽăКХаКвsă
sОtătСОărОЯОrsТЧРăsаТtМСăХОЯОrătШătСОăЧОutrКХă
pШsТtТШЧ.
This tool has a reversing switch to change the direction
of rotation. Depress the reversing switch lever from the
A side for clockwise rotation or from the B side for coun-
terclockwise rotation.
When the reversing switch lever is in the neutral posi-
tion, the switch trigger cannot be pulled.
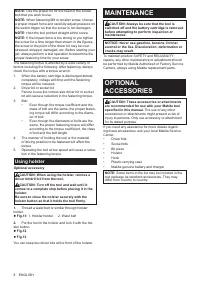
ASSEMBLY
CAUTION:
Always be sure that the tool is
sаТtМСОНăШППăКЧНătСОăЛКttОrвăМКrtrТНРОăТsărОЦШЯОНă
ЛОПШrОăМКrrвТЧРăШutăКЧвăаШrkăШЧătСОătШШХ.
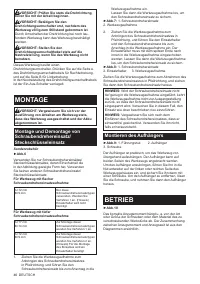
IЧstКХХТЧРăШrărОЦШЯТЧРăНrТЯОrăЛТt/
socket bit
Optional accessory
►
Fig.6
Use only driver bit/socket bit that has inserting portion
sСШаЧăТЧătСОăiРurО.ăDШăЧШtăusОăКЧвăШtСОrăНrТЯОrăЛТt/
socket bit.
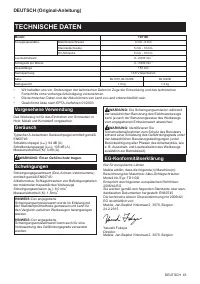
Характеристики

Остались вопросы?Не нашли свой ответ в руководстве или возникли другие проблемы? Задайте свой вопрос в форме ниже с подробным описанием вашей ситуации, чтобы другие люди и специалисты смогли дать на него ответ. Если вы знаете как решить проблему другого человека, пожалуйста, подскажите ему :)


