Гайковерты Bosch (0.601.9K0.020) - инструкция пользователя по применению, эксплуатации и установке на русском языке. Мы надеемся, она поможет вам решить возникшие у вас вопросы при эксплуатации техники.
Если остались вопросы, задайте их в комментариях после инструкции.
"Загружаем инструкцию", означает, что нужно подождать пока файл загрузится и можно будет его читать онлайн. Некоторые инструкции очень большие и время их появления зависит от вашей скорости интернета.


English |
15
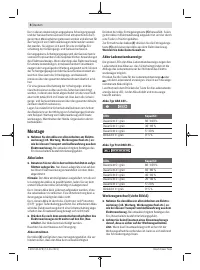
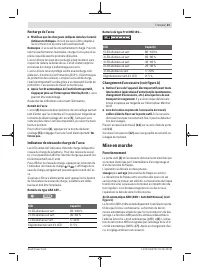
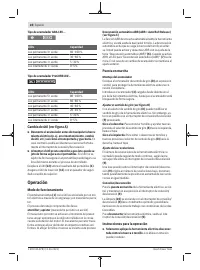
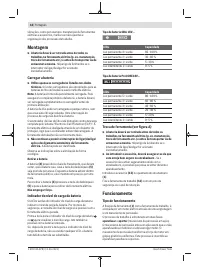
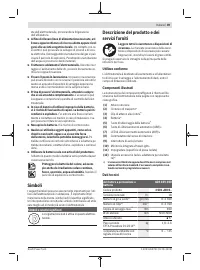
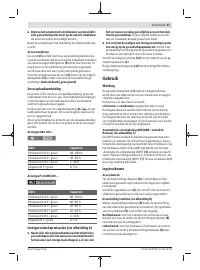
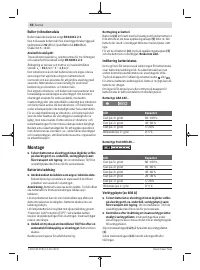
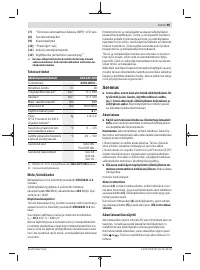
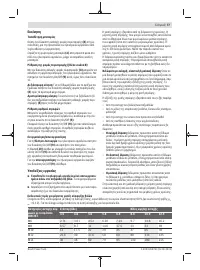
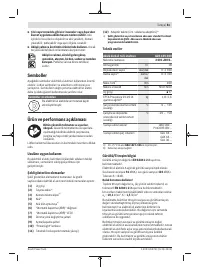
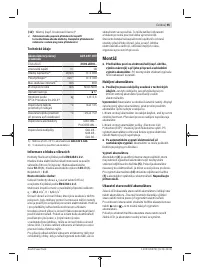
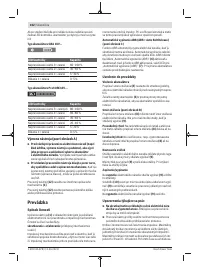
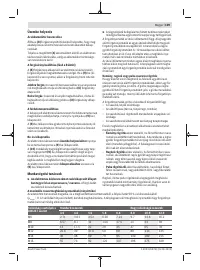
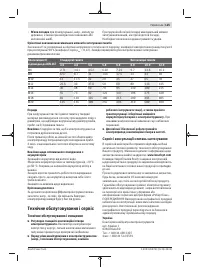
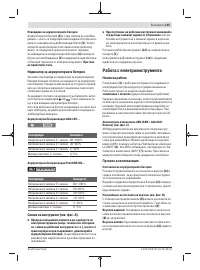
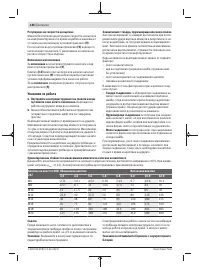
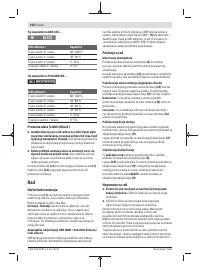
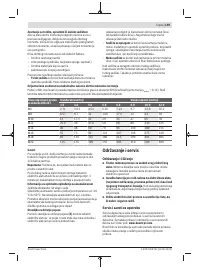
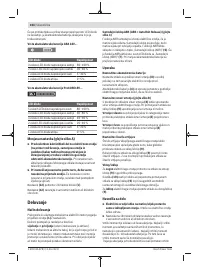
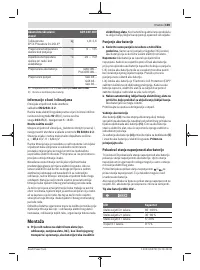
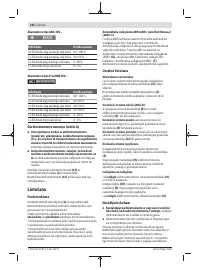
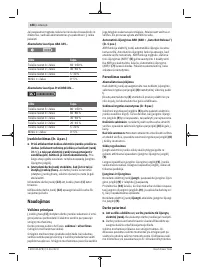
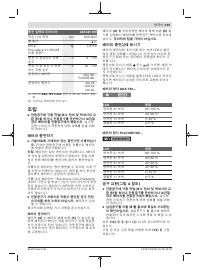
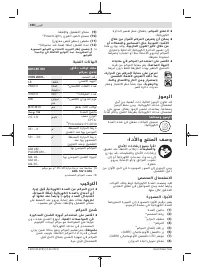
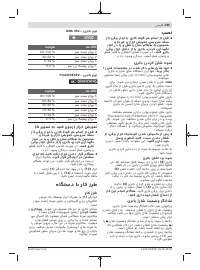
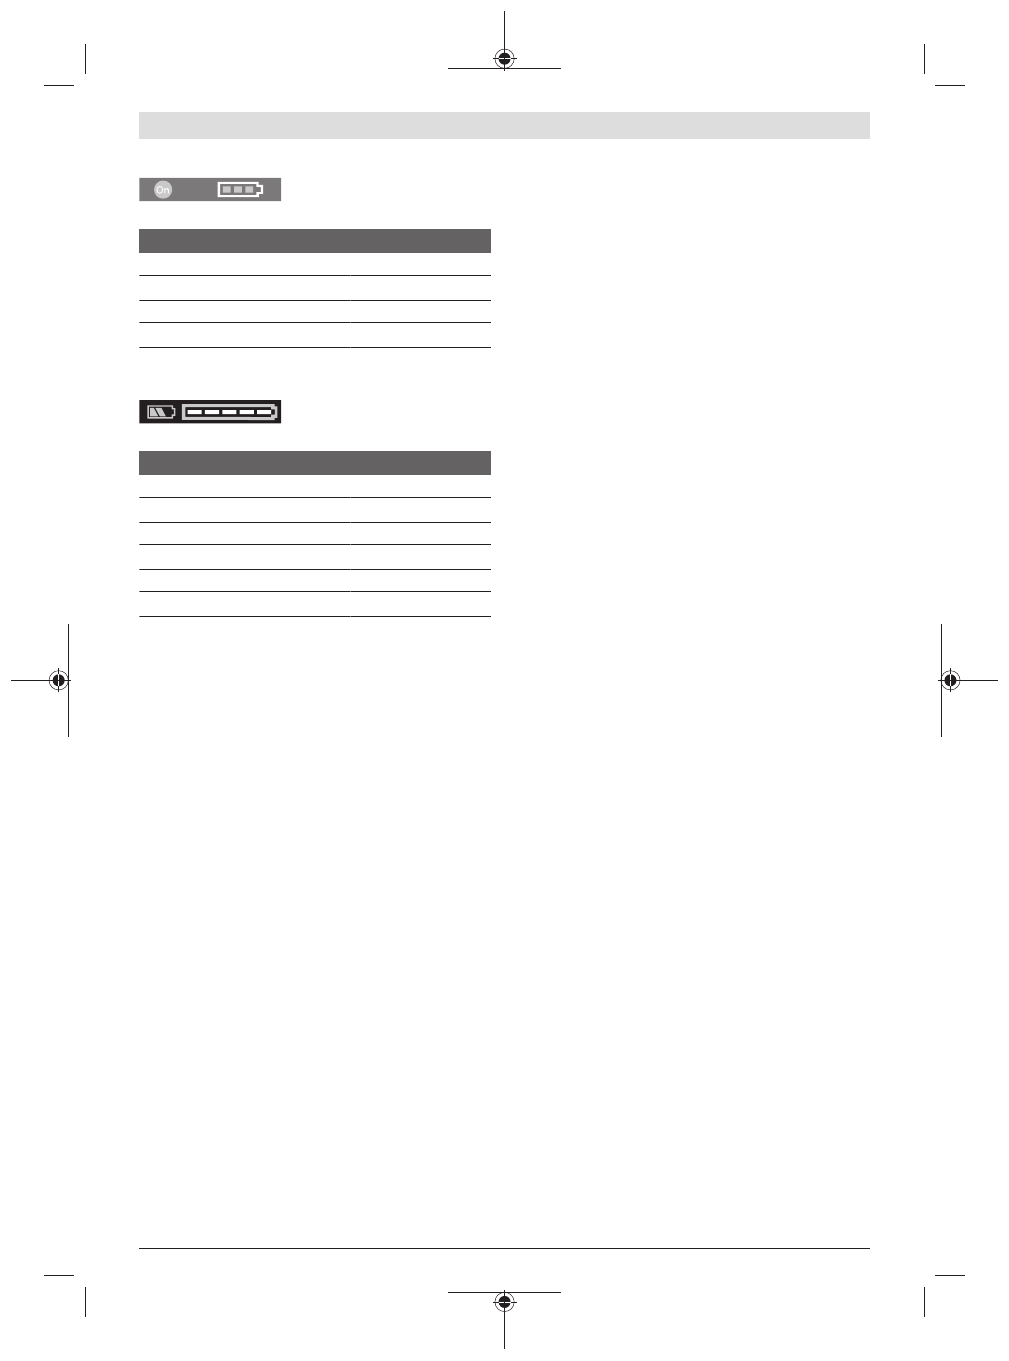
Battery model GBA 18V...
LEDs
Capacity
3× continuous green light
60−100 %
2× continuous green light
30−60 %
1× continuous green light
5−30 %
1× flashing green light
0−5 %
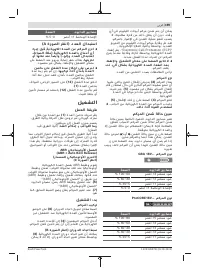
Battery model ProCORE18V...
LEDs
Capacity
5× continuous green light
80−100 %
4× continuous green light
60−80 %
3× continuous green light
40−60 %
2× continuous green light
20−40 %
1× continuous green light
5−20 %
1× flashing green light
0−5 %
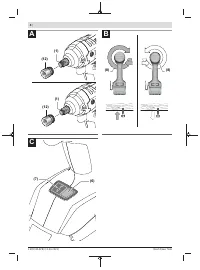
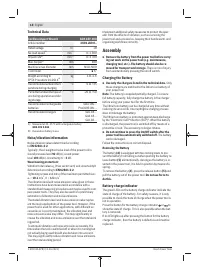
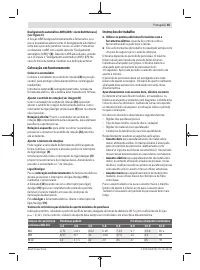
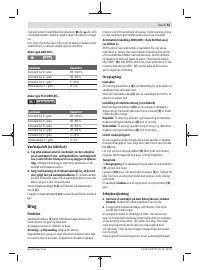
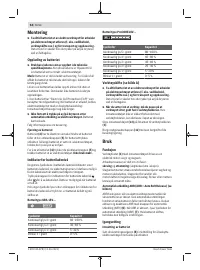
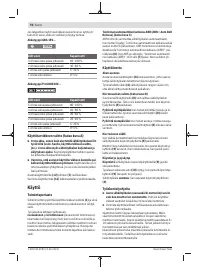
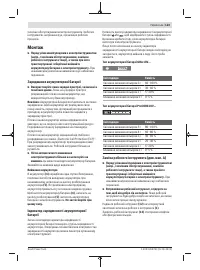
Changing the tool (see figure A)
u
Remove the battery from the power tool before carry-
ing out work on the power tool (e.g. maintenance,
changing tool, etc.). The battery should also be re-
moved for transport and storage.
There is risk of injury
from unintentionally pressing the on/off switch.
u
When working with an application tool, pay attention
that the application tool is connected securely to the
tool holder.
When the application tool is not securely
connected with the tool holder, it can come off during ap-
plication.
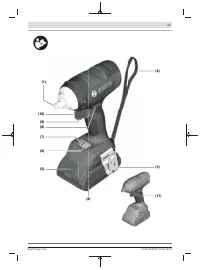
Slide the application tool
(12)
onto the square drive of the
tool holder
(1)
.
Secure the application tool
(12)
using a locking pin or the re-
taining ring.
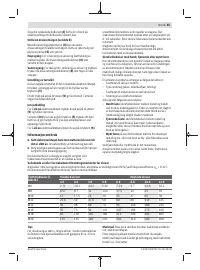
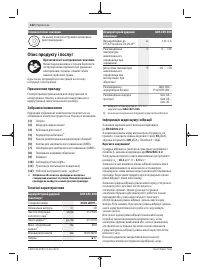
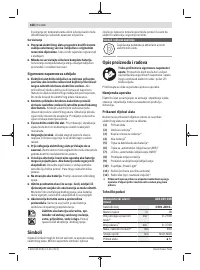
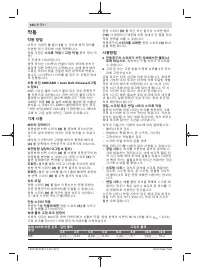
Operation
Method of Operation
The tool holder
(1)
(with the application tool) is driven by an
electric motor via a gear and impact mechanism.
The working procedure is divided into two phases:
Screwing in
and
tightening
(impact mechanism in action).
The impact mechanism is activated as soon as the screwed
connection runs tight and load is therefore put on the motor.
The impact mechanism then converts the power of the mo-
tor to steady rotary impacts. When loosening screws or nuts,
the process is reversed.
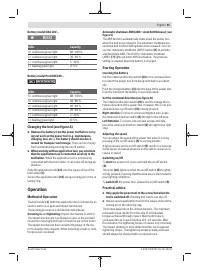
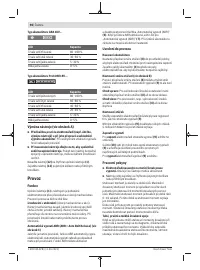
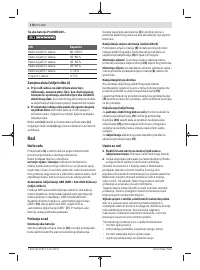
Automatic shutdown ABR (ABR = Auto Bolt Release) (see
figure C)
The ABR function automatically shuts down the power tool
when the bolt nut is released. The automatic shutdown pre-
vents the bolt nut from falling down when released. You can
use the "Automatic shutdown (ABR)" button
(6)
to activate
and deactivate ABR. The LED for "Automatic shutdown
(ABR)"
(7)
lights up when ABR is activated. The previous
setting is retained when the battery is changed.
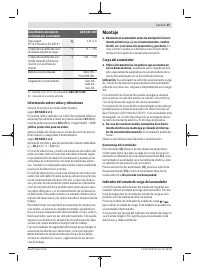
Starting Operation
Inserting the Battery
Set the rotational direction switch
(8)
to the centre position
to protect the power tool from being switched on accident-
ally.
Push the charged battery
(4)
into the base of the power tool
from the front until the battery is securely locked.
Set the rotational direction (see figure B)
The rotational direction switch
(8)
is used to change the ro-
tational direction of the power tool. However, this is not pos-
sible while the on/off switch
(9)
is being pressed.
Right rotation:
To drive in screws and tighten nuts, press
the rotational direction switch
(8)
through to the left stop.
Left Rotation:
To loosen and unscrew screws and nuts,
press the rotational direction switch
(8)
through to the right
stop.
Adjusting the speed
You can adjust the speed of the power tool when it is on by
pressing in the on/off switch
(9)
to varying extents.
A light pressure on the on/off switch
(9)
results in a low rota-
tional speed. Increased pressure on the switch causes an in-
crease in speed.
Switching on/off
To
start
the power tool, press and hold the on/off switch
(9)
.
The lamp
(10)
lights up when the on/off switch
(9)
is lightly
or fully pressed, meaning that the work area is illuminated in
poor lighting conditions.
To
switch off
the power tool, release the on/off switch
(9)
.
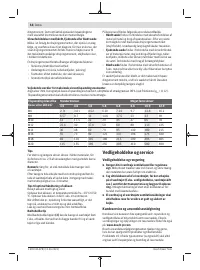
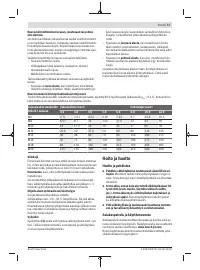
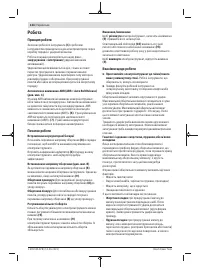
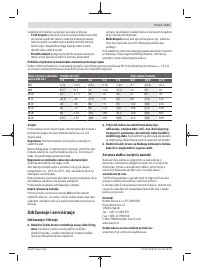
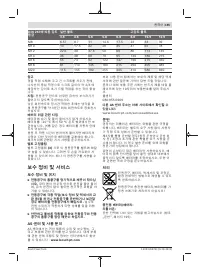
Practical advice
u
Only apply the power tool to the screw/nut when the
tool is switched off.
Rotating tool inserts can slip off.
u
Always secure application tools to the square drive with a
locking pin or the retaining ring.
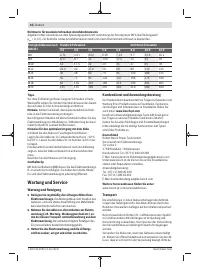
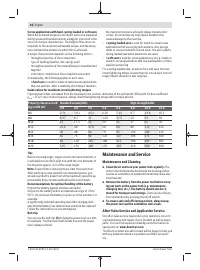
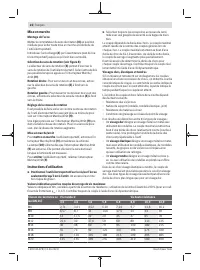
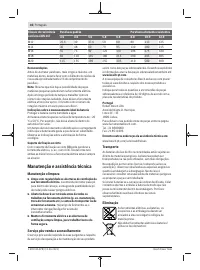
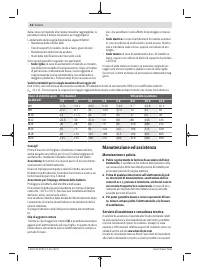
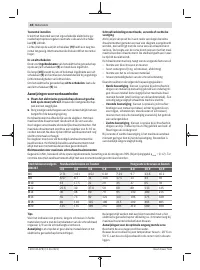
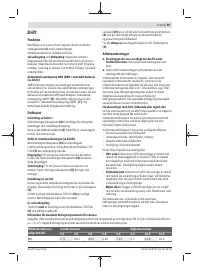
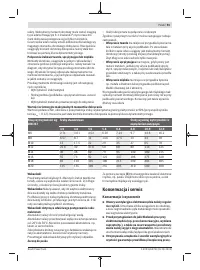
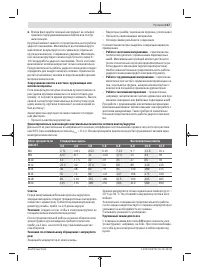
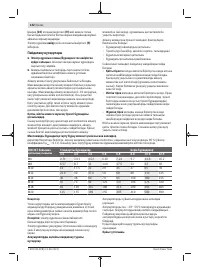
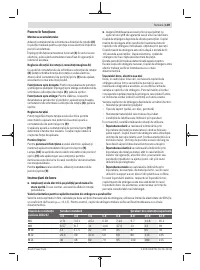
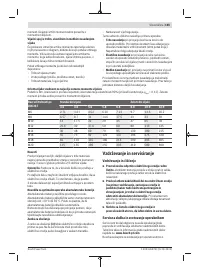
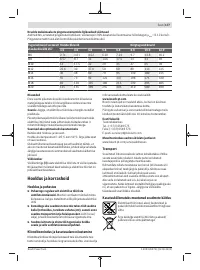
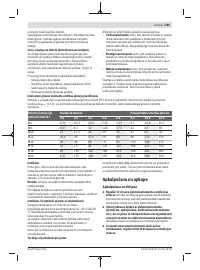
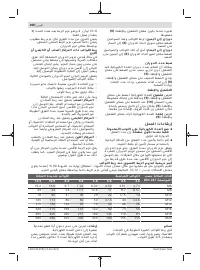
The torque depends on the impact duration. The maximum
achieved torque results from the sum of all individual
torques achieved through impact. Maximum torque is
achieved after an impact duration of 6–10 seconds. After
this duration, the tightening torque increases only minimally.
The impact duration is to be determined for each required
tightening torque. The tightening torque actually achieved
should always be checked with a torque wrench.
Bosch Power Tools
1 609 92A 878 | (12.06.2023)
Содержание
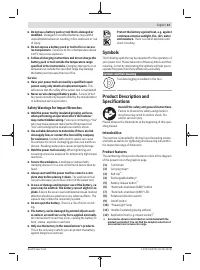
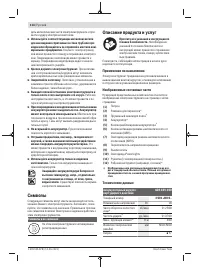
- 114 Символы; Символы и их значение; Описание продукта и услуг; Применение по назначению
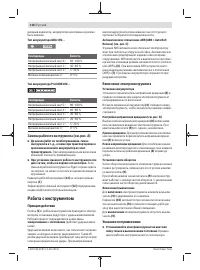
- 115 Данные по шуму и вибрации; Используйте средства защиты органов слуха!; Сборка; Зарядка аккумулятора; Извлечение аккумулятора
- 116 Работа с инструментом; Принцип действия
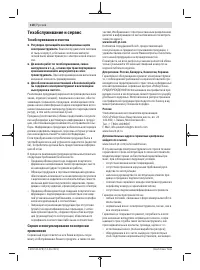
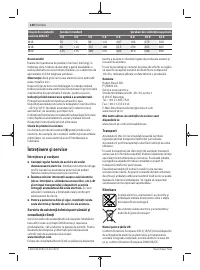
- 118 Техобслуживание и сервис; Техобслуживание и очистка; Россия
- 119 Українська; Вказівки з техніки безпеки; ДЖЕННЯ
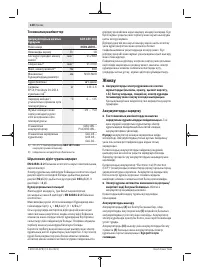
Характеристики

Остались вопросы?Не нашли свой ответ в руководстве или возникли другие проблемы? Задайте свой вопрос в форме ниже с подробным описанием вашей ситуации, чтобы другие люди и специалисты смогли дать на него ответ. Если вы знаете как решить проблему другого человека, пожалуйста, подскажите ему :)


