Дрели Bosch GSB 162-2 RE - инструкция пользователя по применению, эксплуатации и установке на русском языке. Мы надеемся, она поможет вам решить возникшие у вас вопросы при эксплуатации техники.
Если остались вопросы, задайте их в комментариях после инструкции.
"Загружаем инструкцию", означает, что нужно подождать пока файл загрузится и можно будет его читать онлайн. Некоторые инструкции очень большие и время их появления зависит от вашей скорости интернета.

14
| English
1 609 92A 3BA | (6.12.16)
Bosch Power Tools
Changing the Tool
Wear protective gloves when changing the tool.
The
drill chuck can become very hot during longer work peri-
ods.
Key-type Drill Chuck with Automatic Locking Feature
(see figure D)
Open the key type drill chuck
1
by turning until the tool can be
inserted. Insert the tool.
Insert the chuck key
12
into the corresponding holes of the
key type drill chuck
1
and clamp the tool uniformly.
Key-type Drill Chuck (Manual Locking) (see figure E)
Open the key type drill chuck
16
by turning until the tool can
be inserted. Insert the tool.
Insert the chuck key
15
into the corresponding holes of the
key type drill chuck
16
and clamp the tool uniformly.
With the hexagon of the chuck key
15
, turn the den eccentric
cam to the stop in rotation direction
. This ensures the ten-
sioning force.
For removal of the application tool, turn the eccentric cam in
rotation direction
and open the key-type drill chuck
16
with the chuck key
15
.
Screwdriver Tools
When working with screwdriver bits
13
, a universal bit holder
14
should always be used. Use only screwdriver bits that fit
the screw head.
For driving screws, always position the “Drilling/Impact Drill-
ing” selector switch
2
to the “Drilling” symbol.
Replacing the Drill Chuck
Removing the Drill Chuck (see figure F)
To dismount the key type drill chuck
1
, position an open-end
spanner
17
(size 17 mm) against the spanner flats of the
drive spindle.
Place the machine on a firm support, e.g., a workbench. Insert
the chuck key
12
into one of the three holes of the key type
drill chuck
1
and release the key type drill chuck
1
with this le-
ver by turning in rotation direction
. Loosen a tight seated
key type drill chuck with a light blow on the chuck key
12
. Re-
move the chuck key
12
from the key type drill chuck and com-
pletely unscrew the key type drill chuck.
Mounting the Drill Chuck (see figure G)
The key type drill chuck is mounted in reverse order.
The drill chuck must be tightened with a tightening
torque of approx. 80 – 85 Nm.
Dust/Chip Extraction
Dust from materials such as lead-containing coatings,
some wood types, minerals and metal can be harmful to
one’s health. Touching or breathing-in the dust can cause
allergic reactions and/or lead to respiratory infections of
the user or bystanders.
Certain dust, such as oak or beech dust, is considered car-
cinogenic, especially in connection with wood-treatment
additives (chromate, wood preservative). Materials con-
taining asbestos may only be worked by specialists.
– Provide for good ventilation of the working place.
– It is recommended to wear a P2 filter-class respirator.
Observe the relevant regulations in your country for the
materials to be worked.
Prevent dust accumulation at the workplace.
Dust can
easily ignite.
Operation
Starting Operation
Observe correct mains voltage! The voltage of the pow-
er source must agree with the voltage specified on the
nameplate of the machine. Power tools marked with
230 V can also be operated with 220 V.
Reversing the rotational direction (see figures H – I)
The rotational direction switch
3
is used to reverse the rota-
tional direction of the machine. However, this is not possible
with the On/Off switch
5
actuated.
Right rotation:
For drilling and screwing in screws, push the
rotational direction switch
3
toward the left.
Left rotation:
For loosening and unscrewing screws and
nuts, push the rotational direction switch
3
toward the right.
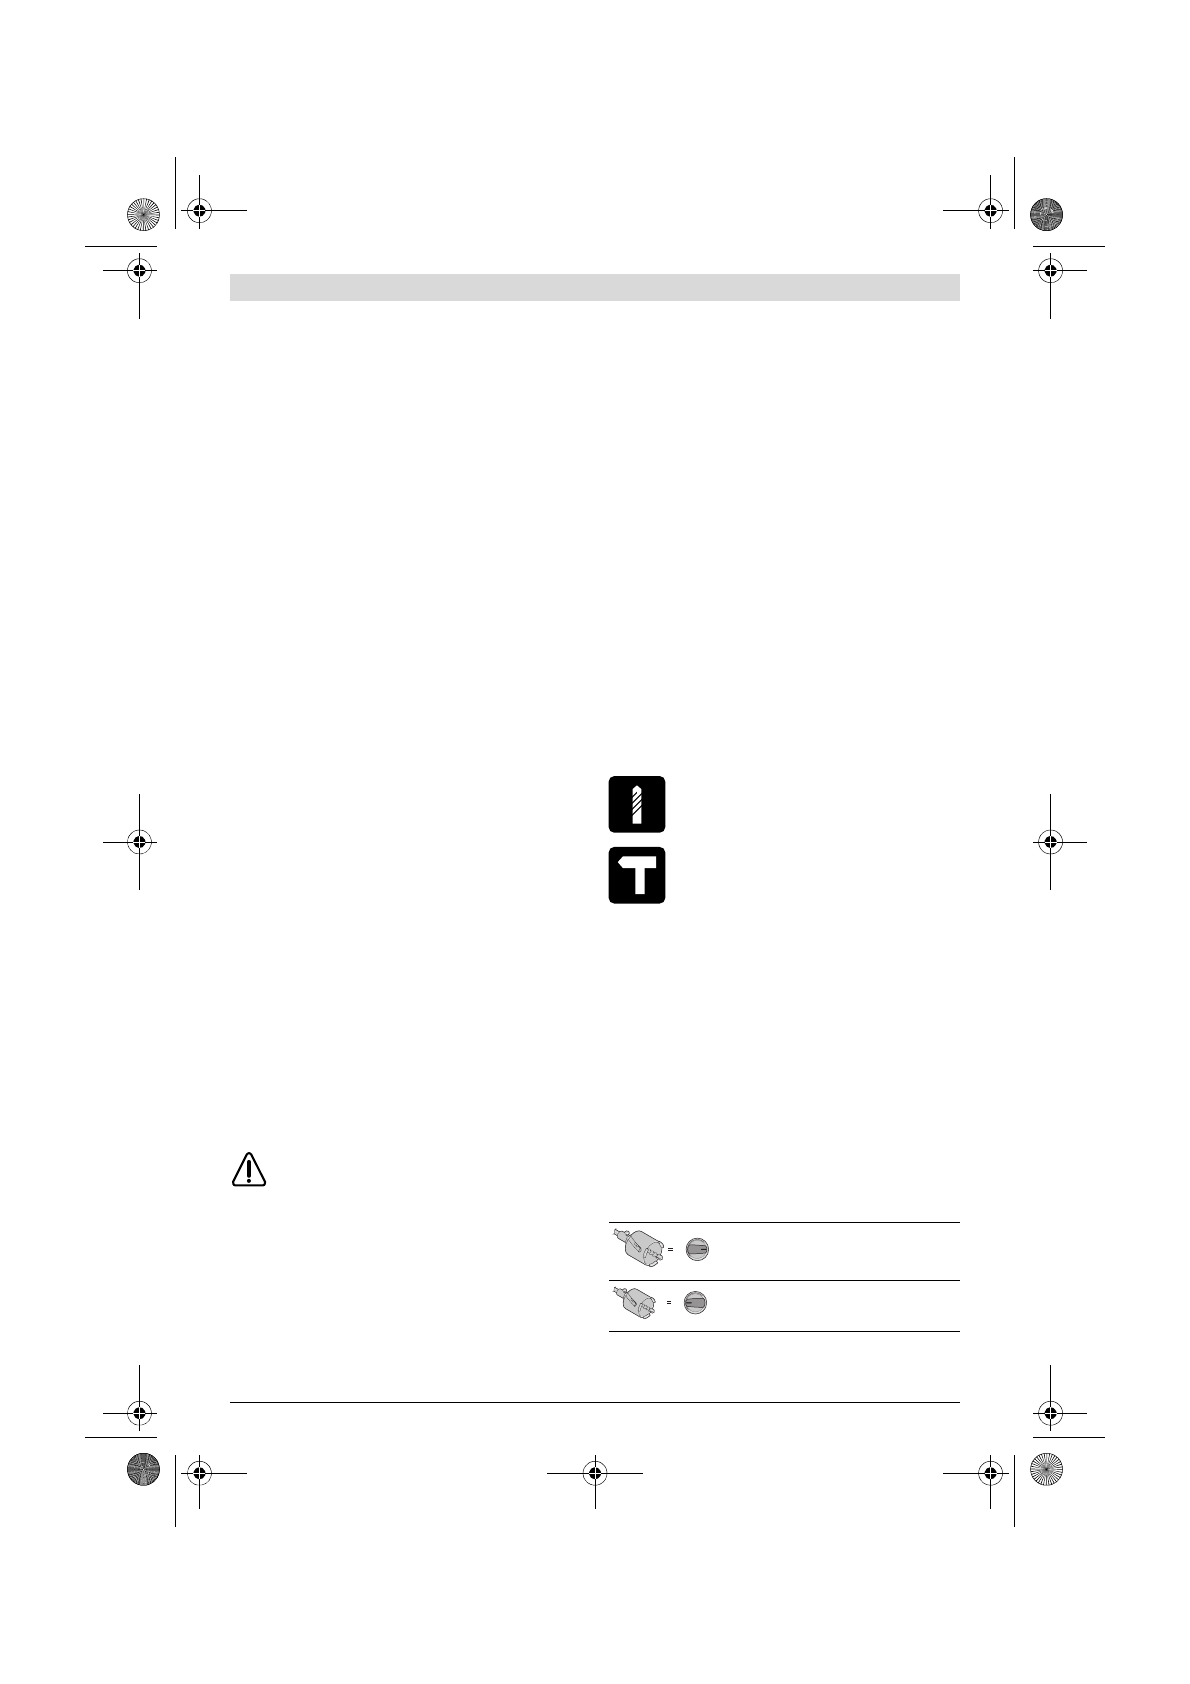
Setting the operating mode
Drilling and Screwdriving
Set the selector switch
2
to the “Drilling” symbol.
Impact Drilling
Set the selector switch
2
to the “Impact drilling”
symbol.
The selector switch
2
engages noticeably and can also be ac-
tuated with the machine running.
Gear selection, mechanical
The gear selector 8 can be actuated at standstill or
when the machine is running. However, this should not
be done while operating at full load or maximum speed.
Two speed ranges can be preselected with the gear selector
8
.
Gear 1:
Low speed range; for working with a large drilling diameter or
for screwdriving.
Gear 2:
High speed range; for working with a small drilling diameter.
Gear
Maximum drilling
diameter
1
> 100 mm
2
< 100 mm
2
1
2
1
OBJ_BUCH-1294-003.book Page 14 Tuesday, December 6, 2016 1:42 PM
Содержание
- 94 Указания по технике безопасности для дрелей
- 95 Описание продукта и услуг; Применение по назначению
- 96 Данные по шуму и вибрации; Сборка; Замена рабочего инструмента; Смена сверлильного патрона
- 97 Отсос пыли и стружки; Работа с инструментом; Включение электроинструмента
- 98 Указания по применению; Техобслуживание и сервис; Техобслуживание и очистка
- 99 Утилизация; Українська; Вказівки з техніки безпеки; Загальні застереження для електроприладів
Характеристики
Остались вопросы?Не нашли свой ответ в руководстве или возникли другие проблемы? Задайте свой вопрос в форме ниже с подробным описанием вашей ситуации, чтобы другие люди и специалисты смогли дать на него ответ. Если вы знаете как решить проблему другого человека, пожалуйста, подскажите ему :)


