
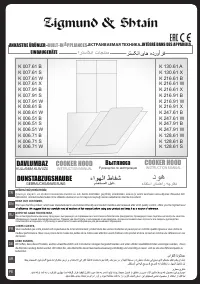
Вытяжки Zigmund & Shtain K 247.91 B - инструкция пользователя по применению, эксплуатации и установке на русском языке. Мы надеемся, она поможет вам решить возникшие у вас вопросы при эксплуатации техники.
Если остались вопросы, задайте их в комментариях после инструкции.
"Загружаем инструкцию", означает, что нужно подождать пока файл загрузится и можно будет его читать онлайн. Некоторые инструкции очень большие и время их появления зависит от вашей скорости интернета.


6
ENGLISH
D-USE AND MAINTENANCE
* You are advised to start your device before starting cooking. Keep your device operating for 15 minutes after finishing cooking in order to
eliminate the food smell in the room.
* The oil filter will capture oil particles in the room and this filter might get clogged in accordance with your frequency of use. Comply with the
following instructions and clean your filter at least once in every 2 months in case of risk of fire.
* Remove the filter from your device. Wash it using any type of natural detergent in water and rinse it thoroughly without leaving detergent
residues on it.
* Rinse with warm water and leave it to dry.
* You can wash your filter in your dish washer (max 40 C).
* The aluminum panel will change color after being washed a couple of times. This is totally normal and it will not cause any functional problem.
* The function of the carbon filter is to clean the air in the room. Carbon filters should be cleaned regularly and replaced within every 3 to 6
months in accordance with your frequency of use.
* Clean the surface of your device using a damp piece of cloth and a non-abrasive detergent. Do not, under any circumstances, clean it using
abrasive substances like vitriol or bleachers or rough pieces of sponge.
* The lighting system is designed to be used while cooking. It should not be used to illuminate the room for prolonged periods. This might damage
the lighting equipment.
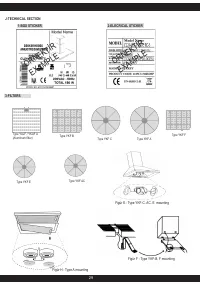
E-FILTERS
Aluminum cartridge filters are used in all of our products in order to capture oil particles sucked along with food vapor before they enter the
device. These filters vary in size and type in accordacne with the product series and types. They are easy to remove and reassenble. They can
washed in hand without applyinh pressure or impacts using natural detergents and they can be washed in dish washers as well. Cleaning filters
once in every 2 to 3 months in accordance with frequency of use is crtitical for both fire safety and device efficiency.
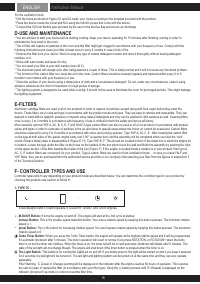
More sensitive optional YKF A, AC, B, C, E, F and YKAF-A type carbon filters can also be used in all of our products in accordance with product
series and types in order to evacuate oil particles in the air and odour in special cases where the indoor air cannot be evacuated. Carbon filters
should be replaced in every 3 to 6 months in accordance with stove and cooking systems. Type YKF A, AC,C, E : After locating the carbon filter
on the lugs at both sides of the plastic engine body, turn it 90° (a quarter turn) and the assembly will be completed when you hear the ‘click’
sound. Retrace these steps to disassemble it (Figure E, H). Type YKF-B, F: This should be located in front of the metal box in which the engine kit
is located. Locate the lugs under the filter on the holes on the surface of the box which faces the wall and finish the assembly by pushing the clips
on the upper section of the filter towards the inside of the box (Figure F). If the engine is located inside a metal box in your product, then type A,
AC, C, E carbon filters are convenient for your product. Type A carbon filters are used for flush ventilation hoods. In case you need YALF and
YKF filters, they can be purchased from the authorized service provider or our company after selecting your filter from the figures in subsection 3
of the Technical Section.
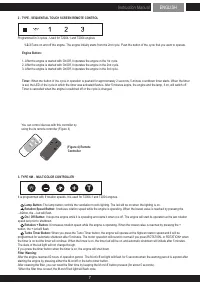
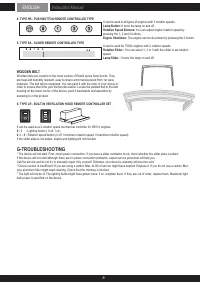
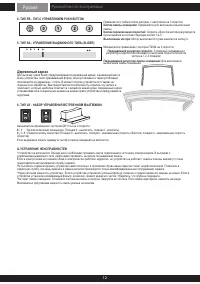
F- CONTROLLER TYPES AND USE
Controller types which vary depending on your product model are described below. You can determine the controller type for your product by
checking the product code section of Article H.
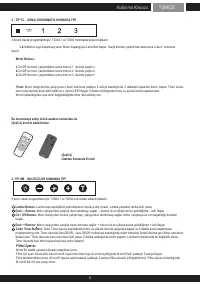
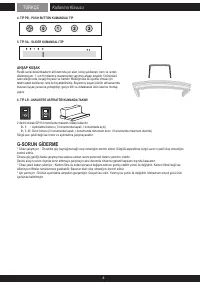
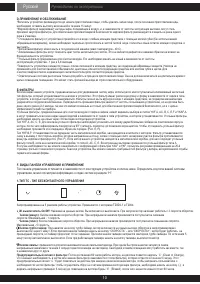
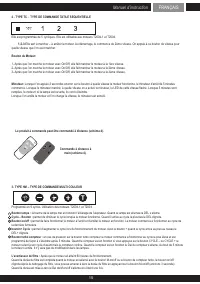
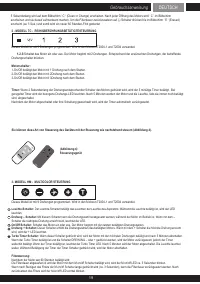
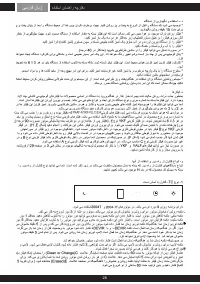
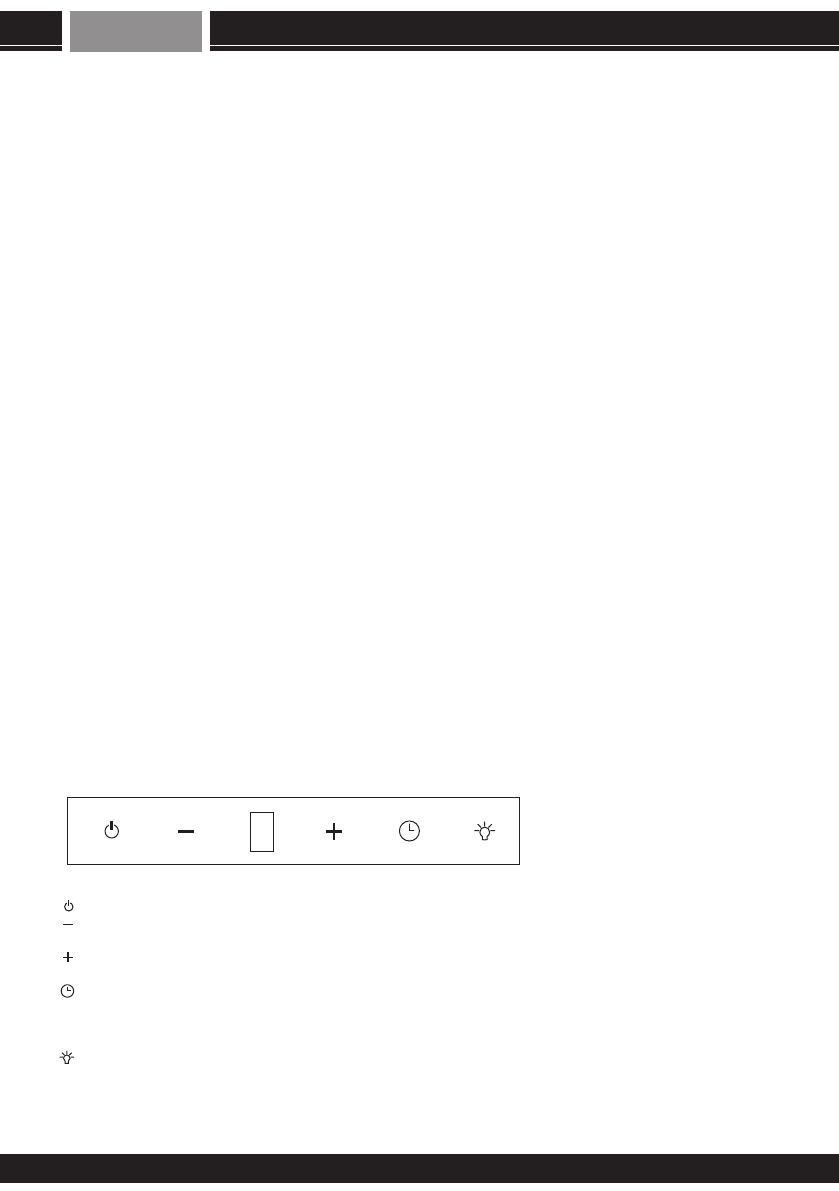
1- TYPE TC -
It was designed with 5 rotation speeds. It is used for T2004-1 and T2004 engines.
M.On/Off Button:
It turns the engine on and off. The engine will start at the 3nd cycle at startup.
(minus) Button:
This is the rotation speed reduction button. You reduce rotation speed by keeping this button pressed. The minimum rotation
speed is 1.
(plus) Button:
This is the button for increasing rotation speed. You can incerase rotation speed by keeping this button pressed. The maximum
rotation speed is 5.
Turbo Timer Button:
When you press the Turbo Timer button, the engine will operate at the highest rotation speed and it will be programmed
for automatic shutdown after 5 minutes. The motor operation will revert to normal if you press ROTATION- or ROTATION+ when the turbo
timer is on but the timer will continue. When the times is on, the timer led will be on and automatic shutdown will initiate after 5 minutes. The
state of the led light will not change though. The engine will shut down if the timer button is pressed when the timer is on.
The Light Button:
This button is for turning the Light/Led on and off. If you briefly press it, the light will be turned on and if you keep it pressed
for 3 seconds, the led light will be turned on. The led light and lighting system can be turned on at the same time and they can also operate
separately.
Filter Warning: ‘C’ (Clean or Change) warning will be displayed on the indicator after the engine reaches 60 hours of operation. This requires
the user to clean or replace the filter (in accordance with your filter type). Keep the (-) button pressed until ‘E’ (Erased) is displayed on the
indicator (for about 5 seconds) in order to reset the filter time.
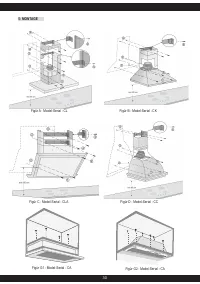
Instruction Manual
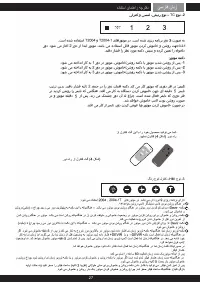
For the ventilation hood;
* Drill the holes as shown in Figure G1 and G2 inside your closet according to the template provided with the product.
* Place the device inside the closet and fix it using the m4x40 screws that come with the device.
* Connect the 100 mm flexible pipe provided by the user to the the flue flap and ensure air discharge.


