
Вытяжки Gorenje WHT961STX - инструкция пользователя по применению, эксплуатации и установке на русском языке. Мы надеемся, она поможет вам решить возникшие у вас вопросы при эксплуатации техники.
Если остались вопросы, задайте их в комментариях после инструкции.
"Загружаем инструкцию", означает, что нужно подождать пока файл загрузится и можно будет его читать онлайн. Некоторые инструкции очень большие и время их появления зависит от вашей скорости интернета.


(WEEE). By ensuring this product is disposed of correctly, you will help prevent potential negative consequences for the
environment and human health, which could otherwise be caused by inappropriate waste handling of this product.
The symbol on the product, or on the documents accompanying the product, indicates that this appliance may not be
treated as household waste. Instead it should be taken to the appropriate collection point for the recycling of electrical and
electronic equipment. Disposal must be carried out in accordance with local environmental regulations for waste disposal.
For further detailed information regarding the process, collection and recycling of this product, please contact the appropriate
department of your local authorities or the local department for household waste or the shop where you purchased this product.
Appliance designed, tested and manufactured according to:
1.
Safety: EN/IEC 60335-1; EN/IEC 60335-2-31, EN/IEC 62233.
2.
Performance: EN/IEC 61591; ISO 5167-1; ISO 5167-3; ISO 5168; EN/IEC 60704-1; EN/IEC 60704-2-13; ISO 3741;
EN 50564; IEC 62301.
3.
EMC: EN 55014-1; CISPR 14-1; EN 55014-2; CISPR 14-2; EN/IEC 61000-3-2; EN/IEC 61000-3-3.
Suggestions for a correct use in order to reduce the environmental impact: Switch ON the hood at minimum speed when you start
cooking and kept it running for few minutes after cooking is finished. Increase the speed only in case of large amount of smoke
and vapour and use boost speed(s) only in extreme situations. Replace the charcoal filter(s) when necessary to maintain a good
odour reduction efficiency. Clean the grease filter(s) when necessary to maintain a good grease filter efficiency. Use the maximum
diameter of the ducting system indicated in this manual to optimize efficiency and minimize noise.
Additional Installation Specifications:
Use only the fixing screws supplied with the product for installation or, if not supplied, purchase the correct screws type. Use the
correct length for the screws which are identified in the Installation Guide.
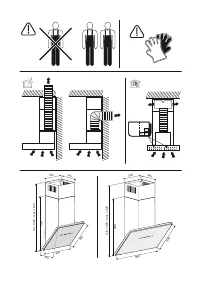
In case of doubt, consult an authorised service assistance centre or similar qualified person.
WARNING!
Failure to install the screws or fixing device in accordance with these instructions may result in electrical hazards.
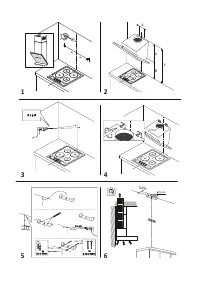
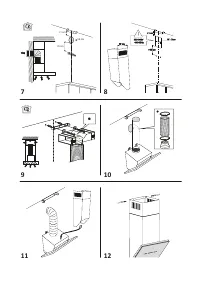
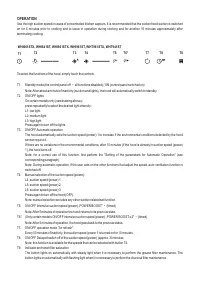
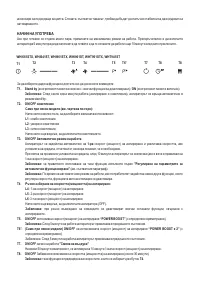
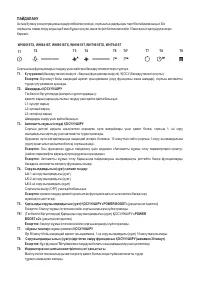
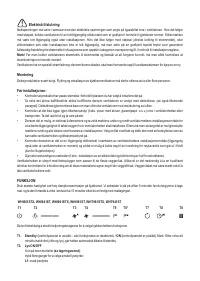
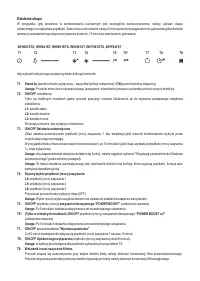
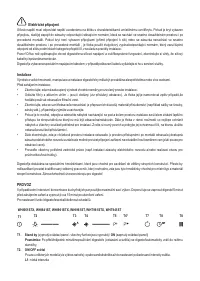
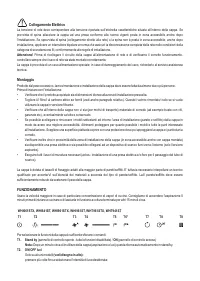
USE
The hood is designed to be used either for exhausting or filter version.
Ducting version
In this case the fumes are conveyed outside of the building by means of a special pipe connected with the connection ring located
on top of the hood.
Attention! The exhausting pipe is not supplied and must be purchased apart. Diameter of the exhausting pipe must be equal to
that of the connection ring.
In the horizontal runs the exhausting pipe must be slightly slanted (about 10°) and directed upwards to vent the air easily from the
room to the outside.
Attention! If the hood is supplied with active charcoal filter, then it must be removed.
Connect the hood and discharge holes on the walls with a diameter equivalent to the air outlet (connection flange).
Using the tubes and discharge holes on walls with smaller dimensions will cause a diminution of the suction performance and a
drastic increase in noise.
Any responsibility in the matter is therefore declined.
!
Use a duct of the minimum indispensible length.
!
Use a duct with as few elbows as possible (maximum elbow angle: 90°).
!
Avoid drastic changes in the duct cross-section.
!
Use a duct as smooth as possible inside.
!
The duct must be made of certified material.
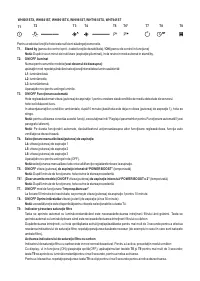
Содержание
- 90 за собой риски электрического характера.; ПОЛЬЗОВАНИЕ; Исполнение с отводом воздуха; Использовать трубу с минимально необходимой длиной.
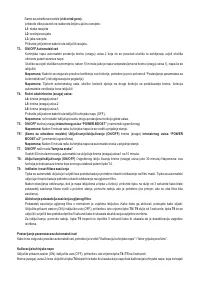
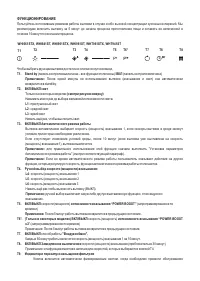
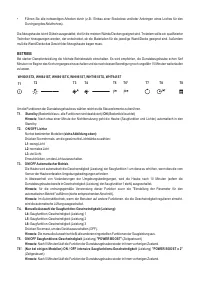
- 92 ФУНКЦИОНИРОВАНИЕ; Только на некоторых моделях
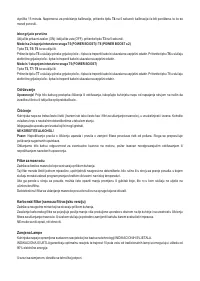
- 93 УХОД; Очистка
- 94 Фильтры задержки жира; Удерживает частицы жира, исходящие от плиты.; Угольный фильтр (только в режиме рециркуляции); Удаляет неприятные запахи кухни.; Замена ламп; Произведенно


