
Вытяжки Gorenje Plus GHV92B - инструкция пользователя по применению, эксплуатации и установке на русском языке. Мы надеемся, она поможет вам решить возникшие у вас вопросы при эксплуатации техники.
Если остались вопросы, задайте их в комментариях после инструкции.
"Загружаем инструкцию", означает, что нужно подождать пока файл загрузится и можно будет его читать онлайн. Некоторые инструкции очень большие и время их появления зависит от вашей скорости интернета.


OPERATION
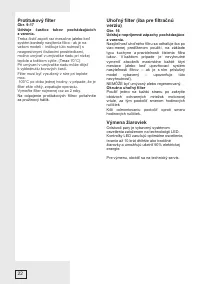
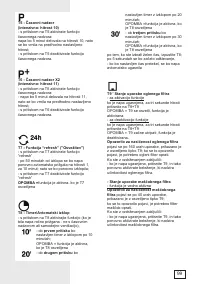
Use the high suction speed in cases of
concentrated kitchen vapours. It is
recommended that the cooker hood suction is
switched on for 5 minutes prior to cooking and
to leave in operation during cooking and for
another 15 minutes approximately after
terminating cooking.
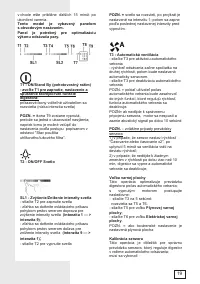
This model is equipped with a perimetric
suction panel.
The panel allows to optimize the
performances of the hood.
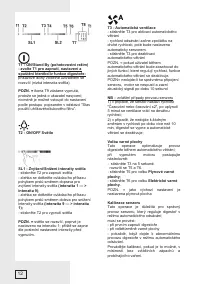
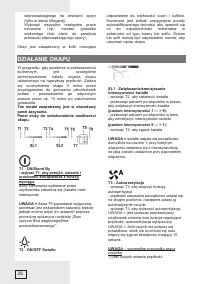
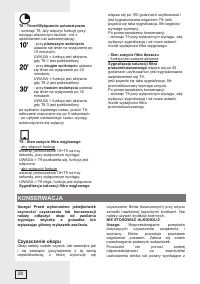
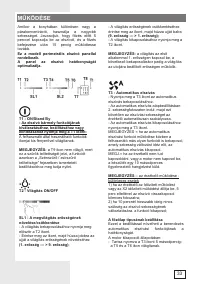
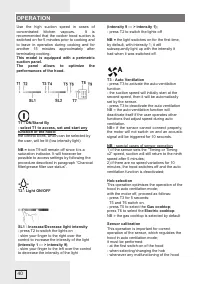
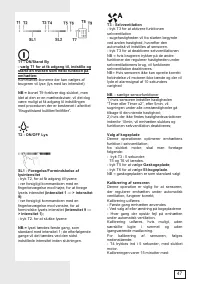
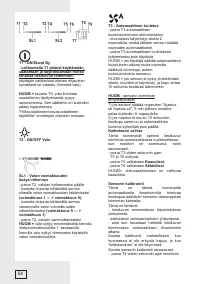
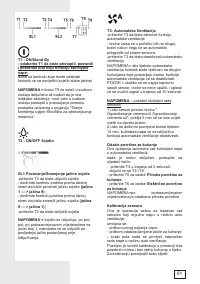
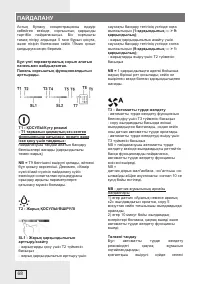
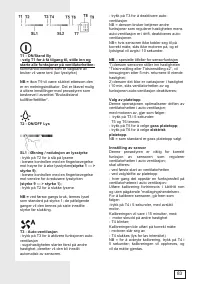
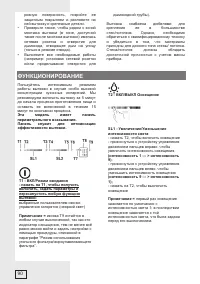
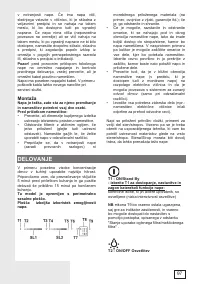
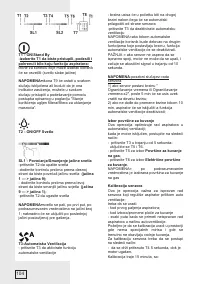
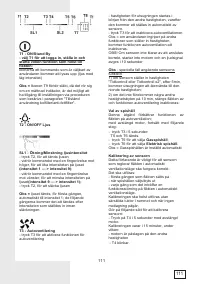
T1 - ON/Stand By
- select T1 to access, set and start any
function of the hood:
the control icons, which can be selected by
the user, will be lit (low intensity light)
NB =
icon T9 will remain off since it is a
saturation indicator. It will however be
possible to access settings by following the
procedure described in paragraph “Charcoal
filter/grease filter use status”.
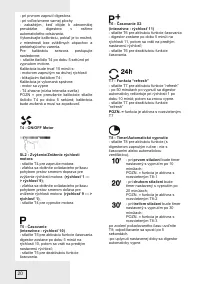
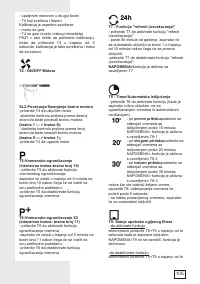
T2 - Light ON/OFF
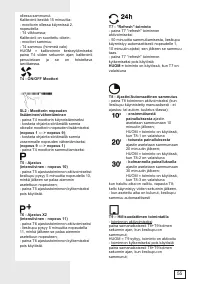
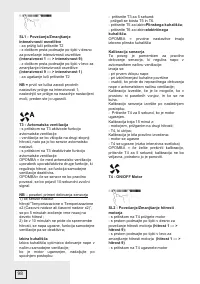
SL1 - Increase/Decrease light intensity
- press T2 to switch the lights on
- skim your finger to the right over the
control to increase the intensity of the light
(intensity 1 --- > intensity 9)
;
- skim your finger to the left over the control
to decrease the intensity of the light
(intensity 9 --- > intensity 1);
- press T2 to switch the lights off
NB =
the light switches on for the first time,
by default, with intensity 1; it will
subsequently light up with the intensity it
had when it was switched off.
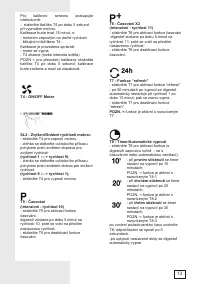
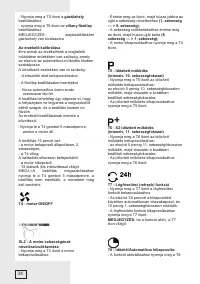
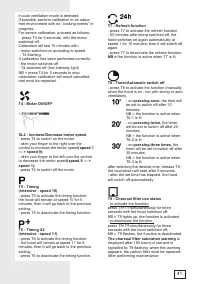
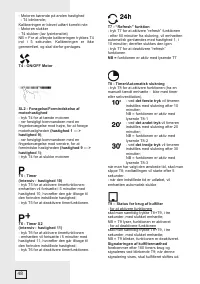
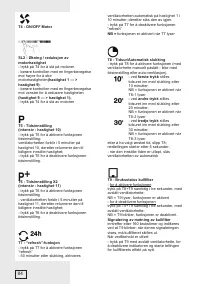
T3 - Auto Ventilation
- press T3 to activate the auto ventilation
function
- the suction speed will initially start at the
second speed, then it will be automatically
set by the sensor.
- press T3 to deactivate the auto ventilation
NB = the auto ventilation function will
deactivate itself if the user operates other
functions that adjust speed during auto
ventilation.
NB= if the sensor cannot connect properly,
the motor will not switch on and an acoustic
signal will be triggered for 10 seconds.
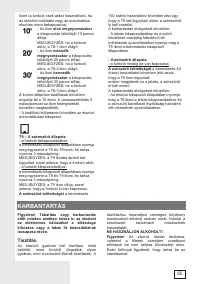
NB
- special cases of sensor operation
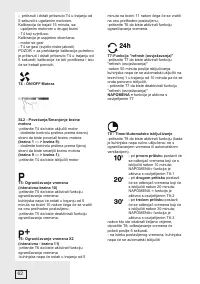
1) if the sensor sets the “Timing or Timing
x2” speed, suction will still return to the ninth
speed after 5 minutes;
2) if there are no speed variations for 10
minutes, the hood switches off and the auto
ventilation function is deactivated;
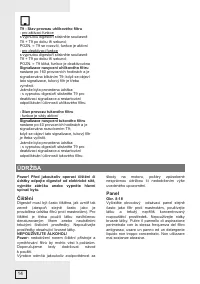
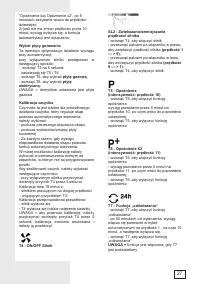
Hob selection
This operation optimises the operation of the
hood in auto ventilation mode;
with the motor off, proceed as follows:
- press T3 for 5 seconds:
T5 and T6 switch on.
- press T5 to select the
Gas cooktop
;
press T6 to select the
Electric cooktop
:
NB = the gas cooktop is selected by default
Sensor calibration
This operation is important for correct
operation of the sensor, which regulates the
hood in auto ventilation mode;
it must be performed:
- at the first switch-on of the hood
- when selecting/changing the hob
- whenever any malfunctioning of the hood
40
Характеристики

Остались вопросы?Не нашли свой ответ в руководстве или возникли другие проблемы? Задайте свой вопрос в форме ниже с подробным описанием вашей ситуации, чтобы другие люди и специалисты смогли дать на него ответ. Если вы знаете как решить проблему другого человека, пожалуйста, подскажите ему :)


