
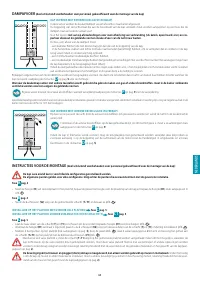
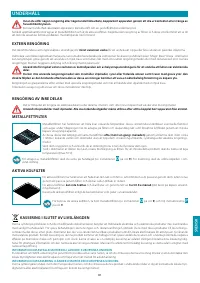
Вытяжки Falmec Luce 90 Glass island - инструкция пользователя по применению, эксплуатации и установке на русском языке. Мы надеемся, она поможет вам решить возникшие у вас вопросы при эксплуатации техники.
Если остались вопросы, задайте их в комментариях после инструкции.
"Загружаем инструкцию", означает, что нужно подождать пока файл загрузится и можно будет его читать онлайн. Некоторые инструкции очень большие и время их появления зависит от вашей скорости интернета.


24
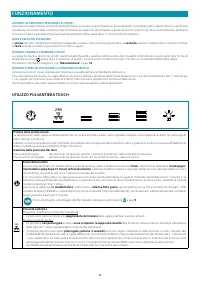
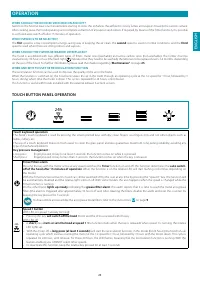
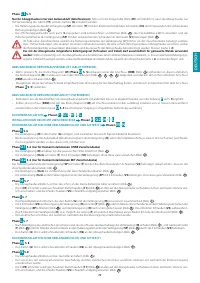
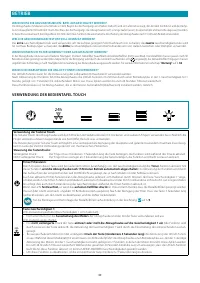
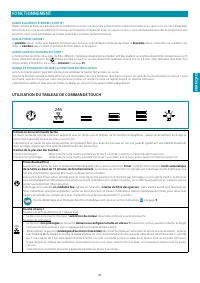
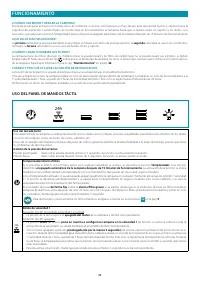
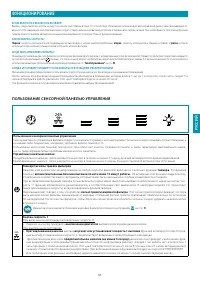
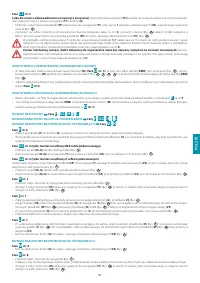
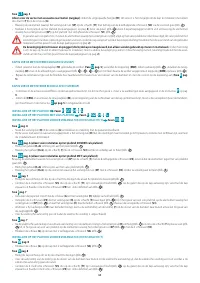
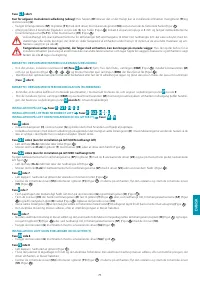
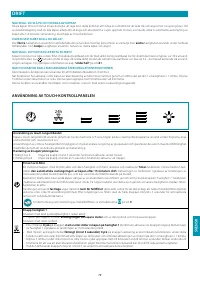
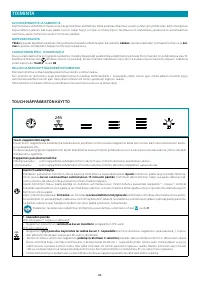
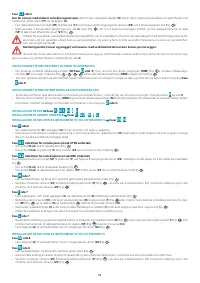
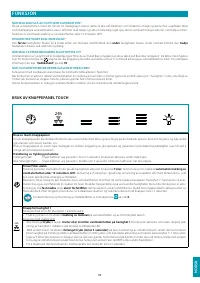
speed 2 button
With LED on (speed 2 already running):
•
Nothing will happen when this key is pressed. To
switch the hood of
irstly select speed 1, then press the "speed 1 button" again.
With the LED of and a speed on:
•
Press the key (
long or not
) to
set the hood on speed 2
. When speed 2 is running the relative LED will light up.
With the LED of and NO speed on:
•
Nothing will happen when this key is pressed.
speed 3 button
With LED on (speed 3 already running):
•
Nothing will happen when this key is pressed. To
switch the hood of
irstly select speed 1, then press the "speed 1 button" again.
With the LED of and a speed on:
•
Press the key (
long or not
) to set
the hood on speed 3
. When speed 3 is running the relative LED will light up.
With the LED of and NO speed on:
•
Nothing will happen when this key is pressed.
speed 4 button
With LED on (speed 4 already running):
•
Nothing will happen when this key is pressed. To
switch the hood of
irstly select speed 1, then press the "speed 1 button" again.
With the LED of and a speed on:
•
Press the key (
long or not
) to set
the hood on speed 4
. When speed 4 is running the relative LED will start lashing; the 4th, or inten-
sive, speed is timed and after approximately 7 minutes the motor will automatically switch to 3rd speed.
With the LED of and NO speed on:
•
Nothing will happen when this key is pressed.
Light Button
Light:
•
By briely pressing the key (the back-lit button), you turn the light on and of.
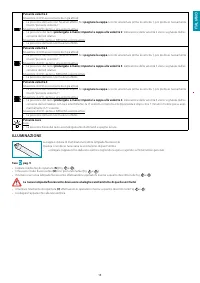
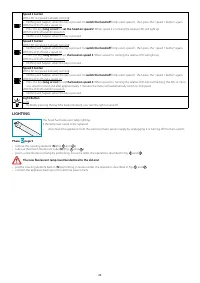
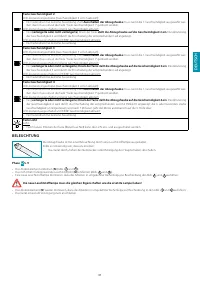
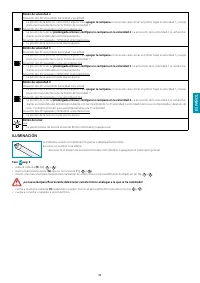
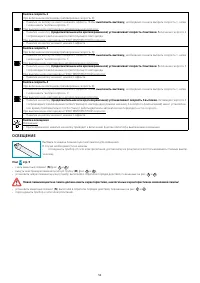
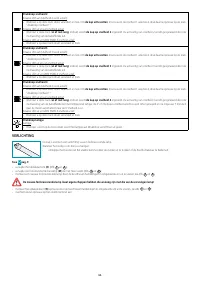
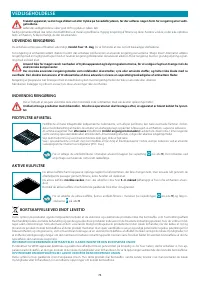
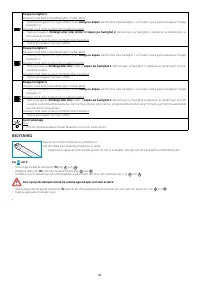
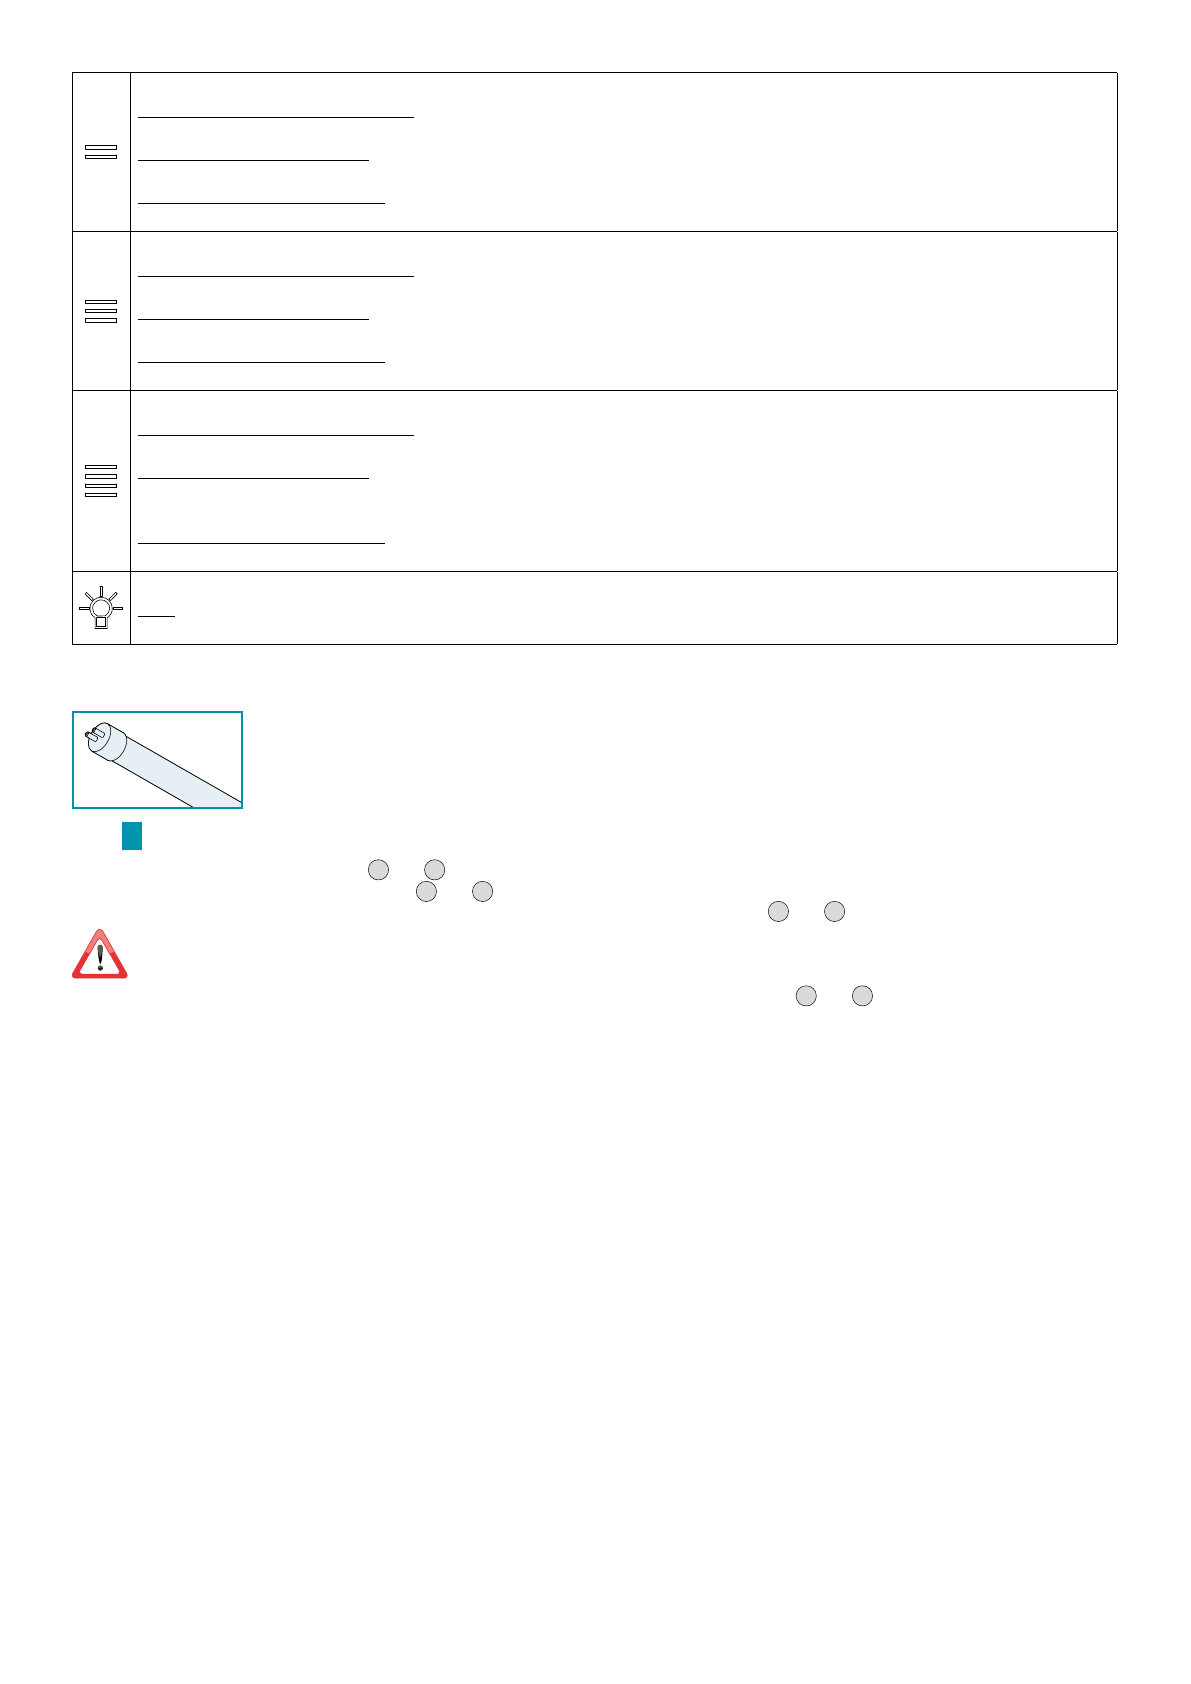
LightiNg
The hood has luorescent lamp lighting.
If the lamp ever needs to be replaced:
•
disconnect the appliance from the electrical mains power supply by unplugging it or turning of the main switch;
Phase
Q
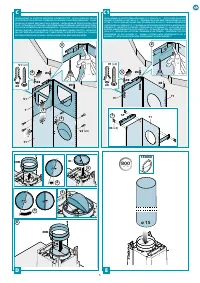
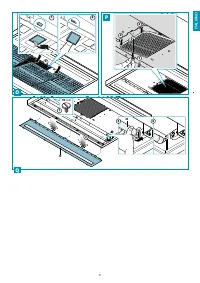
page 9
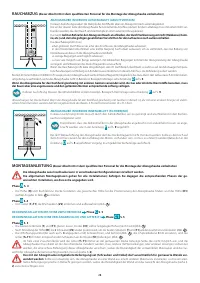
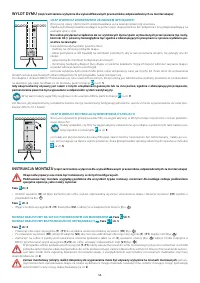
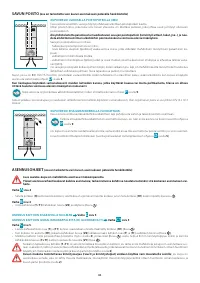
•
remove the covering element (
N
) (Fig.
1
and
2
);
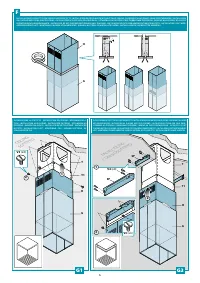
•
take out the blown luorescent tube (
m
) (Fig.
3
and
4
);
•
put in a new luorescent lamp by performing, in reverse order, the operations described in Fig.
3
and
4
;
the new luorescent lamp must be identical to the old one!
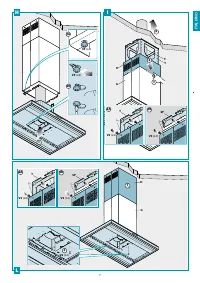
•
put the covering element back in (
N
) performing, in reverse order, the operations described in Fig.
1
and
2
;
•
connect the appliance back up to the electrical power mains.
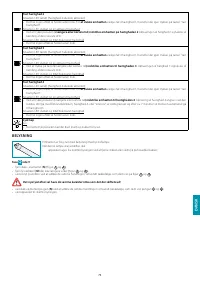
Содержание
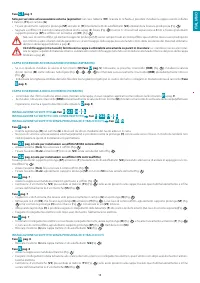
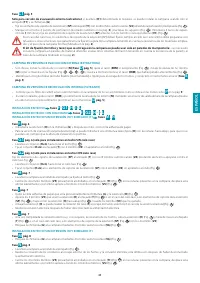
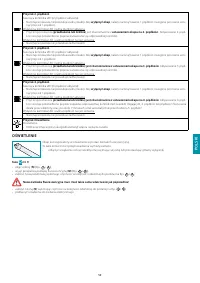
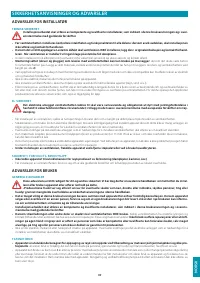
- 47 СиЙ; ТехНиКА; МерЫ ПреДОСТОрОжНОСТи ДЛя УСТАНОВщиКА; МерЫ ПреДОСТОрОжНОСТи ДЛя ПОЛьзОВАТеЛя
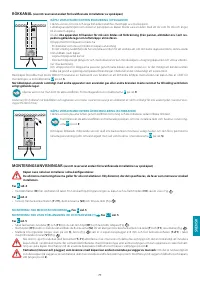
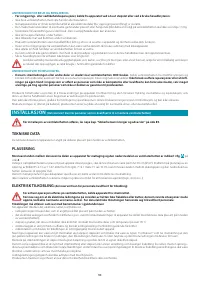
- 48 УСТАНОВКА; ТехНичеСКие хАрАКТериСТиКи
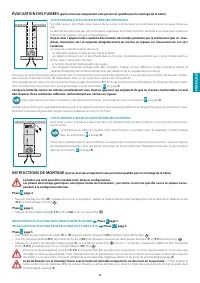
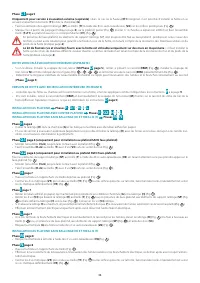
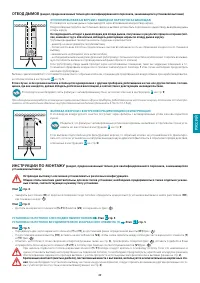
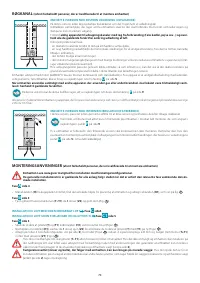
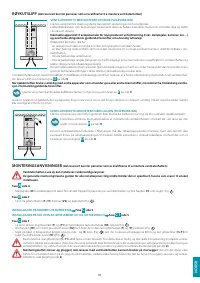
- 49 иНСТрУКции ПО МОНТАжУ
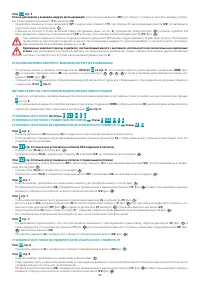
- 51 фУНКциОНирОВАНие; ПОЛьзОВАНие СеНСОрНОЙ ПАНеЛьЮ УПрАВЛеНия
- 52 ОСВещеНие
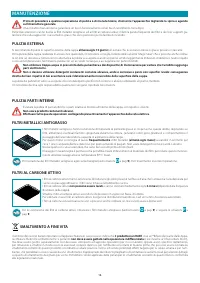
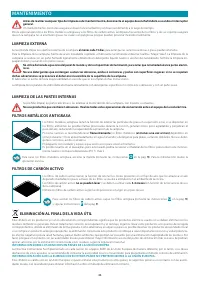
- 53 Тех; НАрУжНАя чиСТКА; фиЛьТрЫ С АКТиВирОВАННЫМ УгЛеМ; УТиЛизАция ПО зАВершеНии СрОКА СЛУжБЫ
Характеристики

Остались вопросы?Не нашли свой ответ в руководстве или возникли другие проблемы? Задайте свой вопрос в форме ниже с подробным описанием вашей ситуации, чтобы другие люди и специалисты смогли дать на него ответ. Если вы знаете как решить проблему другого человека, пожалуйста, подскажите ему :)


