
Вытяжки Falmec Altair 90 ix (1000) ECP - инструкция пользователя по применению, эксплуатации и установке на русском языке. Мы надеемся, она поможет вам решить возникшие у вас вопросы при эксплуатации техники.
Если остались вопросы, задайте их в комментариях после инструкции.
"Загружаем инструкцию", означает, что нужно подождать пока файл загрузится и можно будет его читать онлайн. Некоторые инструкции очень большие и время их появления зависит от вашей скорости интернета.


25
The upper screw (B) adjusts the distance from the wall, the lower one (C) the
vertical scrolling.
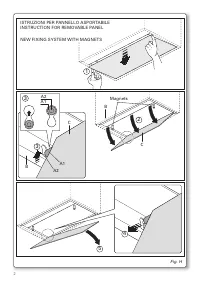
- To prevent the hood from falling due to a pressure below, fasten it to the
wall with two expansion bolts and relative screw via the appropriate holes
(F) inside the hood.
Phase 3 (exhaust version only)
- To install the exhaust version hood, connect to the PVC tube (N) protruding
from the hole on the cover (G) of the hood. In case of discharge air from the
rear, connect fitting (M) to a suitable elbow shaped of flexible tube (Fig. 3);
subsequently, place the cover in its original position.
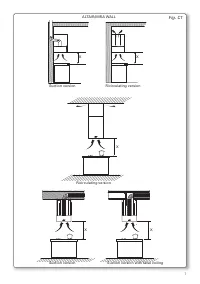
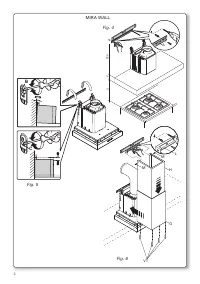
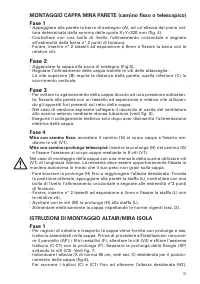
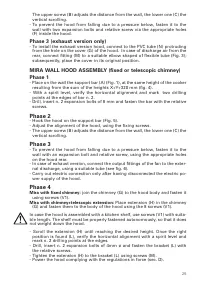
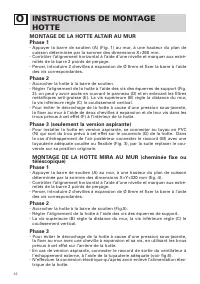
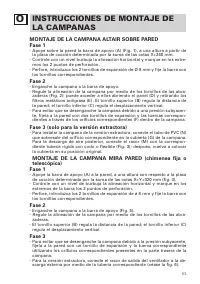
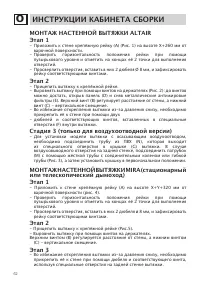
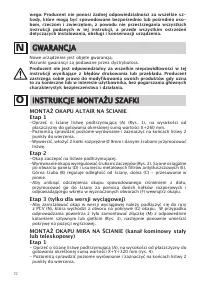
MIRA WALL HOOD ASSEMBLY (fixed or telescopic chimney)
Phase 1
- Place on the wall the support bar (A) (Fig. 1), at the same height of the cooker
resulting from the sum of the heights X+Y+320 mm (fig. 4).
- With a spirit level, verify the horizontal alignment and mark two drilling
points at the edges of bar n. 2.
- Drill, insert n. 2 expansion bolts of 8 mm and fasten the bar with the relative
screws.
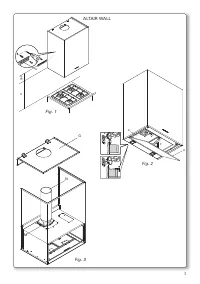
Phase 2
- Hook the hood on the support bar (Fig. 5).
- Adjust the alignment of the hood, using the fixing screws.
- The upper screw (B) adjusts the distance from the wall, the lower one (C) the
vertical scrolling.
Phase 3
- To prevent the hood from falling due to a pressure below, fasten it to the
wall with an expansion bolt and relative screw, using the appropriate holes
on the hood rear.
- In case of exhaust version, connect the output fittings of the fan to the exter-
nal discharge, using a suitable tube (see fig. 6).
- Carry out electric connection only after having disconnected the electric po-
wer supply of the hood.
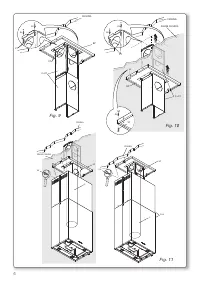
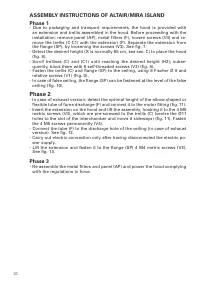
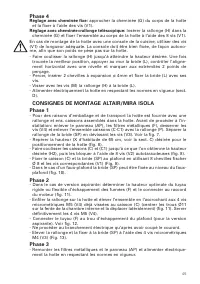
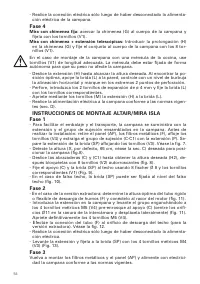
Phase 4
Mira with fixed chimney:
join the chimney (G) to the hood body and fasten it
using screws (V1).
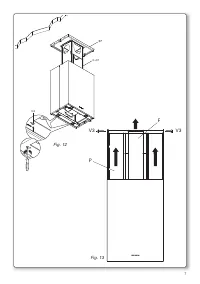
Mira with chimney+telescopic extension:
Place extension (H) in the chimney
(G) and fasten them to the body of the hood using the 8 screws (V1).
In case the hood is assembled with a kitchen shelf, use screws (V1) with suita-
ble length. The shelf must be properly fastened autonomously, so that it does
not weight down the hood.
- Scroll the extension (H) until reaching the desired height. Once the right
position is found (L), verify the horizontal alignment with a spirit level and
mark n. 2 drilling points at the edges.
- Drill, insert n. 2 expansion bolts of 4mm ø and fasten the bracket (L) with
the relative screws.
- Tighten the extension (H) to the bracket (L) using screws (M).
- Power the hood complying with the regulations in force (sec. D).
Содержание
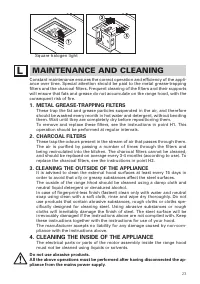
- 61 îàãúíêõ; àçëíêìäñàà èé àáÇãÖóÖçàû à áÄåÖçÖ; åÖíÄããàóÖëäàÖ îàãúíêõ
- 62 éëÇÖôÖçàÖ; ìëíÄçéÇäÄ à áÄåÖçÄ; ÉÄãéÉÖççéÖ éëÇÖôÖçàÖ; óàëíäÄ à ìïéÑ; åÖíÄããàóÖëäàÖ îàãúíêõ Ñãü áÄÑÖêÜÄçàü ÜàêÄ
- 64 ALTAIR
- 66 Этап
Характеристики

Остались вопросы?Не нашли свой ответ в руководстве или возникли другие проблемы? Задайте свой вопрос в форме ниже с подробным описанием вашей ситуации, чтобы другие люди и специалисты смогли дать на него ответ. Если вы знаете как решить проблему другого человека, пожалуйста, подскажите ему :)


