
Вытяжки De Dietrich DHB7952X - инструкция пользователя по применению, эксплуатации и установке на русском языке. Мы надеемся, она поможет вам решить возникшие у вас вопросы при эксплуатации техники.
Если остались вопросы, задайте их в комментариях после инструкции.
"Загружаем инструкцию", означает, что нужно подождать пока файл загрузится и можно будет его читать онлайн. Некоторые инструкции очень большие и время их появления зависит от вашей скорости интернета.


•
2
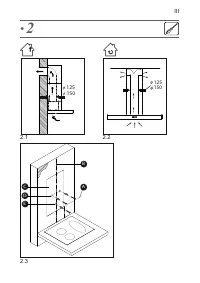
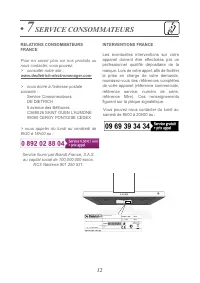
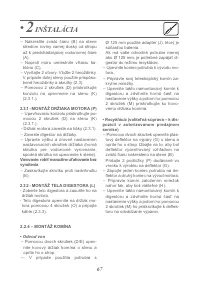
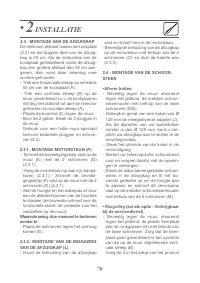
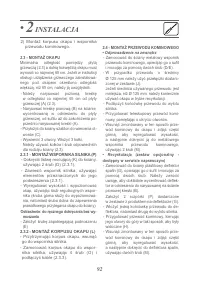
INSTALLATION
19
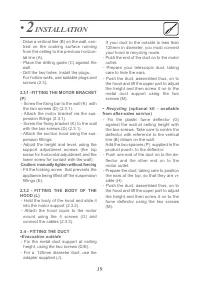
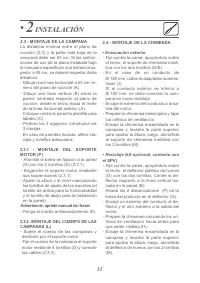
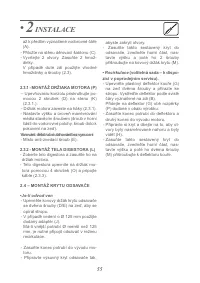
- Draw a vertical line (B) on the wall, cen-
tred on the cooking surface running
from the ceiling to the previous horizon-
tal line (A).
- Place the drilling guide (C) against the
wall.
- Drill the two holes. Install the plugs.
For hollow walls, use suitable plugs and
screws (2.3).
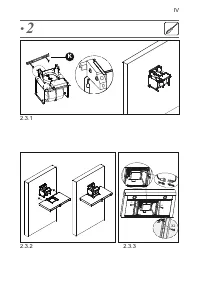
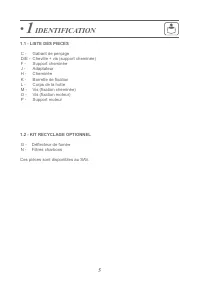
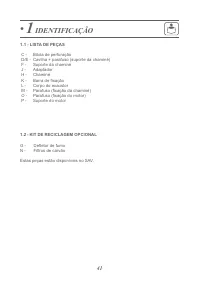
2.3.1 - FITTING THE MOTOR BRACKET
(P)
- Screw the fixing bar to the wall (K) with
the two screws (D) (2.3.1).
- Attach the motor bracket via the sus-
pension fittings (2.3.1).
- Screw the fixing bracket (K) to the wall
with the two screws (D) (2.3.1).
- Attach the suction hood using the sus-
pension fittings.
- Adjust the height and level, using the
support adjustment screws (the top
screw for horizontal adjustment and the
lower screw for contact with the wall).
Caution: manually tighten without forcing
- Fit the locking screw that prevents the
appliance being lifted off the suspension
fittings (E).
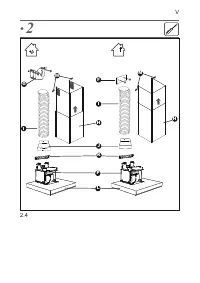
2.3.2 - FITTING THE BODY OF THE
HOOD (L)
- Hold the body of the hood and slide it
into the motor support (2.3.2).
- Attach the hood coprs to the motor
mount using the 4 screws (O) and
connect the cables (2.3.3).
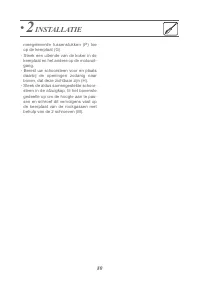
2.4 - FITTING THE DUCT
•
Evacuation outside
- Fix the metal duct support at ceiling
height, using the two screws (D/E).
- For a 125mm diameter duct, use the
adapter supplied (J).
If your duct to the outside is less than
125mm in diameter, you must connect
your hood in recycling mode.
- Push the end of the duct on to the motor
outlet.
- Prepare your telescopic duct, taking
care to hide the ears.
- Push the duct, assembled thus, on to
the hood and lift the upper part to adjust
the height and then screw it on to the
metal duct support using the two
screws (M).
•
Recycling
(optional kit - available
from after-sales service)
- Fix the plastic fume deflector (G)
against the wall at ceiling height with
the two screws. Take care to centre the
deflector with reference to the vertical
line (B) drawn on the wall.
Add the two spacers (P), supplied in the
product pouch, to the deflector.
- Push one end of the duct on to the de-
flector and the other end on to the
motor outlet.
- Prepare the duct, taking care to position
the ears at the top, so that they are vi-
sible (H).
- Push the duct, assembled thus, on to
the hood and lift the upper part to adjust
the height and then screw it on to the
fume deflector using the two screws
(M).
Характеристики

Остались вопросы?Не нашли свой ответ в руководстве или возникли другие проблемы? Задайте свой вопрос в форме ниже с подробным описанием вашей ситуации, чтобы другие люди и специалисты смогли дать на него ответ. Если вы знаете как решить проблему другого человека, пожалуйста, подскажите ему :)


