
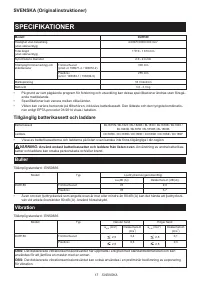
Триммеры Makita LXT DUR189Z - инструкция пользователя по применению, эксплуатации и установке на русском языке. Мы надеемся, она поможет вам решить возникшие у вас вопросы при эксплуатации техники.
Если остались вопросы, задайте их в комментариях после инструкции.
"Загружаем инструкцию", означает, что нужно подождать пока файл загрузится и можно будет его читать онлайн. Некоторые инструкции очень большие и время их появления зависит от вашей скорости интернета.


15 ENGLISH
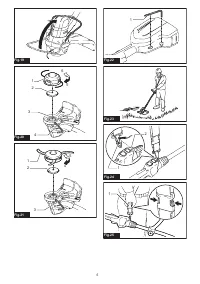
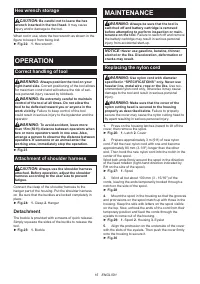
Hex wrench storage
CAUTION:
Be careful not to leave the hex
wrench inserted in the tool head.
It may cause
injury and/or damage to the tool.
When not in use, store the hex wrench as shown in the
figure to keep it from being lost.
►
Fig.22:
1.
Hex wrench
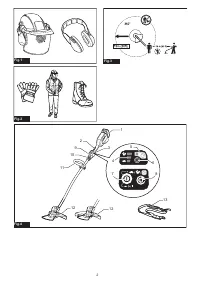
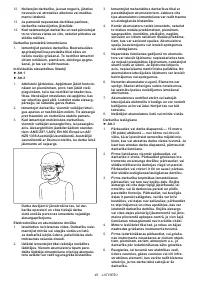
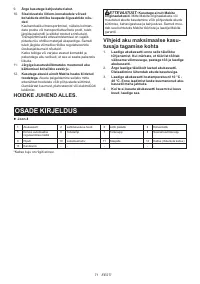
OPERATION
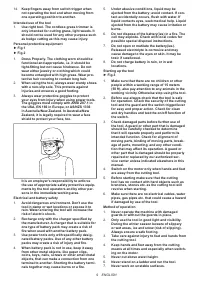
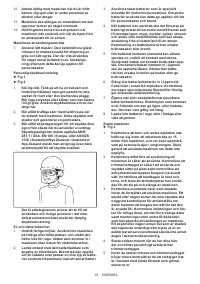
Correct handling of tool
WARNING:
Always position the tool on your
right-hand side.
Correct positioning of the tool allows
for maximum control and will reduce the risk of seri-
ous personal injury caused by kickback.
WARNING:
Be extremely careful to maintain
control of the tool at all times. Do not allow the
tool to be deflected toward you or anyone in the
work vicinity.
Failure to keep control of the tool
could result in serious injury to the bystander and the
operator.
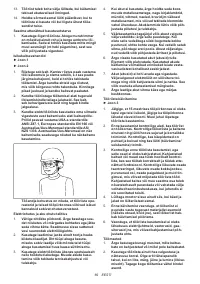
WARNING:
To avoid accident, leave more
than 15m (50 ft) distance between operators when
two or more operators work in one area. Also,
arrange a person to observe the distance between
operators. If someone or an animal enter the
working area, immediately stop the operation.
►
Fig.23
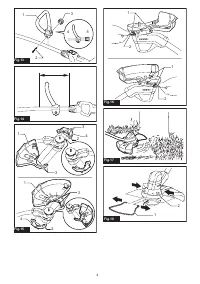
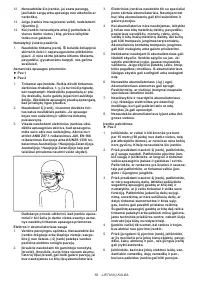
Attachment of shoulder harness
CAUTION:
Always use the shoulder harness
attached. Before operation, adjust the shoulder
harness according to the user size to prevent
fatigue.
Connect the clasp of the shoulder harness to the
hanger part of the housing. Put the shoulder harness
on. Be sure that the buckles are locked completely in
place.
►
Fig.24:
1.
Clasp
2.
Hanger
Detachment
The buckle is provided with a means of quick release.
Simply squeeze the sides of the buckle to release the
tool.
►
Fig.25:
1.
Buckle
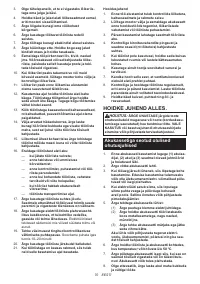
MAINTENANCE
WARNING:
Always be sure that the tool is
switched off and battery cartridge is removed
before attempting to perform inspection or main-
tenance on the tool.
Failure to switch off and remove
the battery cartridge may result in serious personal
injury from accidental start-up.
NOTICE:
Never use gasoline, benzine, thinner,
alcohol or the like. Discoloration, deformation or
cracks may result.
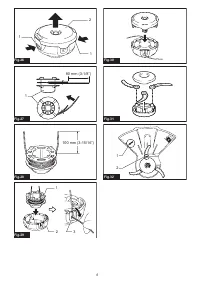
Replacing the nylon cord
WARNING:
Use nylon cord with diameter
specified in “SPECIFICATIONS” only. Never use
heavier line, metal wire, rope or the like.
Use rec-
ommended nylon cord only, otherwise it may cause
damage to the tool and result in serious personal
injury.
WARNING:
Make sure that the cover of the
nylon cutting head is secured to the housing
properly as described below.
Failure to properly
secure the cover may cause the nylon cutting head to
fly apart resulting in serious personal injury.
1.
Press on the housing latches inward to lift off the
cover, then remove the spool.
►
Fig.26:
1.
Latch
2.
Cover
2.
Prepare approximately 3 m (9 ft) of new nylon
cord. Fold the new nylon cord with one end become
approximately 80 mm (3-1/8″) longer than the other
end. Then hook the new nylon cord into the notch in the
center of the spool.
Wind both ends firmly around the spool in the direction
of the head rotation (right-hand direction indicated by
RH on the side of the spool).
►
Fig.27:
1.
Spool
3.
Wind all but about 100 mm (3 - 15/16″) of the
cords, leaving the ends temporarily hooked through a
notch on the side of the spool.
►
Fig.28
4.
Mount the spool in the housing so that the grooves
and protrusions on the spool match up with those in the
housing. Keep the side with letters on the spool visible
on the top. Now, unhook the ends of the cord from their
temporary position and feed the cords through the
eyelets to come out of the housing.
►
Fig.29:
1.
Spool
2.
Housing
3.
Eyelet
5.
Align the protrusion on the underside of the cover
with the slots of the eyelets. Then push the cover firmly
onto the housing to secure it.
►
Fig.30
Содержание
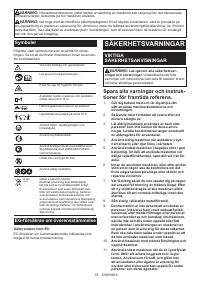
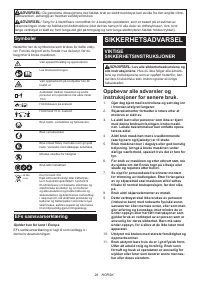
- 78 Символы; Декларация о соответствии ЕС; МЕРЫ БЕЗОПАСНОСТИ; ВАЖНЫЕ ИНСТРУКЦИИ ПО; Сохраните брошюру с инструк
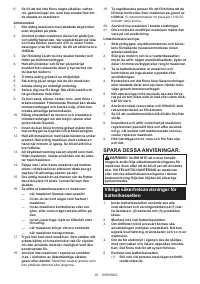
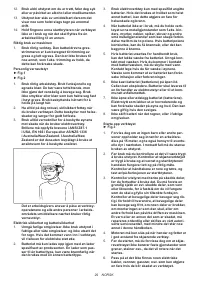
- 81 Важные правила техники; СОХРАНИТЕ ДАННЫЕ
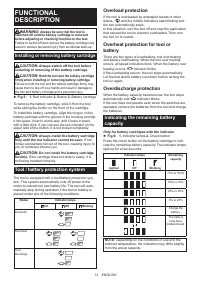
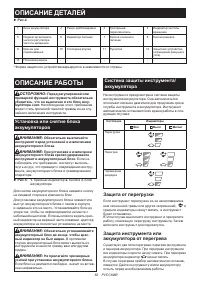
- 82 Установка или снятие блока; Защита от перегрузки
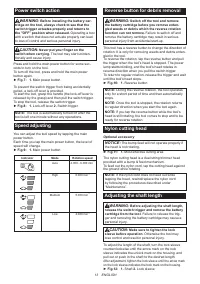
- 83 Действие выключателя питания
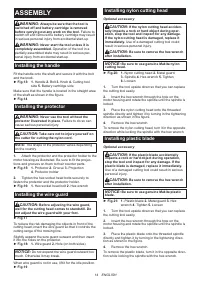
- 84 Нейлоновая режущая головка; Регулировка длины вала; СБОРКА; Установка рукоятки
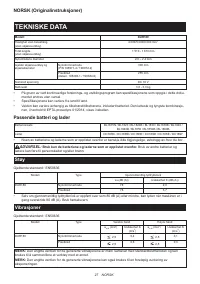
- 85 ЭКСПЛУАТАЦИЯ
- 86 ОБСЛУЖИВАНИЕ; Замена нейлонового шнура
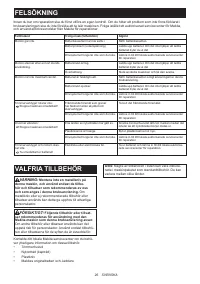
- 87 ПОИСК И УСТРАНЕНИЕ НЕИСПРАВНОСТЕЙ; ДОПОЛНИТЕЛЬНЫЕ


