
Триммеры Bosch 06008C1D00 - инструкция пользователя по применению, эксплуатации и установке на русском языке. Мы надеемся, она поможет вам решить возникшие у вас вопросы при эксплуатации техники.
Если остались вопросы, задайте их в комментариях после инструкции.
"Загружаем инструкцию", означает, что нужно подождать пока файл загрузится и можно будет его читать онлайн. Некоторые инструкции очень большие и время их появления зависит от вашей скорости интернета.


28
| English
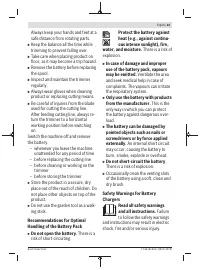
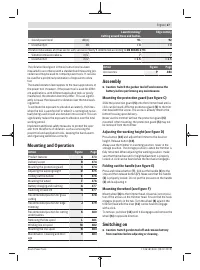
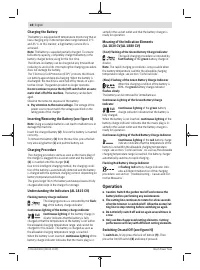
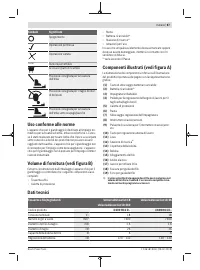
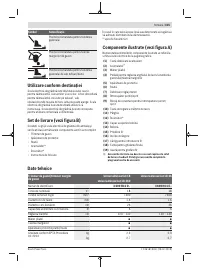
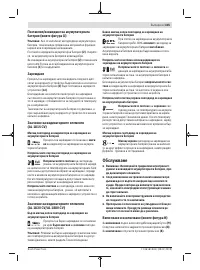
Charging the Battery
The battery is equipped with temperature monitoring that al-
lows charging only in the temperature range between 0 °C
and 45 °C. In this manner, a high battery service life is
achieved.
Note:
The battery is supplied partially charged. To ensure
full battery capacity, completely charge the battery in the
battery charger before using for the first time.
The lithium-ion battery can be charged at any time without
reducing its service life. Interrupting the charging procedure
does not damage the battery.
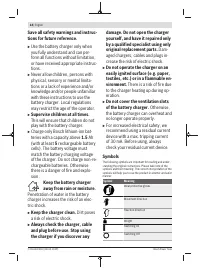
The “Electronic Cell Protection (ECP)” protects the lithium-
ion battery against deep discharging. When the battery is
discharged, the machine is switched off by means of a pro-
tective circuit: The garden product no longer operates.
Do not continue to press the On/Off switch after an auto-
matic shut-off of the machine.
The battery can be dam-
aged.
Observe the notes for disposal of the battery.
u
Pay attention to the mains voltage.
The voltage of the
power source must match the voltage specified on the
rating plate of the charger.
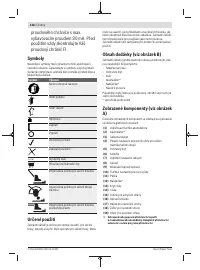
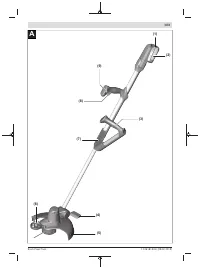
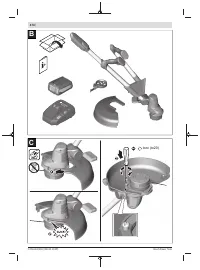
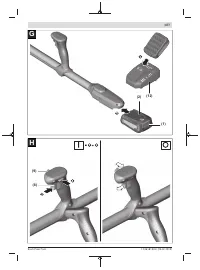
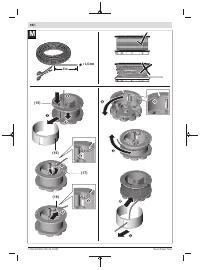
Inserting/Removing the Battery (see figure G)
Note:
Using unsuitable batteries can lead to malfunctions or
damage the machine.
Insert the charged battery
(2)
. Ensure the battery is inserted
correctly.
To remove the battery
(2)
from the machine, press the bat-
tery unlocking button
(1)
and pull the battery out.
Charging Procedure
The charging procedure starts as soon as the mains plug of
the charger is plugged into a socket outlet and the battery
(2)
is inserted onto the charger
(12)
.
Due to the intelligent charging method, the charging condi-
tion of the battery is automatically detected and the battery
is charged with the optimum charging current, depending on
battery temperature and voltage.
This gives longer life to the battery and always leaves it fully
charged when kept in the charger for storage.
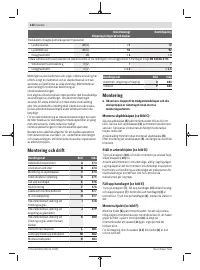
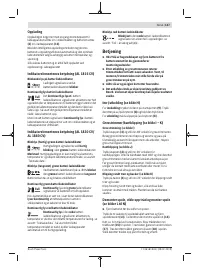
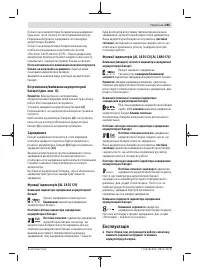
Understanding the Indicators (AL 1815 CV)
Flashing battery charge indicator
The charging process is indicated by the
flash-
ing
of the battery charge indicator .
Continuous lighting of the battery charge indicator
Full
Continuous lighting
of the battery charge in-
dicator indicates that the battery is fully
charged or that the temperature of the battery is not within
the allowable charging temperature range, and cannot be
charged for this reason. The battery is charged as soon as
the allowable charging temperature range is reached.
When the battery is not inserted,
continuous lighting
of the
battery charge indicator indicates that the mains plug is in-
serted in the socket outlet and that the battery charger is
ready for operation.
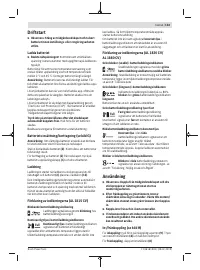
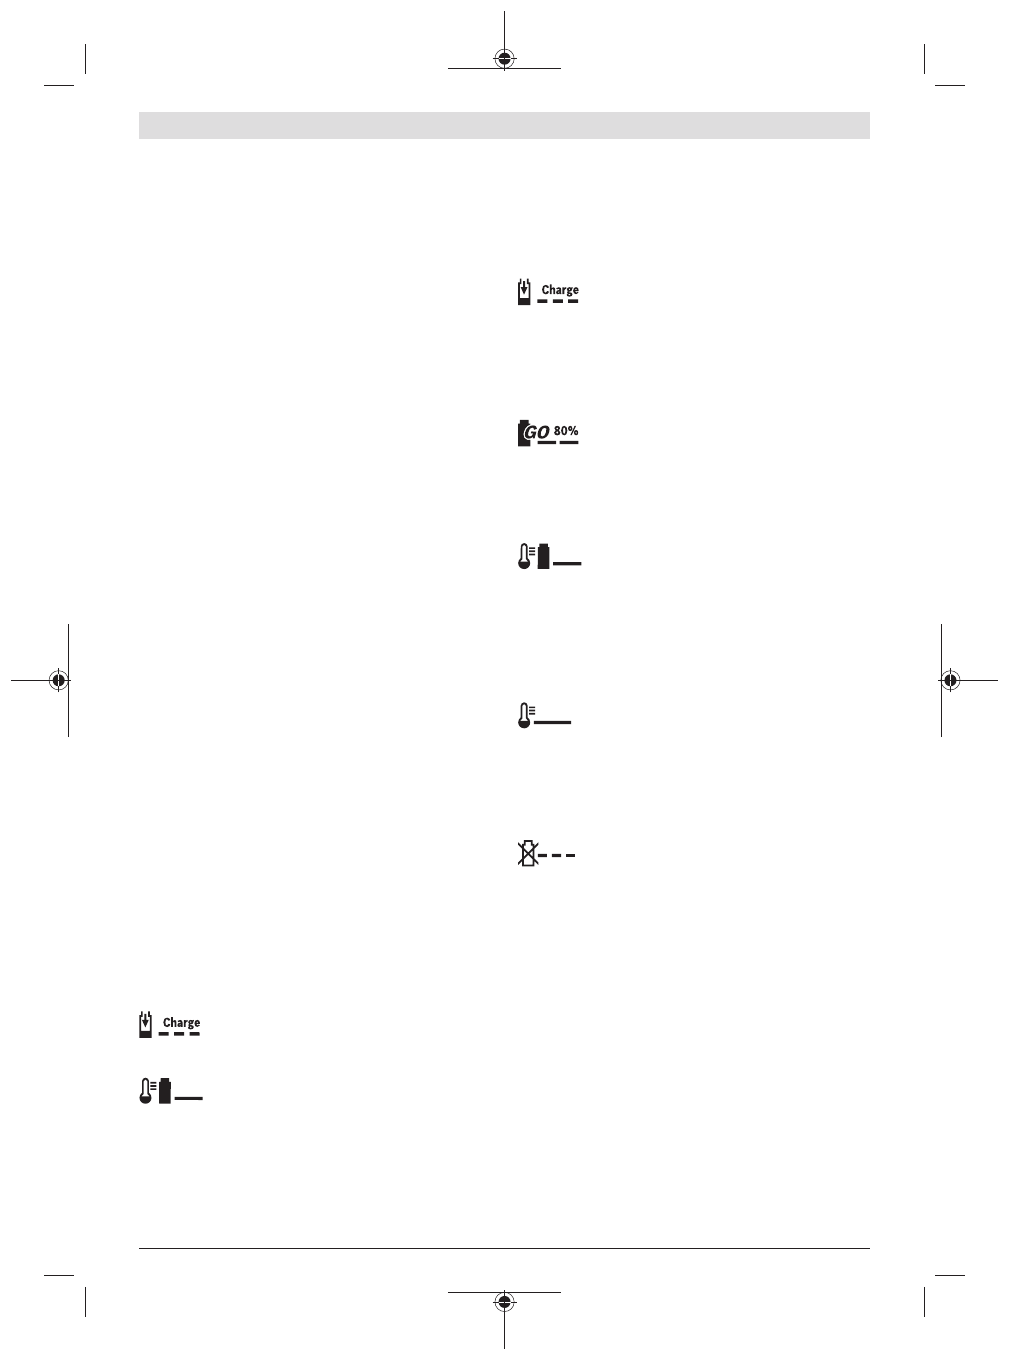
Meaning of the Indication Elements
(AL 1830 CV/AL 1880 CV)
(Fast) Flashing of the Green Battery Charge Indicator
The rapid-charging procedure is indicated by
fast flashing
of the
green
battery charge in-
dicator .
Note:
The rapid-charging procedure is only possible when
the battery temperature is within the allowable charging
temperature range, see section “Technical Data”.
(Slow) Flashing of the Green Battery Charge Indicator
When the charging condition of the battery is
80%, the
green
battery charge indicator
flashes slowly
.
The battery can be removed for immediate use.
Continuous Lighting of the Green Battery Charge
Indicator
Full
Continuous lighting
of the
green
battery
charge indicator indicates that the battery is
fully charged.
When the battery is not inserted,
continuous lighting
of the
battery charge indicator indicates that the mains plug is in-
serted in the socket outlet and that the battery charger is
ready for operation.
Continuous Lighting of the Red Battery Charge Indicator
Continuous lighting
of the
red
battery charge
indicator indicates that the temperature of the
battery is not within the allowable charging temperature
range, see section “Technical Data”. As soon as the allowable
charging temperature range is reached, the battery charger
automatically switches to rapid charging.
Flashing Red Battery Charge Indicator
A
flashing red
battery charge indicator indic-
ates a different malfunction of the charging
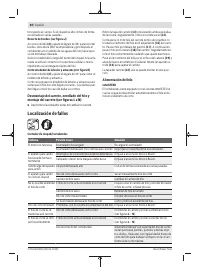
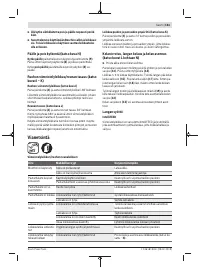
procedure, see section “Troubleshooting – Causes and Cor-
rective Measures”.
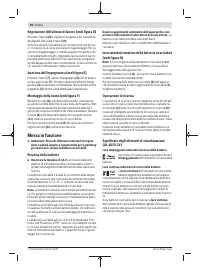
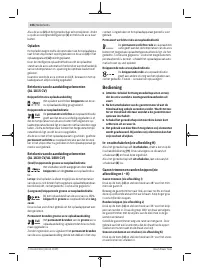
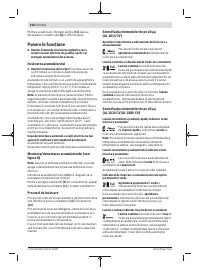
Operation
u
Caution: Switch the garden tool off and remove the
battery before performing any maintenance.
u
The cutting line continues to rotate for a few seconds
after the trimmer is switched off. Allow the motor/cut-
ting line to stop rotating before switching on again.
u
Do not briefly switch off and on again several times in
a row.
u
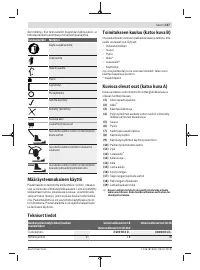
Only use Bosch approved cutting elements. Cutting
performance will vary with different cutting elements.
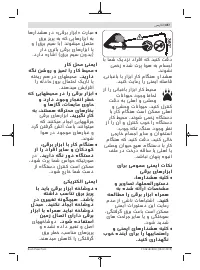
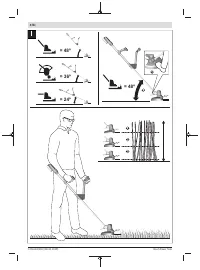
Switching On and Off (see figure H)
To
switch on,
firstly press the lock-off button
(9)
. Then
press the On/Off switch
(8)
and keep it pressed.
F 016 L81 803 | (28.02.2019)
Bosch Power Tools
Содержание
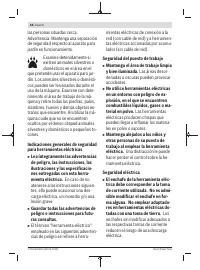
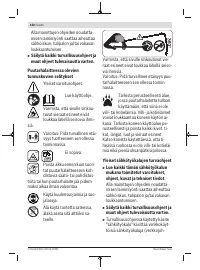
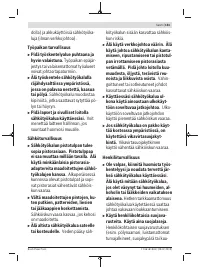
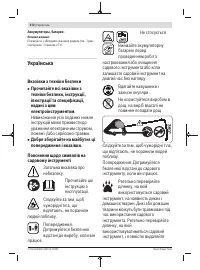
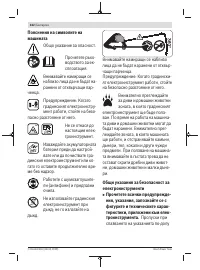
- 255 Указания по технике безопасности; дящихся поблизости людей.
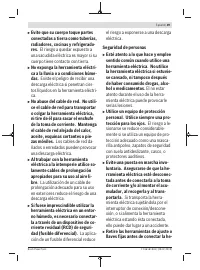
- 257 защитным заземлением.; Поврежденный или спутан-; Безопасность людей; Использование
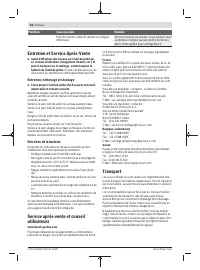
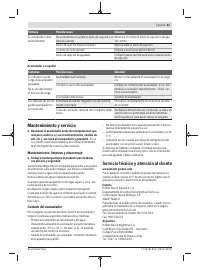
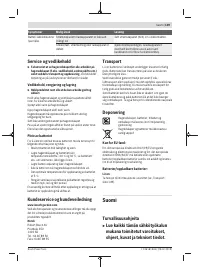
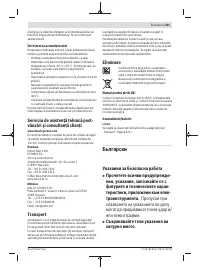
- 260 Сервис
- 261 нальных запасных частей.; Этим; Эксплуатация; Двумя
- 262 Не вскрывайте аккумулятор.; При
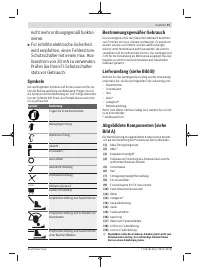
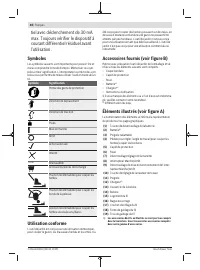
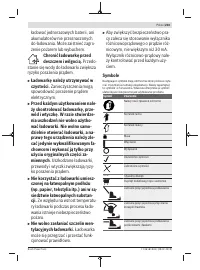
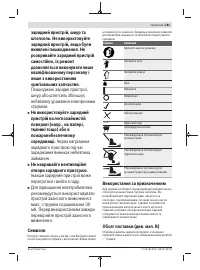
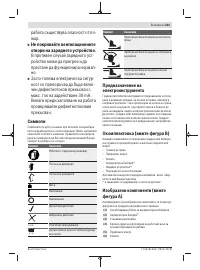
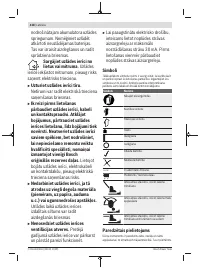
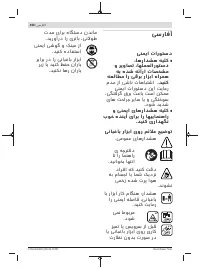
- 264 Поврежденные зарядные; Символы; Применение по назначению
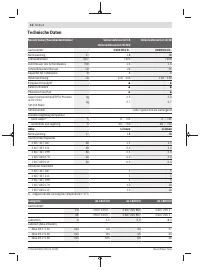
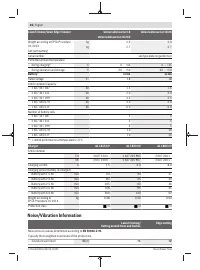
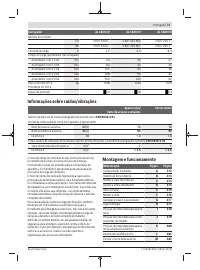
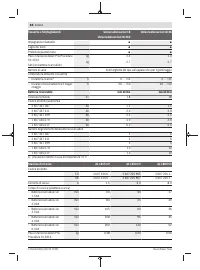
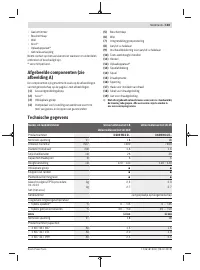
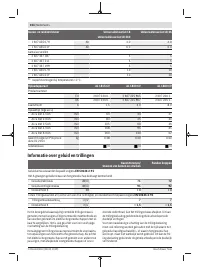
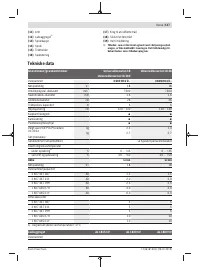
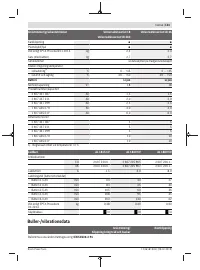
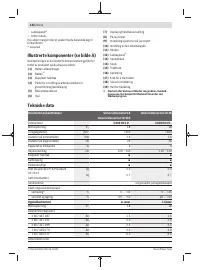
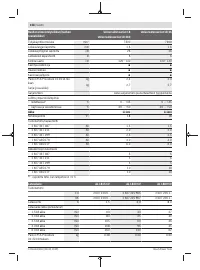
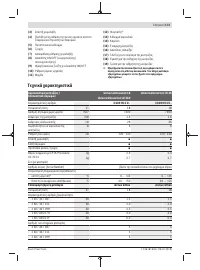
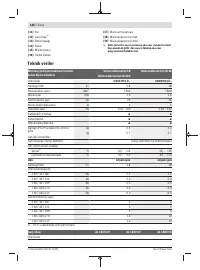
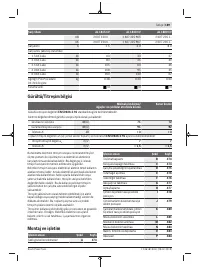
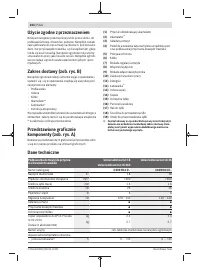
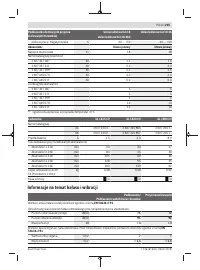
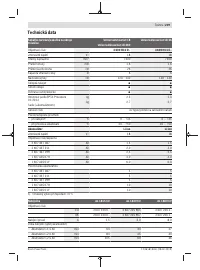
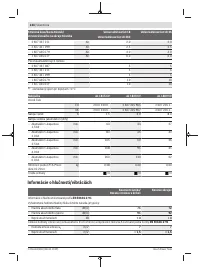
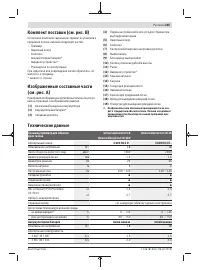
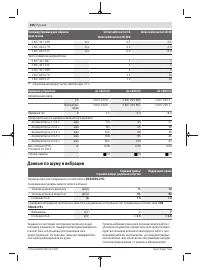
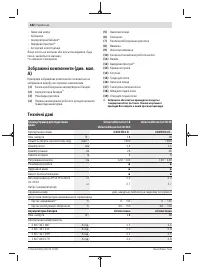
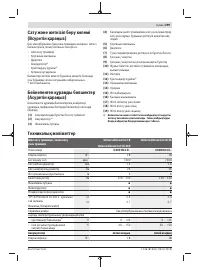
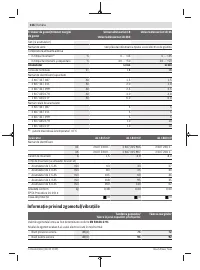
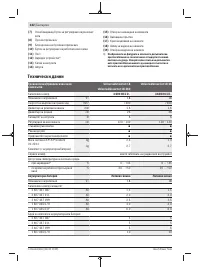
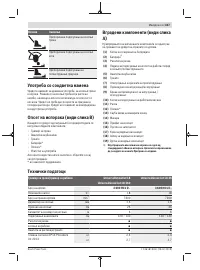
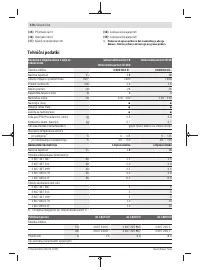
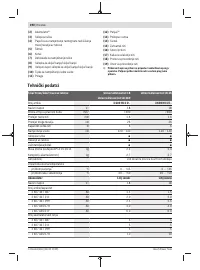
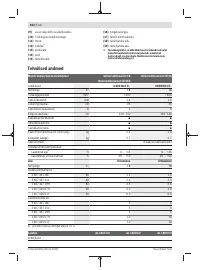
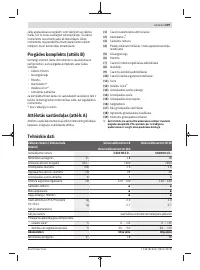
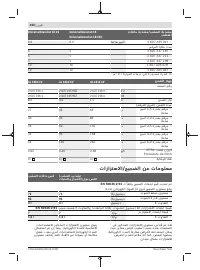
- 265 Технические данные
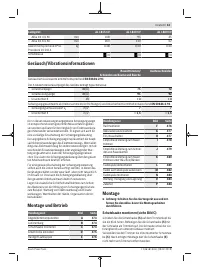
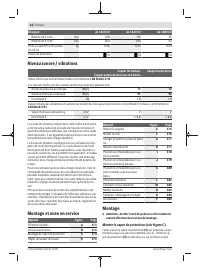
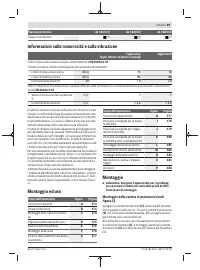
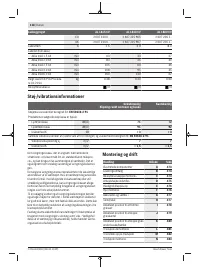
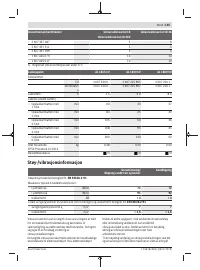
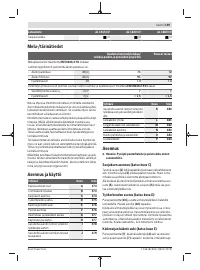
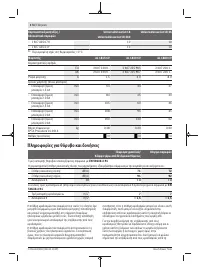
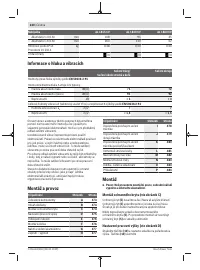
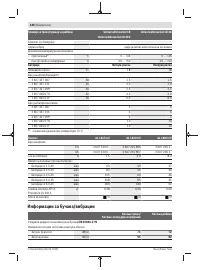
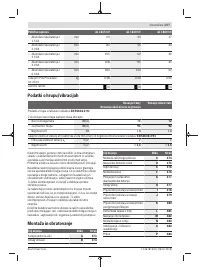
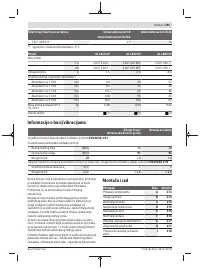
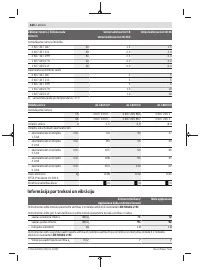
- 266 Данные по шуму и вибрации
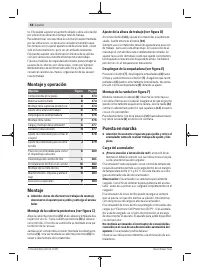
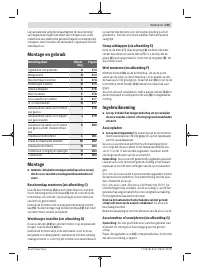
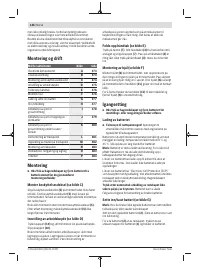
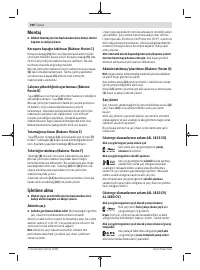
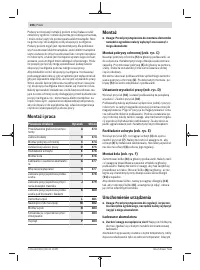
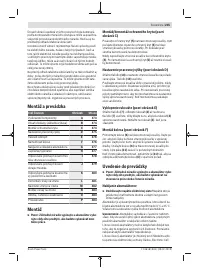
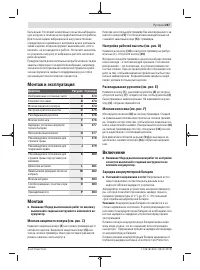
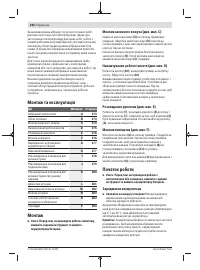
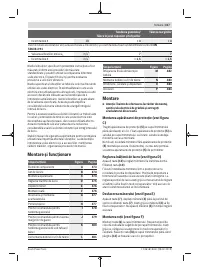
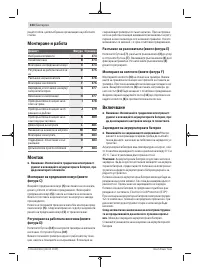
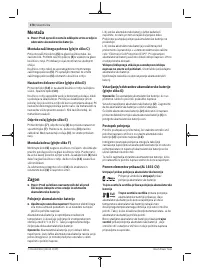
- 267 Монтаж и эксплуатация; Монтаж
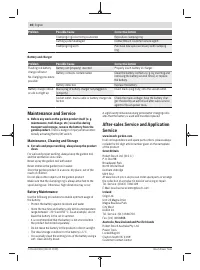
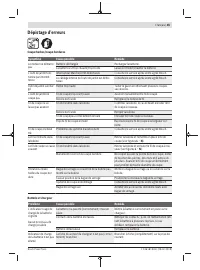
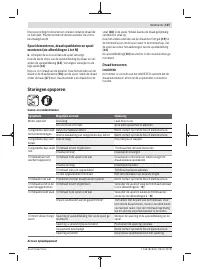
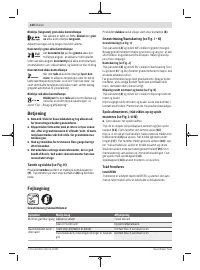
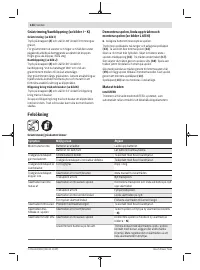
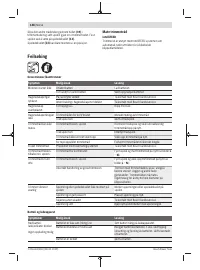
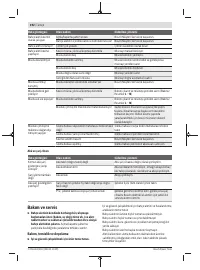
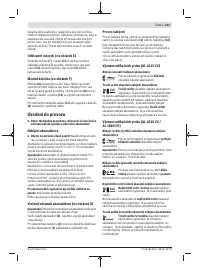
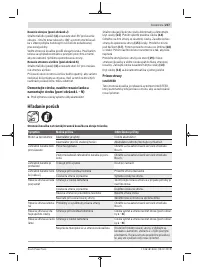
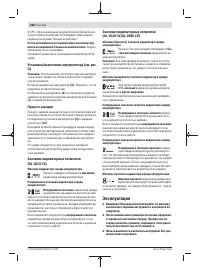
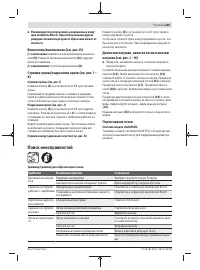
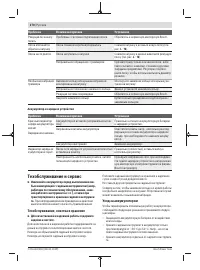
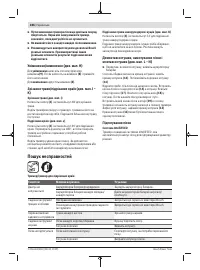
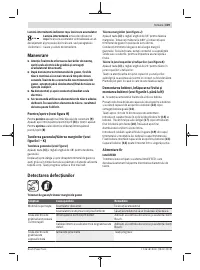
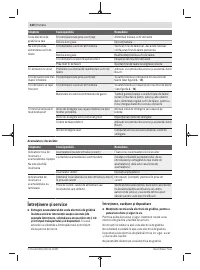
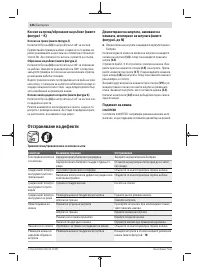
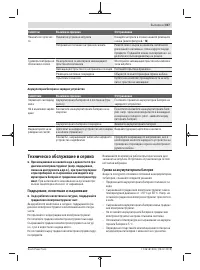
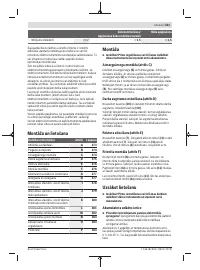
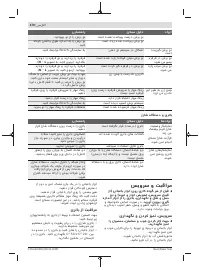
- 269 Поиск неисправностей
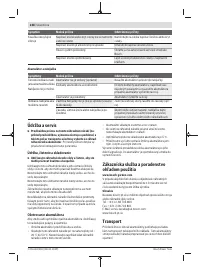
- 270 Техобслуживание и сервис
- 271 Транспортировка
Характеристики

Остались вопросы?Не нашли свой ответ в руководстве или возникли другие проблемы? Задайте свой вопрос в форме ниже с подробным описанием вашей ситуации, чтобы другие люди и специалисты смогли дать на него ответ. Если вы знаете как решить проблему другого человека, пожалуйста, подскажите ему :)


