Телевизоры Telefunken TF-LED40S01T2 - инструкция пользователя по применению, эксплуатации и установке на русском языке. Мы надеемся, она поможет вам решить возникшие у вас вопросы при эксплуатации техники.
Если остались вопросы, задайте их в комментариях после инструкции.
"Загружаем инструкцию", означает, что нужно подождать пока файл загрузится и можно будет его читать онлайн. Некоторые инструкции очень большие и время их появления зависит от вашей скорости интернета.


Before you start
3
Before you start
product. If the liquid is spilt, it may cause the
fire, electric shock or breakdown.
• Do not install it at the place on the strong
magnetic field or current field. It may cause
break down. This equipment may be observed
deterioration of the picture by electromagnetic
radiation in electromagnetic environment.
• Fasten the wheel of the product or shelf
with wheels when installing this product. If it
moves or is tipped over, it may be damaged.
• Do not place any fire source such as
candlelight close to this product or place it on
this product. If it is tipped over or fallen down, it
may cause damage or fire.
• Do not place the unit into closed space
of TV for better ventilation; it can reduce the
product lifetime. Keep a space at least 10 cm
at above, left, and right of the TV.
• Please place all the signal cords behind of
rear panel.
• Do not overexert or touch the panel when
you convey the product. Do not transfer the
LED TV up or down display direction.
• Do not transport it with the power cord
or the connection cable connected. If you
move this product with the power cord or the
connection cable connected, damaged power
cord, connection cable or connection terminal
may cause fire, electric shock or breakdown.
• 2 persons or more shall transport the
device, which is heavier than 18 kg. If you drop
or tip over the device, it may damage it.
• The temperature of the product’s body
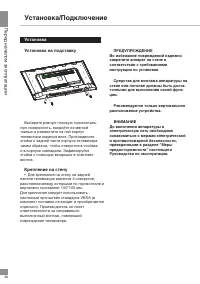
Installation
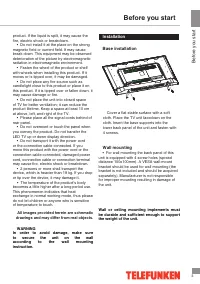
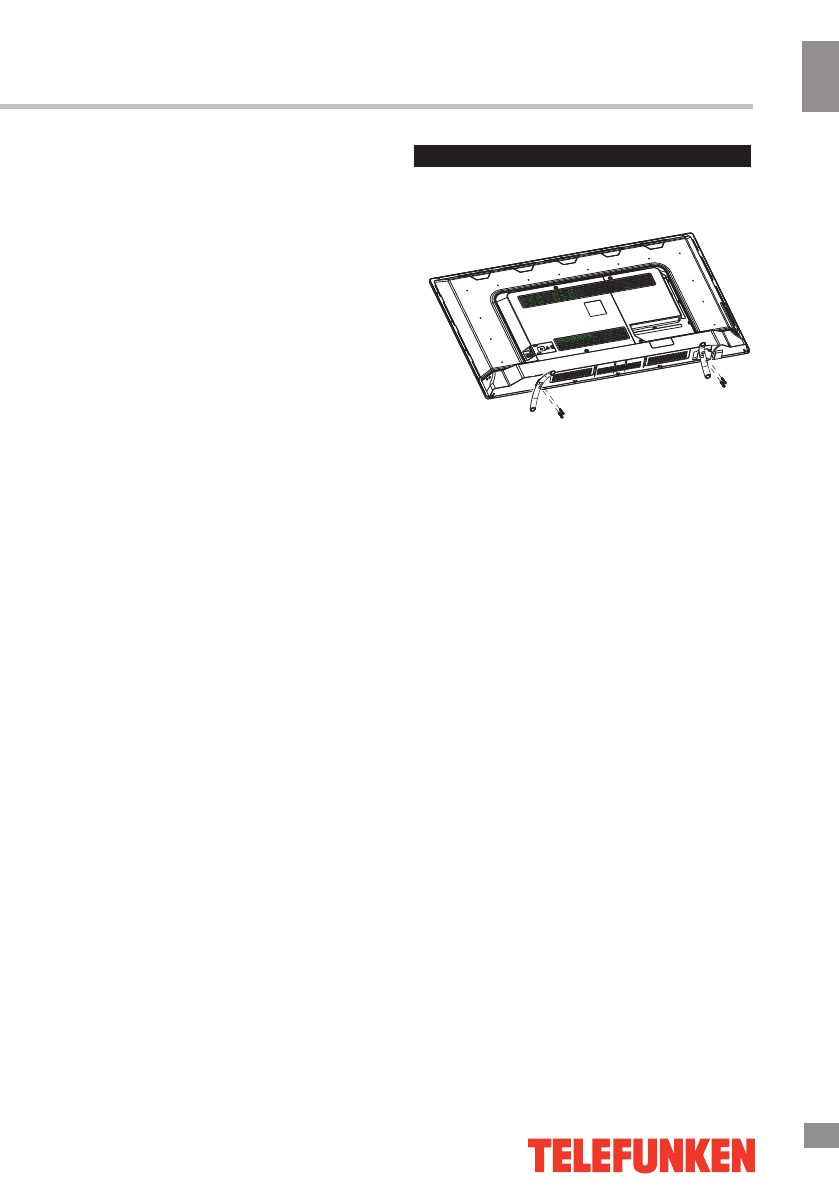
Base installation
Cover a flat stable surface with a soft
cloth. Place the TV unit facedown on the
cloth. Insert the base supports into the
lower back panel of the unit and fasten with
4 screws.
Wall mounting
• For wall mounting the back panel of this
becomes a little higher after a long period use.
This phenomenon indicates that heat
exchange in normal working mode, thus please
do not let children or anyone who is sensitive
of temperature to touch.
All images provided herein are schematic
drawings and may differ from real objects.
WARNING
In order to avoid damage, make sure
to
secure
the
unit
on
the
wall
according
to
the
wall
mounting
instruction.
unit is equipped with 4 screw holes (spread
distance
1
00x
1
00mm). A VESA wall-mount
bracket should be used for wall mounting (the
bracket is not included and should be acquired
separately). Manufacturer is not responsible
for improper mounting resulting in damage of
the unit.
Wall or ceiling mounting implements must
be durable and sufficient enough to support
the weight of the unit.
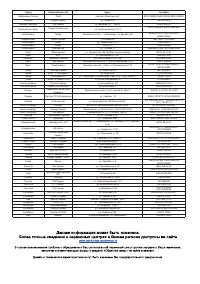
Содержание
- 20 Перед началом эксплуатации; Утилизация изделия
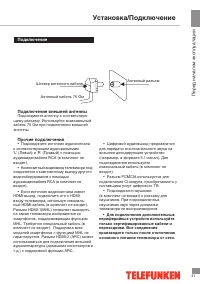
- 22 Установка/Подключение; Установка; Выберите ровную плоскую горизонталь-; Крепление на стену; • Для крепления на стену на задней; ПРЕДУПРЕЖДЕНИЕ
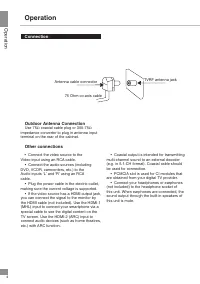
- 23 Подключение; Для подключения дополнительных; • Подсоедините источник аудиосигнала
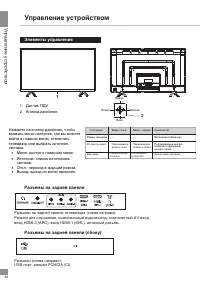
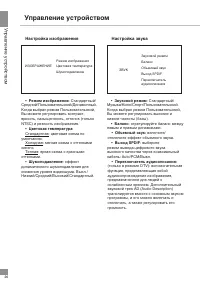
- 24 Управление устройством; Элементы управления; Разъемы на задней панели телевизора (слева направо)
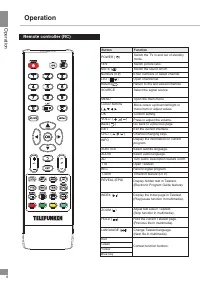
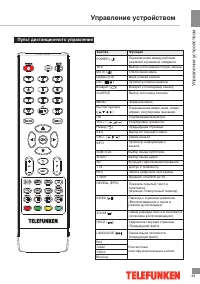
- 25 Пульт дистанционного управления
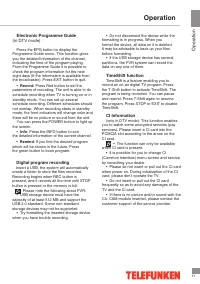
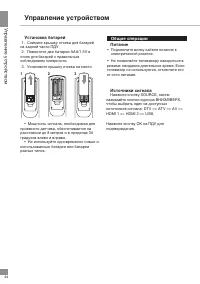
- 26 Общие операции
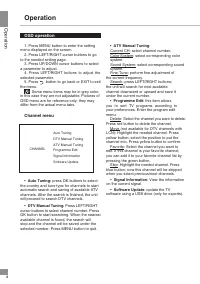
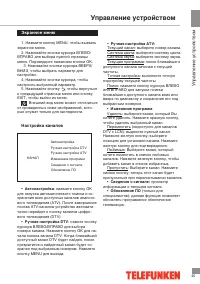
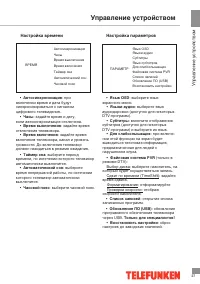
- 27 Экранное меню; Автонастройка; (недоступно для каналов; Сведения; для
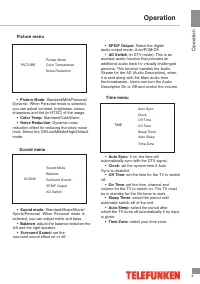
- 28 Настройка изображения; Режим изображения; Настройка звука; Звуковой режим; отрегулируйте баланс между; Цветовая температура; Стандартная; ыход; отключите эффект объемного звука.; ереключатель; вспомогательная
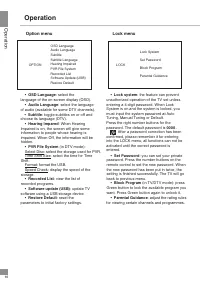
- 29 Настройка времени; Язык; экранного; Субтитры; включите отображение; Языки аудио; аудиодорожки (доступно для некоторых; Для слабослышащих; Файловая система PVR; который будет осуществляться запись.; Восстановить настройки; сброс; Только для специалистов!; открытие списка
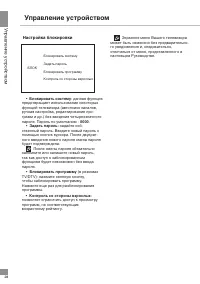
- 30 Настройка блокировки; После смены пароля обязательно; Блокиров; ажмите; Контроль со стороны взрослых; позволяет; Экранное меню Вашего телевизора
- 31 Запись; Запись цифровой программы
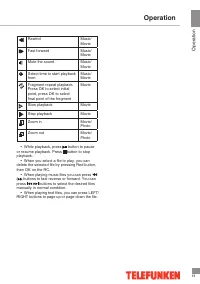
- 32 Интерфейс CI; Внимание; Воспроизведение файлов
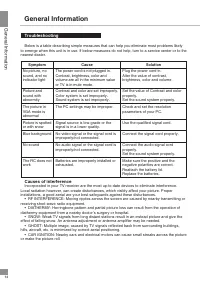
- 34 Общая информация; Руководство по устранению; Неисправность; Источники помех; Подсоедините шнур питания.; контраста
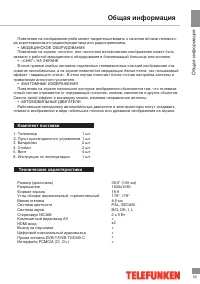
- 35 ра коротковолнового радиопередатчика или радиоприемника.; Комплект поставки; Пульт дистанционного управления; Технические характеристики; мс
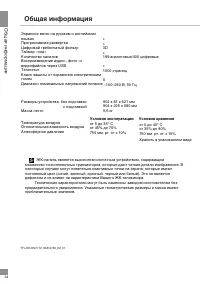
- 36 II; Условия эксплуатации; Хранить в упакованном виде
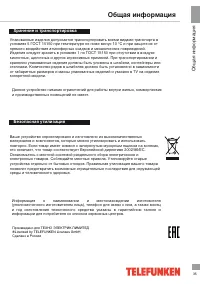
- 37 Хранение и транспортировка; Информация


