Телевизоры Telefunken TF-LED24S12T2 - инструкция пользователя по применению, эксплуатации и установке на русском языке. Мы надеемся, она поможет вам решить возникшие у вас вопросы при эксплуатации техники.
Если остались вопросы, задайте их в комментариях после инструкции.
"Загружаем инструкцию", означает, что нужно подождать пока файл загрузится и можно будет его читать онлайн. Некоторые инструкции очень большие и время их появления зависит от вашей скорости интернета.


Operation
8
8
Operation
General operations
• Connect the
plug
of the power cord
to the power supply outlet, the power indicator
will light showing that the unit is in standby
mode. To switch on the unit, press POWER
button on the panel or on the RC; when the TV
is on, the power indicator is off. Press POWER
button again to switch the unit to the standby
mode, the power indicator will light up. To
switch off the unit completely, disconnect the
power cord plug from the power supply outlet.
• Press VOL- button on the unit or on
the RC repeatedly to decrease the volume;
press VOL+ button on the unit or on the RC
repeatedly to increase the volume.
• Press MUTE button to mute sound, press
this button again or adjust volume to resume
sound.
• In TV mode press CH+/CH- buttons
to select previous or next channel; or press
number buttons to enter a channel number
directly.
• Press INFO button to display the preset
TV channel information.
• Press
SOURCE
button, then press cursor
buttons on the RC to select a source from
available source list:
DTV
=>
ATV
=>
AV
=>
SCART
=>
YPbPr
=>
PC =>
HDMI
=>
USB
.
TELETEXT operations
(option)
• Select the TV source mode. Then press
CH-/CH+ buttons to select TV channel in order
to pick up the picture signal of Teletext.
• Teletext button functions are as follows:
TEXT: Press this button to enter into Teletext
mode. Follow the guides on screen and use
the color buttons to navigate the Teletext.
Red/Green/Yellow/Blue buttons: Press
these 4 color buttons to access directly to
corresponding color page displayed at the
lower parts of teletext screen.
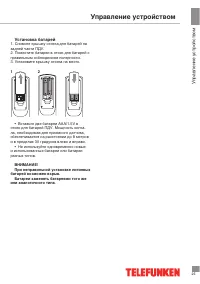
• Use two AAA batteries for the RC. The RC
should be pointed at remote sensor within 8
meters and within 30 degrees at the left or the
right side.
• Take the battery out of the RC if it is not
used for a long time.
• Do not mix new and used batteries or
different types of batteries. Weak batteries can
leak and severely damage the RC.
• Do not expose the RC to shock, liquids,
and do not place it in an area with high
humidity.
CAUTION!
Incorrect installation of the batteries may
lead to an explosion.
Please replace used batteries with the
batteries of the same or comparable type.
Содержание
- 18 Перед началом эксплуатации; Утилизация изделия
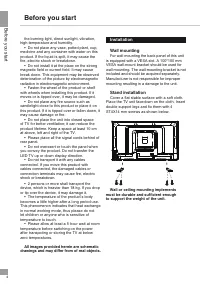
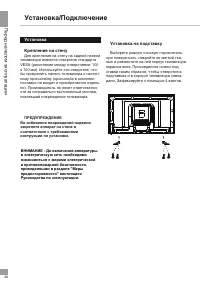
- 20 Установка/Подключение; Установка; Для крепления на стену на задней панели; Установка на подставку; Выберите ровную плоскую горизонталь-; ПРЕДУПРЕЖДЕНИЕ
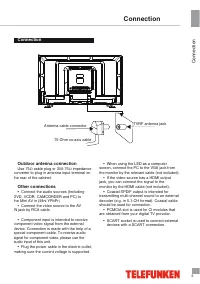
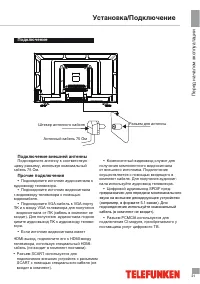
- 21 Подключение; предназначен для передачи многоканального
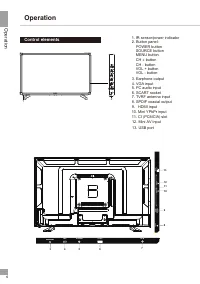
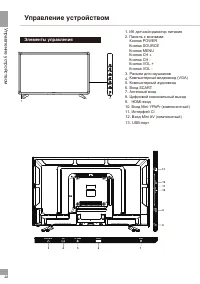
- 22 Управление устройством; Элементы управления; Разъем для наушников
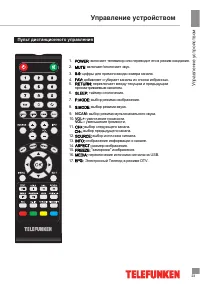
- 23 Пульт дистанционного управления; RETURN: переключает между текущим и предыдущим
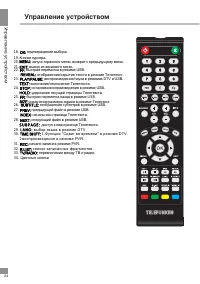
- 24 подтверждение выбора.
- 25 Установка батарей; Снимите крышку отсека для батарей; батарей возможен взрыв.
- 26 Общие операции; вилку; Операции с телетекстом
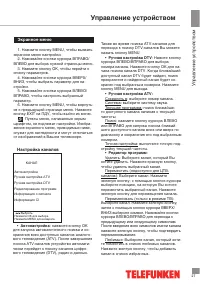
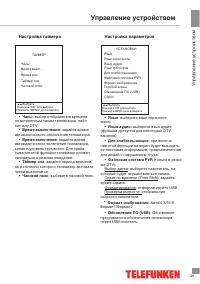
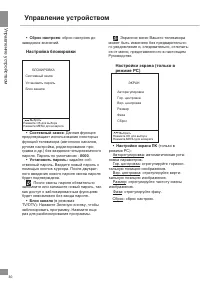
- 27 Экранное меню; экранное меню настройки.; Настройка каналов; Автонастройка; Поиск: нажмите кнопку курсора ВЛЕВО; Редактор программ
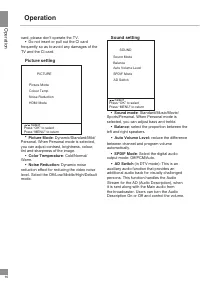
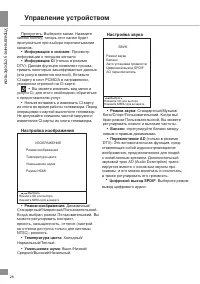
- 28 Просмотр; Настройка изображения; цвета; Настройка звука; Баланс
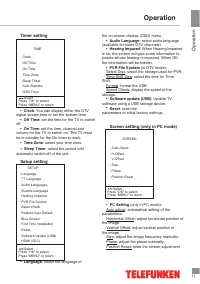
- 29 Настройка таймера; выбор отображения времени; Настройка параметров; : выберите язык экранного; Для слабослышащих; который будет осуществляться запись.; Формат
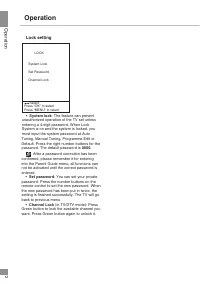
- 30 Сброс настроек; Настройка блокировки; Установ; После смены пароля обязательно; Настройки экрана (только в; Настройки; тальную позицию изображения.
- 31 Операции c USB; Видео
- 32 Музыка; Интерфейс CI
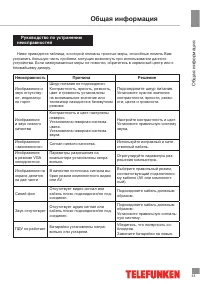
- 33 Общая информация; Руководство по устранению; Неисправность; Подсоедините шнур питания.
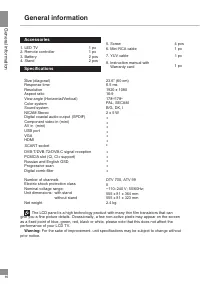
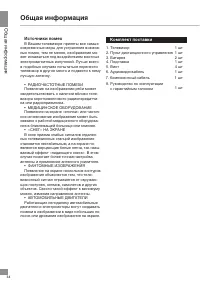
- 34 Источники помех; В Вашем телевизоре приняты все самые; Комплект поставки; Подставка
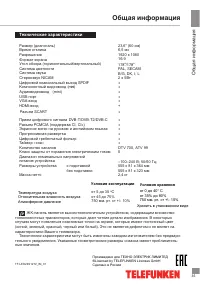
- 35 Технические характеристики; мм; Температура воздуха; Условия хранения; Хранить в упакованном виде; Условия; Разъем SCART
- 39 Данная информация может быть изменена.


