Телевизоры кинескопные Sony KV-29CL10K - инструкция пользователя по применению, эксплуатации и установке на русском языке. Мы надеемся, она поможет вам решить возникшие у вас вопросы при эксплуатации техники.
Если остались вопросы, задайте их в комментариях после инструкции.
"Загружаем инструкцию", означает, что нужно подождать пока файл загрузится и можно будет его читать онлайн. Некоторые инструкции очень большие и время их появления зависит от вашей скорости интернета.


21
GB
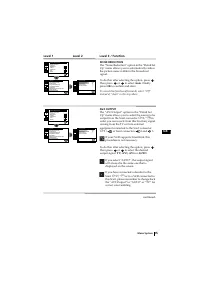
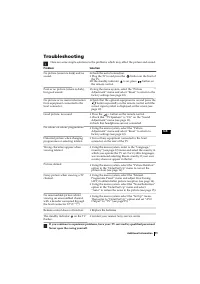
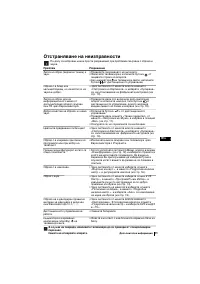
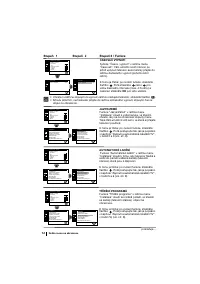
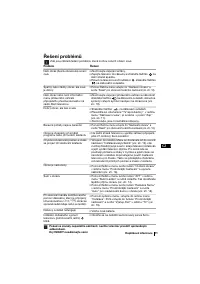
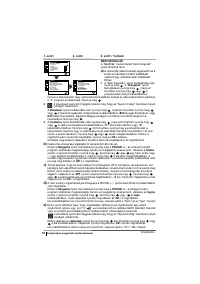
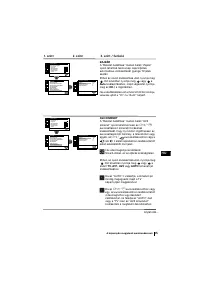
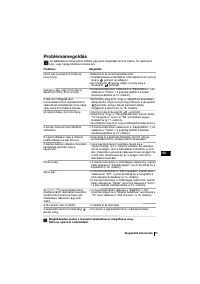
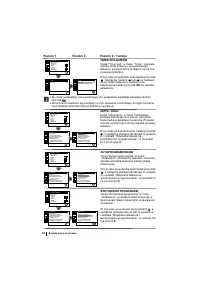
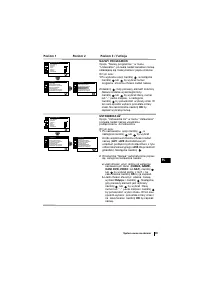
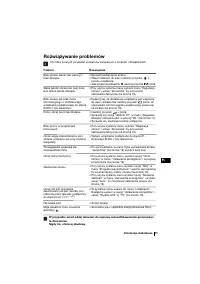
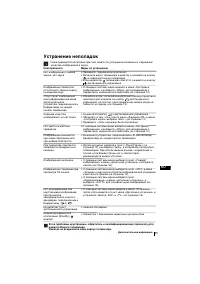
Troubleshooting
Here are some simple solutions to the problems which may affect the picture and sound.
Additional Information
Problem
No picture (screen is dark) and no
sound.
Poor or no picture (screen is dark),
but good sound.
No picture or no menu information
from equipment connected to the
Scart connector.
Good picture, no sound.
No colour on colour programmes.
Distorted picture when changing
programmes or selecting teletext.
Wrong characters appear when
viewing teletext.
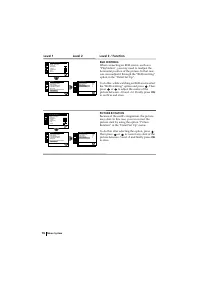
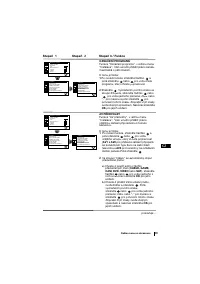
Picture slanted
Noisy picture when viewing a TV
channel.
No unscrambled picture whilst
viewing un unscrambled channel
with a decoder connected through
the Scart connector
:
2/
q
.
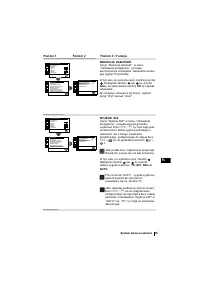
Remote control does not function.
The standby indicator
on the TV
flashes.
Solution
• Check the aerial connection.
• Plug the TV in and press the
button on the front of
the TV.
• If the standby indicator
is on, press
button on
the remote control.
• Using the menu system, select the “Picture
Adjustment” menu and select “Reset” to return to the
factory settings (see page 10).
• Check that the optional equipment is on and press the
button repeatedly on the remote control until the
correct input symbol is displayed on the screen (see
page 19).
• Press the
+ button on the remote control.
• Check that “TV Speakers” is “On” on the “Sound
Adjustment” menu (see page 11).
•
Check that headphones are not connected.
• Using the menu system, select the “Picture
Adjustment” menu and select “Reset” to return to
factory settings (see page 10).
• Turn off any equipment connected to the Scart
connector on the rear of the TV.
• Using the menu system, enter to the “Language/
Country” (see page 12) menu and select the country in
which you operate the TV set. For Cyrillic languages,
we recommend selecting Russia country if your own
country does not appear in the list.
• Using the menu system, select the “Picture Rotation”
option in the “Detail Set Up” menu to correct the
picture slant (see page 16).
• Using the menu system, select the “Manual
Programme Preset” menu and adjust Fine Tuning
(AFT) to obtain better picture reception (see page 14).
• Using the menu system, select the “Noise Reduction”
option in the “Detail Set Up” menu and select
“Auto” to reduce the noise in the picture (see page 15).
• Using the menu system, select the “Set Up” menu.
Then enter to “Detail Set Up” option and set “AV2
Output” to “TV” (see page 15).
• Replace the batteries.
• Contact your nearest Sony service centre.
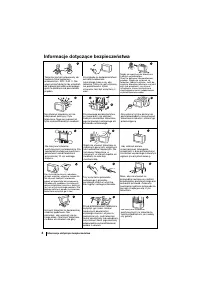
If you continue to experience problems, have your TV serviced by qualified personnel.
Never open the casing yourself.
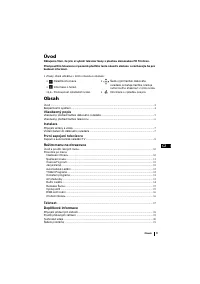
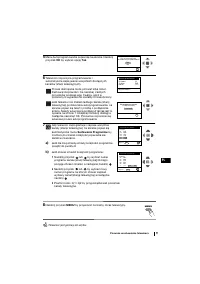
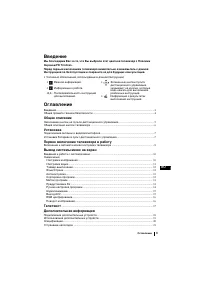
Содержание
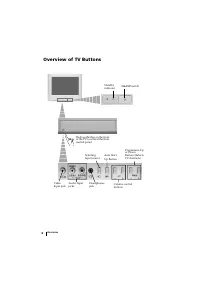
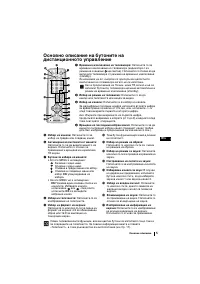
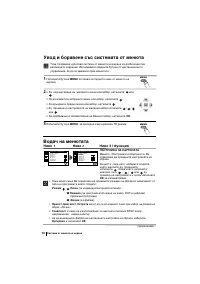
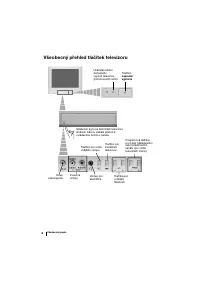
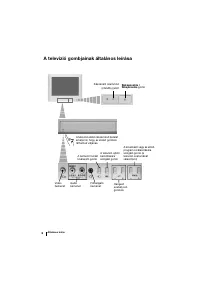
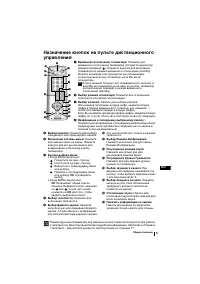
- 105 Когда MENU выключено:; Эта кнопка работает только в режиме; Общее описание
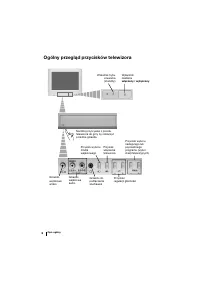
- 106 Общее описание кнопок телевизора; выключение; Индикатор режима
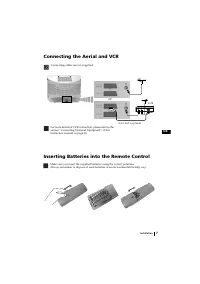
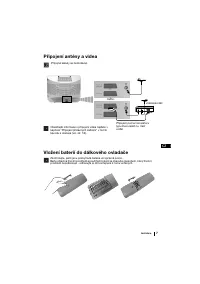
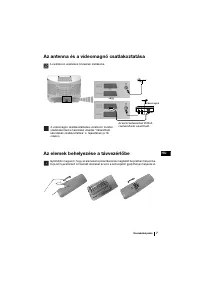
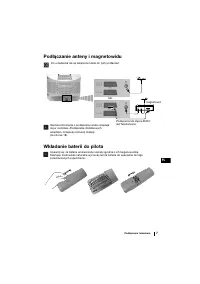
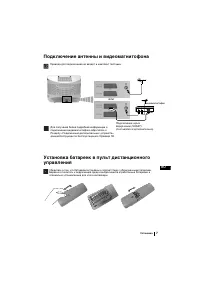
- 107 Подключение антенны и видеомагнитофона; Провода для подключения не входят в комплект поставки.; Установка
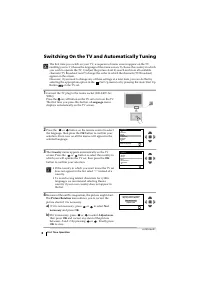
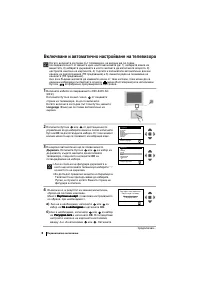
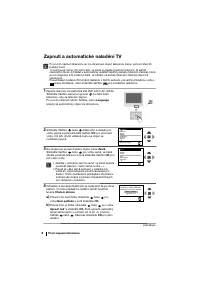
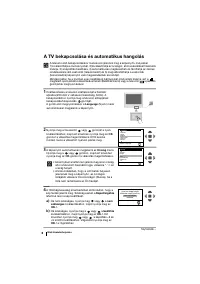
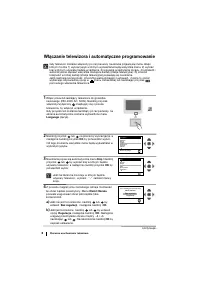
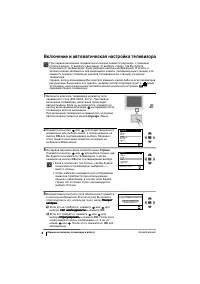
- 108 Включение и автоматическая настройка телевизора; Первое включение телевизора в работу
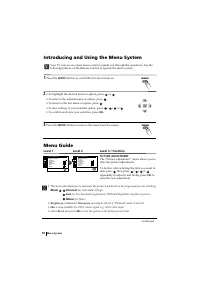
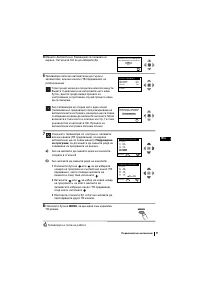
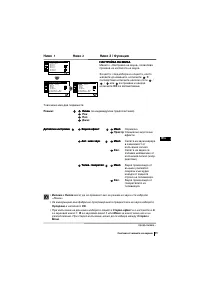
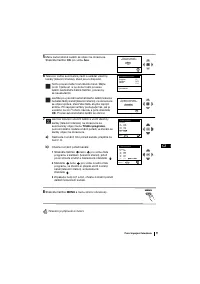
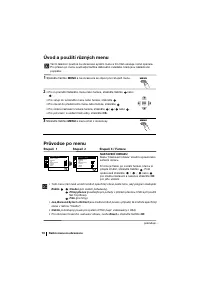
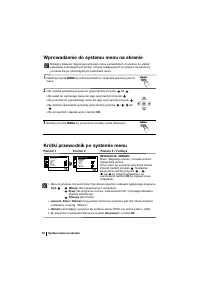
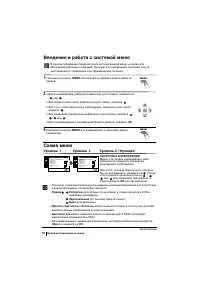
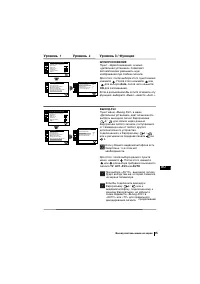
- 110 Введение и работа с системой меню; Вывод системы меню на экран; Схема меню; НАСТРОЙКА ИЗОБРАЖЕНИЯ; Уровень; (для прямых трансляций, a тaкжe cигнaлoв c DVD и
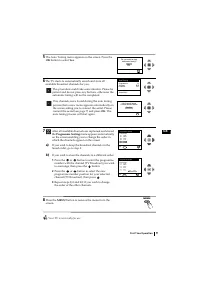
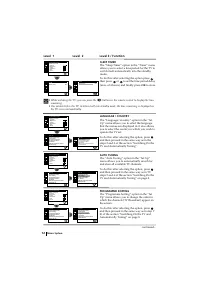
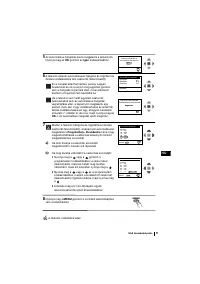
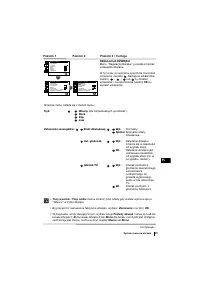
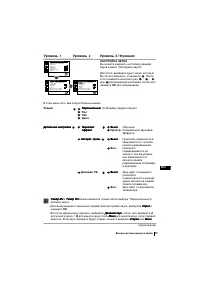
- 112 ТАЙМЕР ВЫКЛЮЧЕНИЯ; отключения, нажмите на кнопку; АВТОНАСТРОЙКА
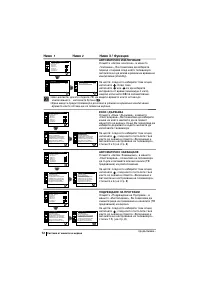
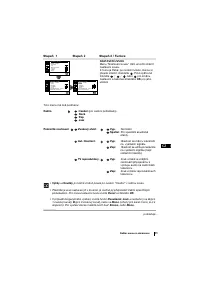
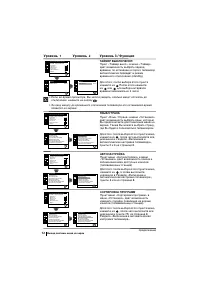
- 114 продолжeниe; РУЧНАЯ НАСТРОЙКА ПРОГРАММ; Программа
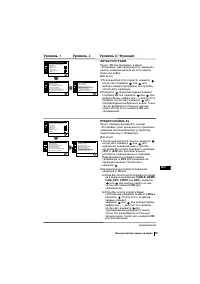
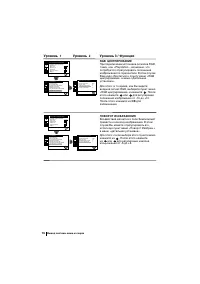
- 115 ШУMOПОНИЖЕНИЕ; BЫXOД AV2; BêxoÀ AV2; BêxoÀ AV2
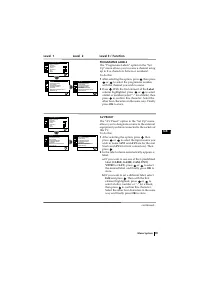
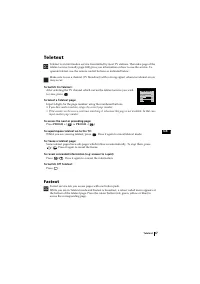
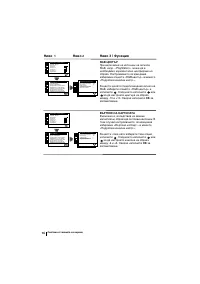
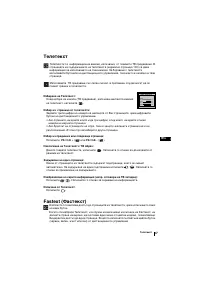
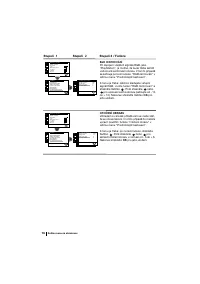
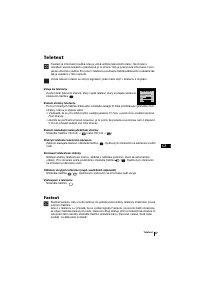
- 117 В этом случае введите другой номер страницы.; Фастекст
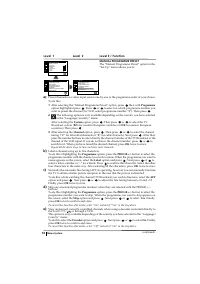
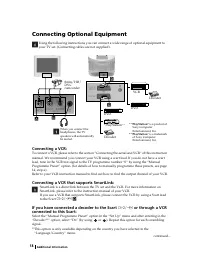
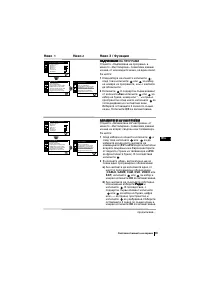
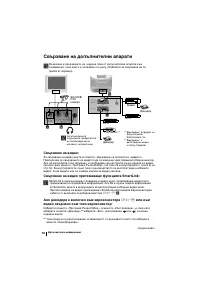
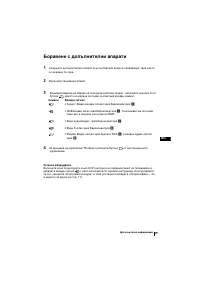
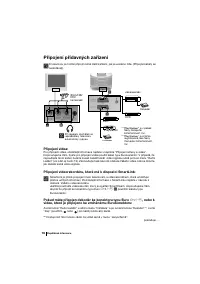
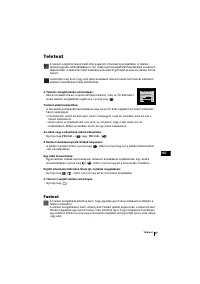
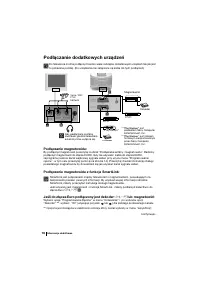
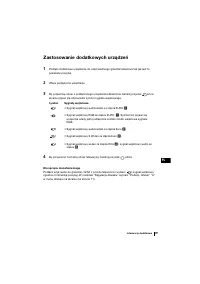
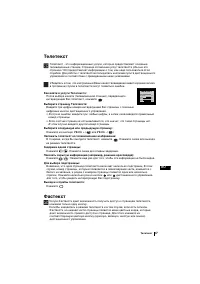
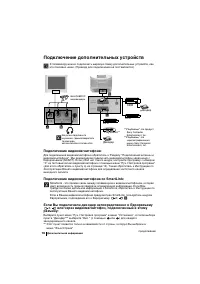
- 118 Подключение дополнительных устройств; Подключение видеомагнитофона:; Дополнительная информация
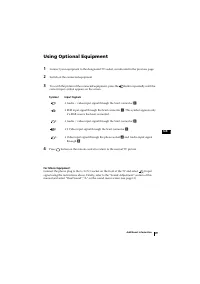
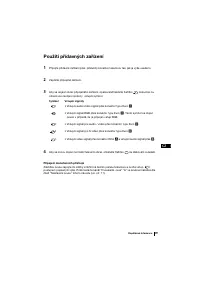
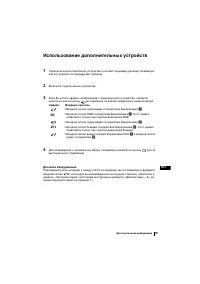
- 119 Использование дополнительных устройств
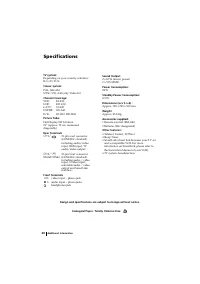
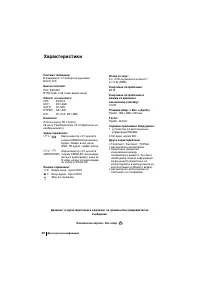
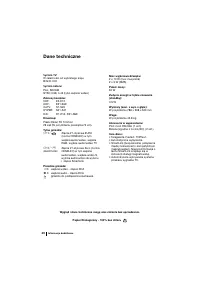
- 120 Спецификации
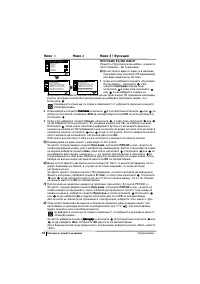
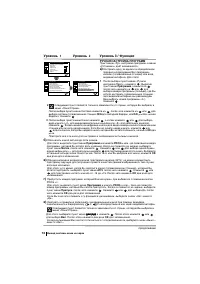
- 121 Уcтpaнeниe нeпoлaдoк; Неисправность; peмoнтa Baшeгo тeлeвизopa.


