Телевизоры кинескопные Sony KV-14LT1K - инструкция пользователя по применению, эксплуатации и установке на русском языке. Мы надеемся, она поможет вам решить возникшие у вас вопросы при эксплуатации техники.
Если остались вопросы, задайте их в комментариях после инструкции.
"Загружаем инструкцию", означает, что нужно подождать пока файл загрузится и можно будет его читать онлайн. Некоторые инструкции очень большие и время их появления зависит от вашей скорости интернета.


16
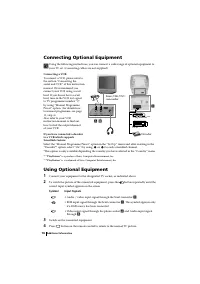
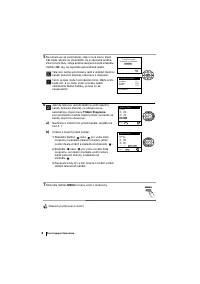
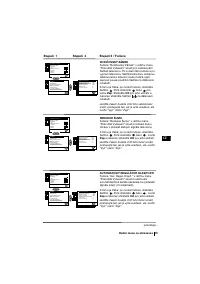
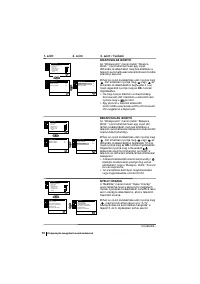
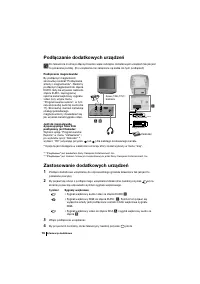
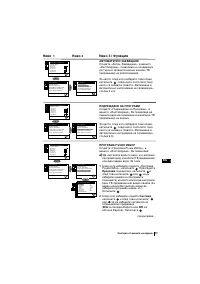
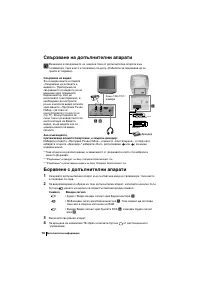
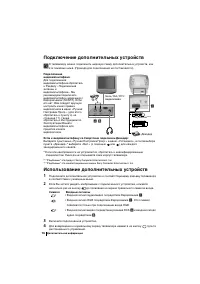
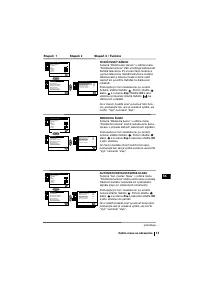
Connecting Optional Equipment
Using the following instructions, you can connect a wide range of optional equipment to
your TV set. (Connecting cables are not supplied).
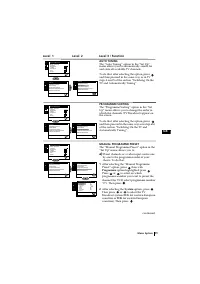
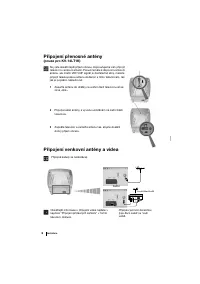
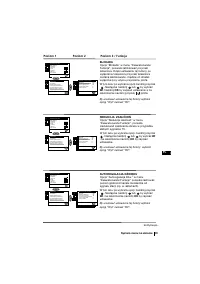
Connecting a VCR:
To connect a VCR, please refer to
the section “Connecting the
aerial and VCR” of this instruction
manual. We recommend you
connect your VCR using a scart
lead. If you do not have a scart
lead, tune in the VCR test signal
to TV programme number “0”.
by using “Manual Programme
Preset” option. (for details how
to manual programme, see page
11, step a).
Also refer to your VCR
instruction manual to find out
how to find the output channel
of your VCR.
If you have connected a decoder
to a VCR which supports
Smartlink feature:
Select the “Manual Programme Preset” option in the “Set Up” menu and after entering in the
“Decoder*” option, select “On” (by using
or
) to each scrambled channel.
*This option is only available depending the country you have selected in the “Country” menu.
** “PlayStation”
is a product of Sony Computer Entertainment, Inc.
*
*
“PlayStation
” is a trademark of Sony Computer Entertainment, Inc.
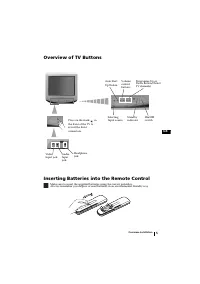
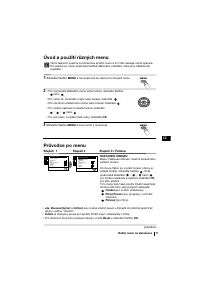
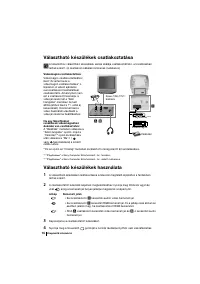
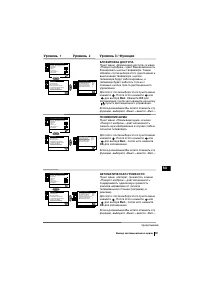
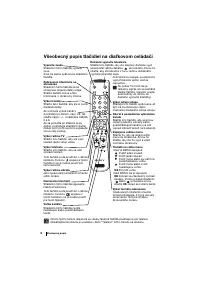
Using Optional Equipment
1
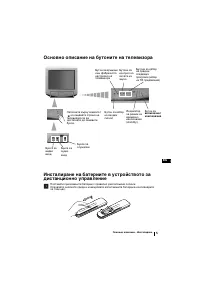
Connect your equipment to the designated TV socket, as indicated above.
2
To watch the picture of the connected equipment, press the
button repeatedly until the
correct input symbol appears on the screen.
Symbol
Input Signals
1
• Audio / video input signal through the Scart connector
C
• RGB input signal through the Scart connector
C
. This symbol appears only
if a RGB source has been connected.
2
• Video input signal through the phono socket
A
and Audio input signal
through
B
.
3
Switch on the connected equipment.
4
Press
button on the remote control to return to the normal TV picture.
A B
1
2
C
8mm/Hi8/DVC
camcorder
Additional Information
“PlayStation”**
VCR
Decoder
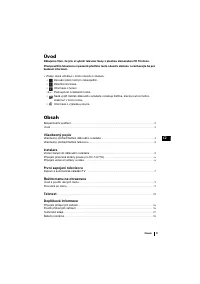
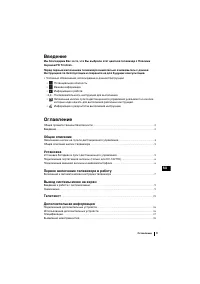
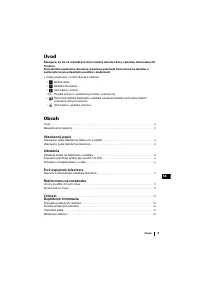
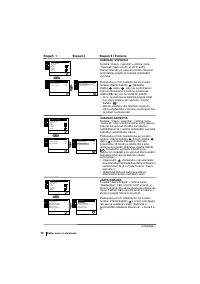
Содержание
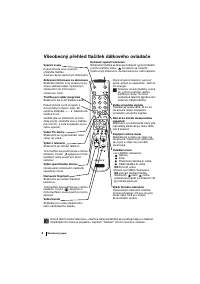
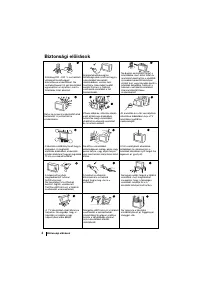
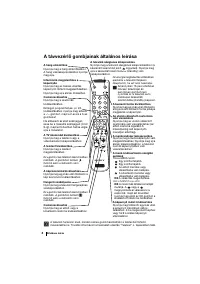
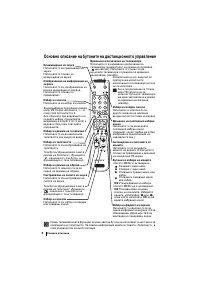
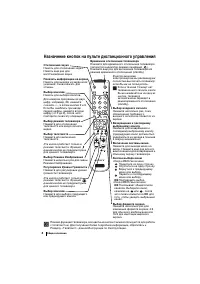
- 94 Назначение кнопок на пульте дистанционного управления; Общее описание
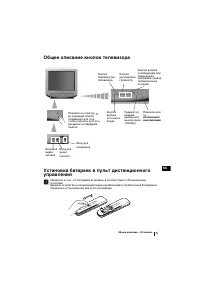
- 95 специально установленные для этого контейнеры.; Общее описание - Установка; выключение
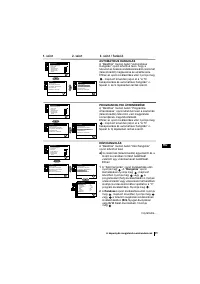
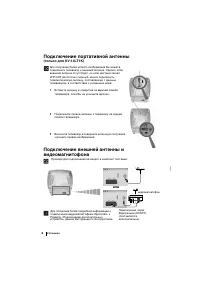
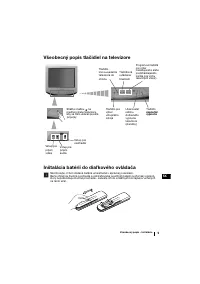
- 96 Установка
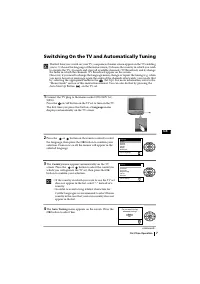
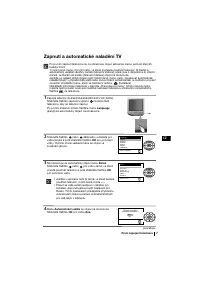
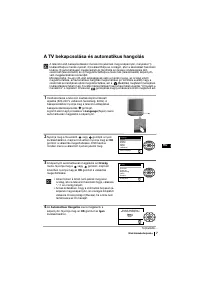
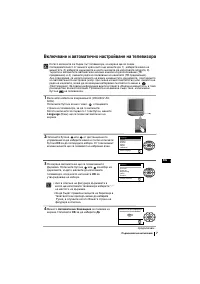
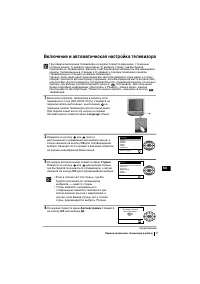
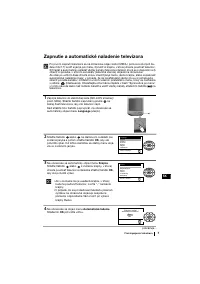
- 97 Включение и автоматическая настройка телевизора; Первое включение телевизора в работу
- 98 Телевизор готов к работе.
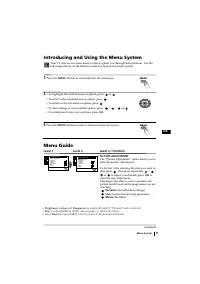
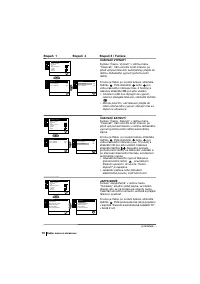
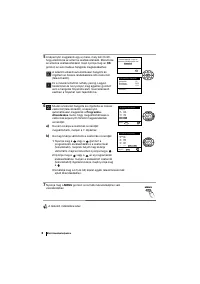
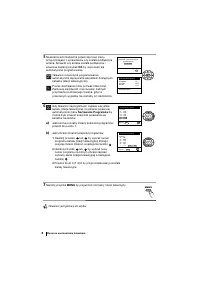
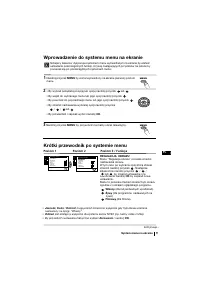
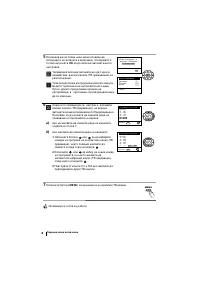
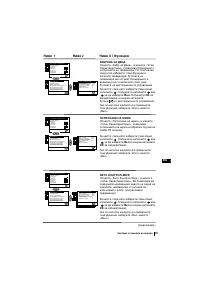
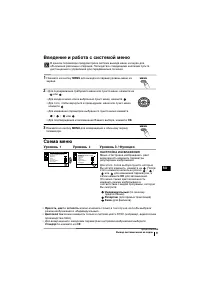
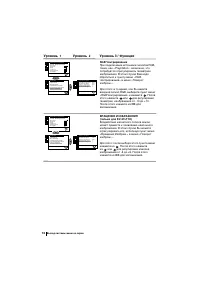
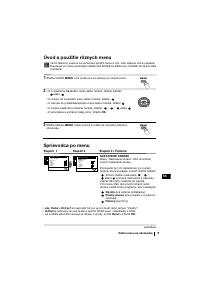
- 99 Введение и работа с системой меню; Вывод системы меню на экран; Схема меню; Уровень; четкость; можно изменить только в том случае, если Вы выбрали; Цветовой тон; можно изменять только в системе цвета NTSC (например, видеопленки; Cтaндapт; и нажмите на
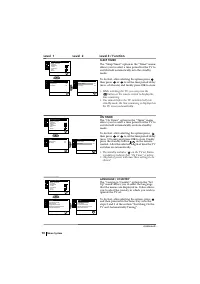
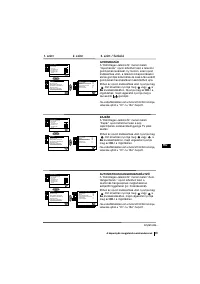
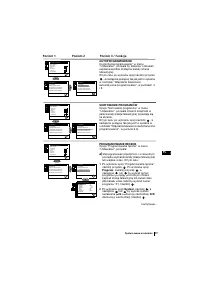
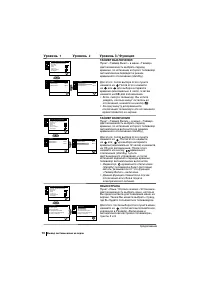
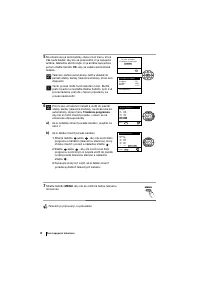
- 100 ТАЙМЕР ВЫКЛЮЧЕНИЯ; За одну минуту до временного; ТАЙМЕР ВКЛЮЧЕНИЯ; Индикатор
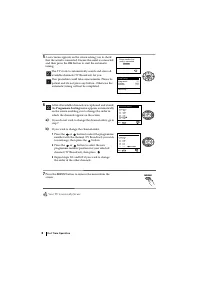
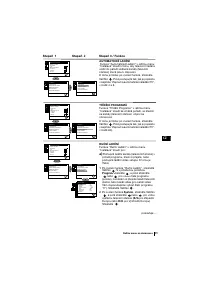
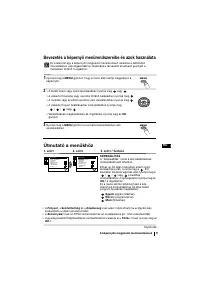
- 101 АВТОНАСТРОЙКА
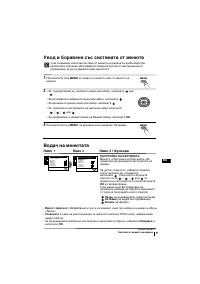
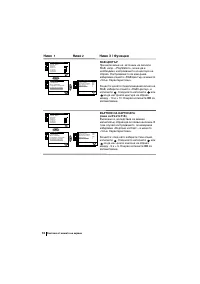
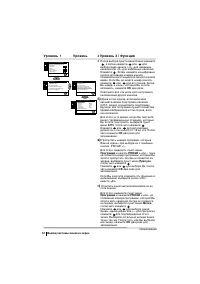
- 104 RGB Чeнтpиpoвaниe
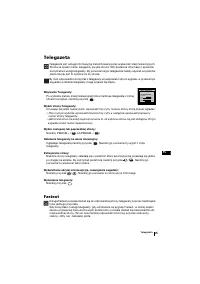
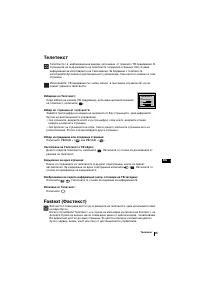
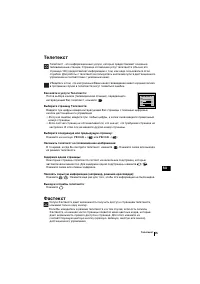
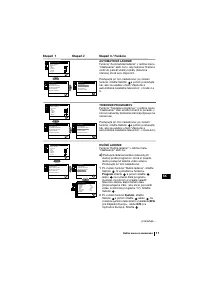
- 105 настроена. В этом случае введите другой номер страницы.; Фастекст
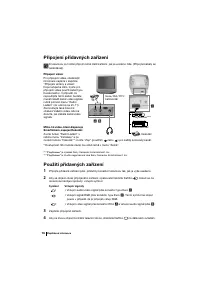
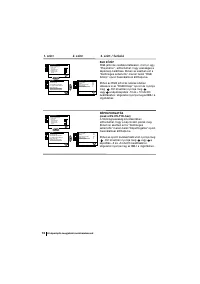
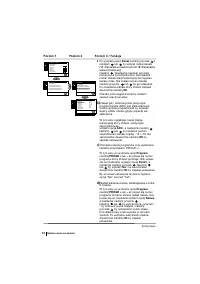
- 106 Подключение дополнительных устройств; Подключение; Использование дополнительных устройств; Дополнительная информация
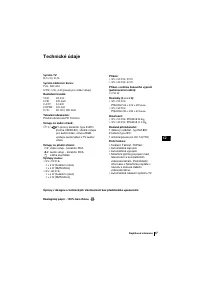
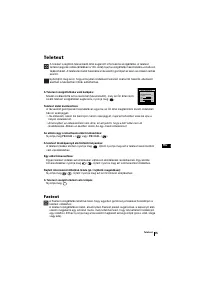
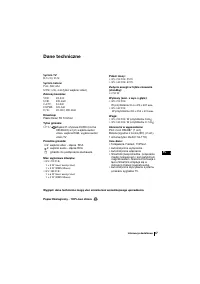
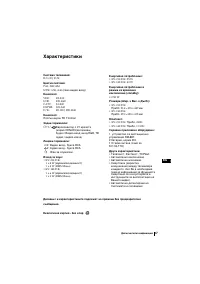
- 107 Спецификации; Допoлнитeльнaя инфомация; Otæezataho b Cjobaknn.
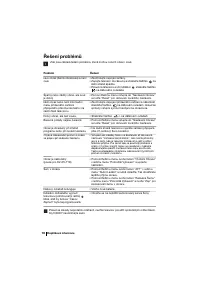
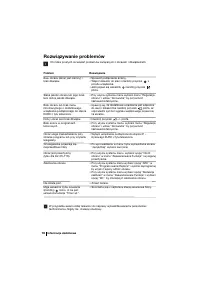
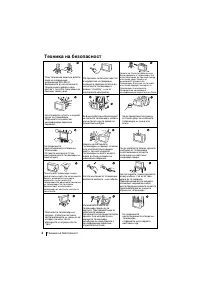
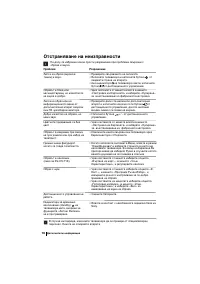
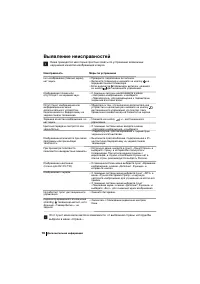
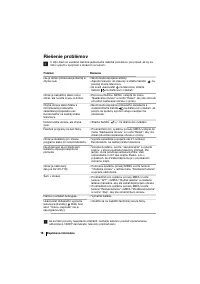
- 108 Выявление неисправностей; нарушений качества изображения и звука.; Неисправность


