Телескопы Levenhuk Strike 100 PLUS - инструкция пользователя по применению, эксплуатации и установке на русском языке. Мы надеемся, она поможет вам решить возникшие у вас вопросы при эксплуатации техники.
Если остались вопросы, задайте их в комментариях после инструкции.
"Загружаем инструкцию", означает, что нужно подождать пока файл загрузится и можно будет его читать онлайн. Некоторые инструкции очень большие и время их появления зависит от вашей скорости интернета.


6
EN
Levenhuk Strike PLUS Telescopes
EN
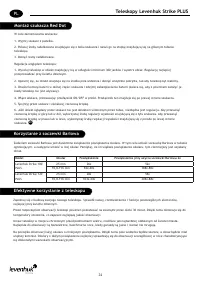
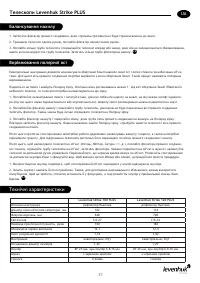
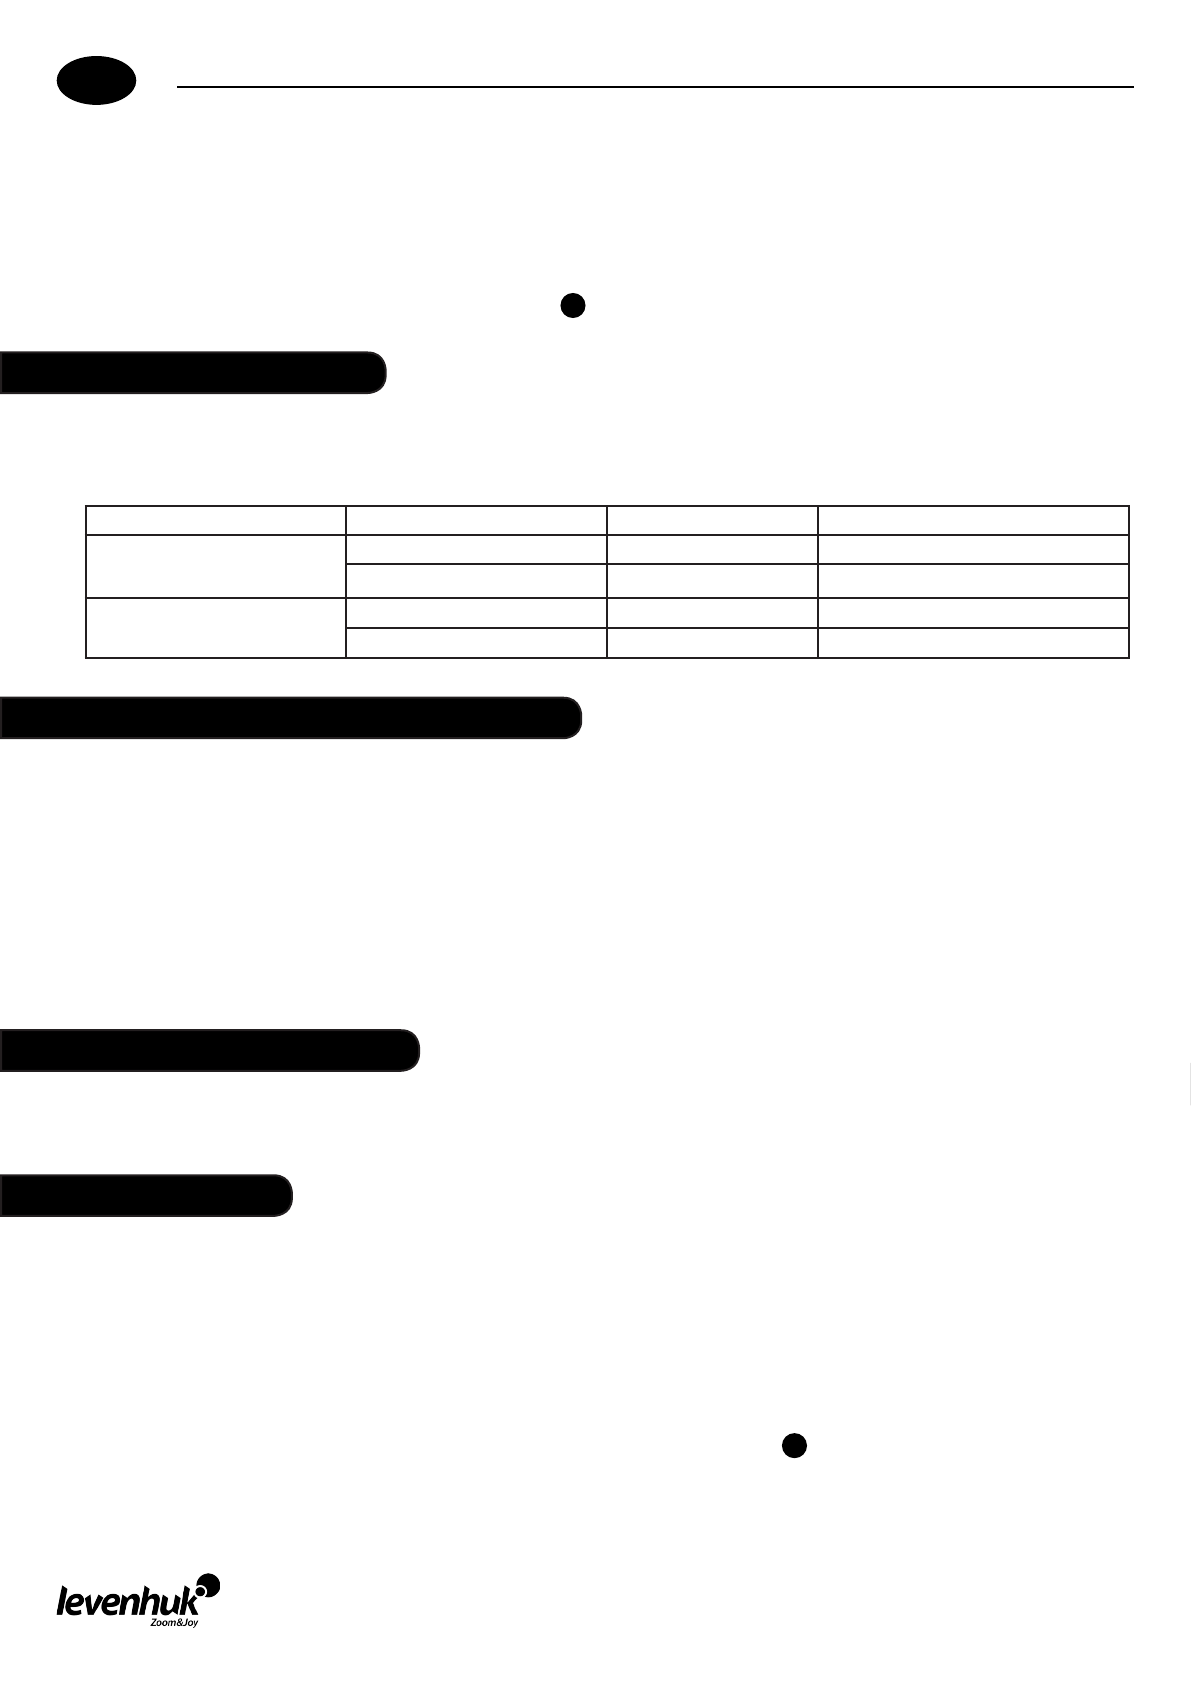
Using the Barlow lens
The Barlow lens is used to double the power of the eyepieces. To use it, simply insert the Barlow lens into the focuser and then
place the desired eyepiece into the receiving end of the Barlow lens. Note that the higher the power you use the dark er the
image appears.
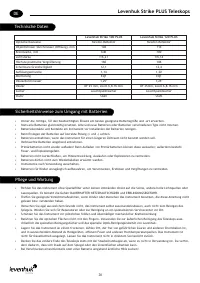
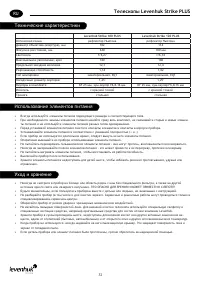
Model
Eyepiece
Power
Power with 2x Barlow lens
Levenhuk Strike 100 PLUS
25mm
26x
52x
F6.8-F16mm
94x-40x
188x-80x
Levenhuk Strike 120 PLUS
25mm
28x
56x
F6.8-F16mm
103x-44x
206x-88x
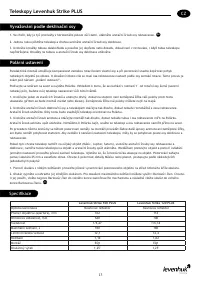
Getting the most from your telescope
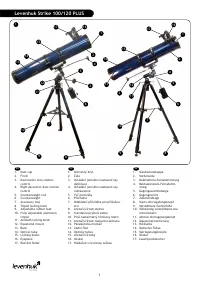
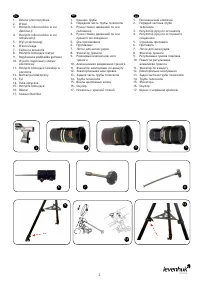
Take the time to become familiar with your new telescope. Learn the names of various parts and accessories, where they have
to go and what they do. It is easier to do this in daylight.
Before beginning your observations, take the telescope outside for around 30 minutes. This allows the telescope to adapt to the
outside air temperature and perform at its best during observations.
Try to set up your telescope in an area sheltered from wind. Move as far away from the city lights as possible. The best
conditions for observations include still air and clear nights when stars are out and shine brightly with little or no twinkling.
When beginning your observations, use low power eyepieces to take advantage of the wider field of view and higher contrast of
the image. High power eyepieces are best used on nights when viewing conditions are perfect for detailed observations.
the battery cover when not using the telescope)
4. Turn the finder on by sliding the On/Off switch forward. The switch is located on the right side of the finder.
5. Look through the finder and locate the red dot.
6. If the object in the finder is not the object you see through the main telescope tube, you have to align it. To move the red
dot up and down, simply turn the elevation screw located in the back of the finder. To move the red dot left and right, turn the
windage screw located at the front left part of the finder.
20
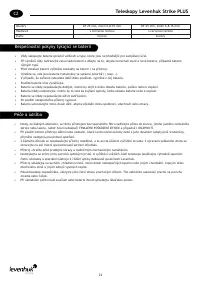
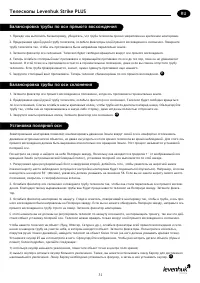
Balancing the telescope
The telescope should be balanced before each observing session. Balancing reduces stress on the mount and allows precise
micro-adjustment control.
R.A. Balancing
1. Before balancing, make sure the telescope is securely attached to the mount.
2. While holding the telescope with one hand, loosen the R.A. and Dec. lock knobs with the other. Rotate the telescope until
the counterweight is horizontal to the ground
3. Tighten the Dec. lock knob.
4. Loosen the counterweight thumbscrew and move the counterweight along the rod until the telescope is balanced and
remains stationary when released.
5. Tighten the counterweight thumbscrew. Now your telescope is perfectly balanced.
21
Содержание
- 30 ) Электронный искатель с красной точкой; Аксессуары; Телескопы Levenhuk Strike PLUS
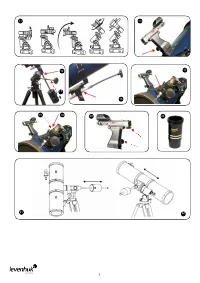
- 31 ) Ручка тонких движений по оси склонения; Сборка
- 32 Модель; Использование линзы Барлоу; Балансировка трубы
- 33 Балансировка трубы по оси прямого восхождения; Установка полярной оси
- 34 Технические характеристики
- 35 пожизненная гарантия; Международная гарантия
- 44 оптическими приборами.; Засоби догляду за оптикою Levenhuk; оптичними пристроями.; Radost zaostřit


